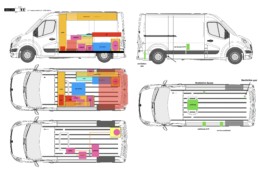
Before anything else, I think the main key for a van build is about what your expectations are. Are you going to live inside 24/7? Are you going to be in very warm or cold places? How many persons should live inside? etc…
For me, those elements were clear :
– a full time vanlife : it will have to be like a home, very cosy. Also with all the confort to be in autonomy as much as possible (water, electricity etc…)
– cold and warm temperature : equals good isolation and powerful heater.
– a not convertible bed : after a first vanlife experience for a month in West USA, I realized the bed were always in sleep mode and never in couch because it was super annoying to change it everyday. I also wanted a really more comfy bed, like at home.
– a 180° view from the bed : by being a filmmaker, I knew the view was going to be important for me. I always find sad to be in a van and not have a super nice view on the outside. This is what the vanlife is all about for me : being in stunning places and enjoy the view.
– no closets in the middle part : for similar reason, I decided to have nothing in the middle of the van to keep the vision free and to not have a feeling of being in a boxe. The van is already quite small and I wanted to have as much as possible a feeling of space.
– a complete access to the driving seat from the living space : it’s a lot of space not used just to keep the passage free, but I got an interesting reflexion from a friend : when you ear something happening outside the van and you want to get out of here asap, to not have to go outside is really appreciated. And even if had to experience something like that just one time, I spend my time going front and back and I just love it.
– a good balance of the van : if you put all the batteries, closet, and water tanks on the same side, the van might be not really leveled !
– make plans of everything before building the van as it’s always complicated to add something after.
– and then there was a ton of rules to follow to get the van certificate as a camper van, which is now obligatory in France. All those rules are a bit difficult to understand in the beginning, but they all have actually a pretty good reason and it’s more common sense to avoid people to be killed inside their van.
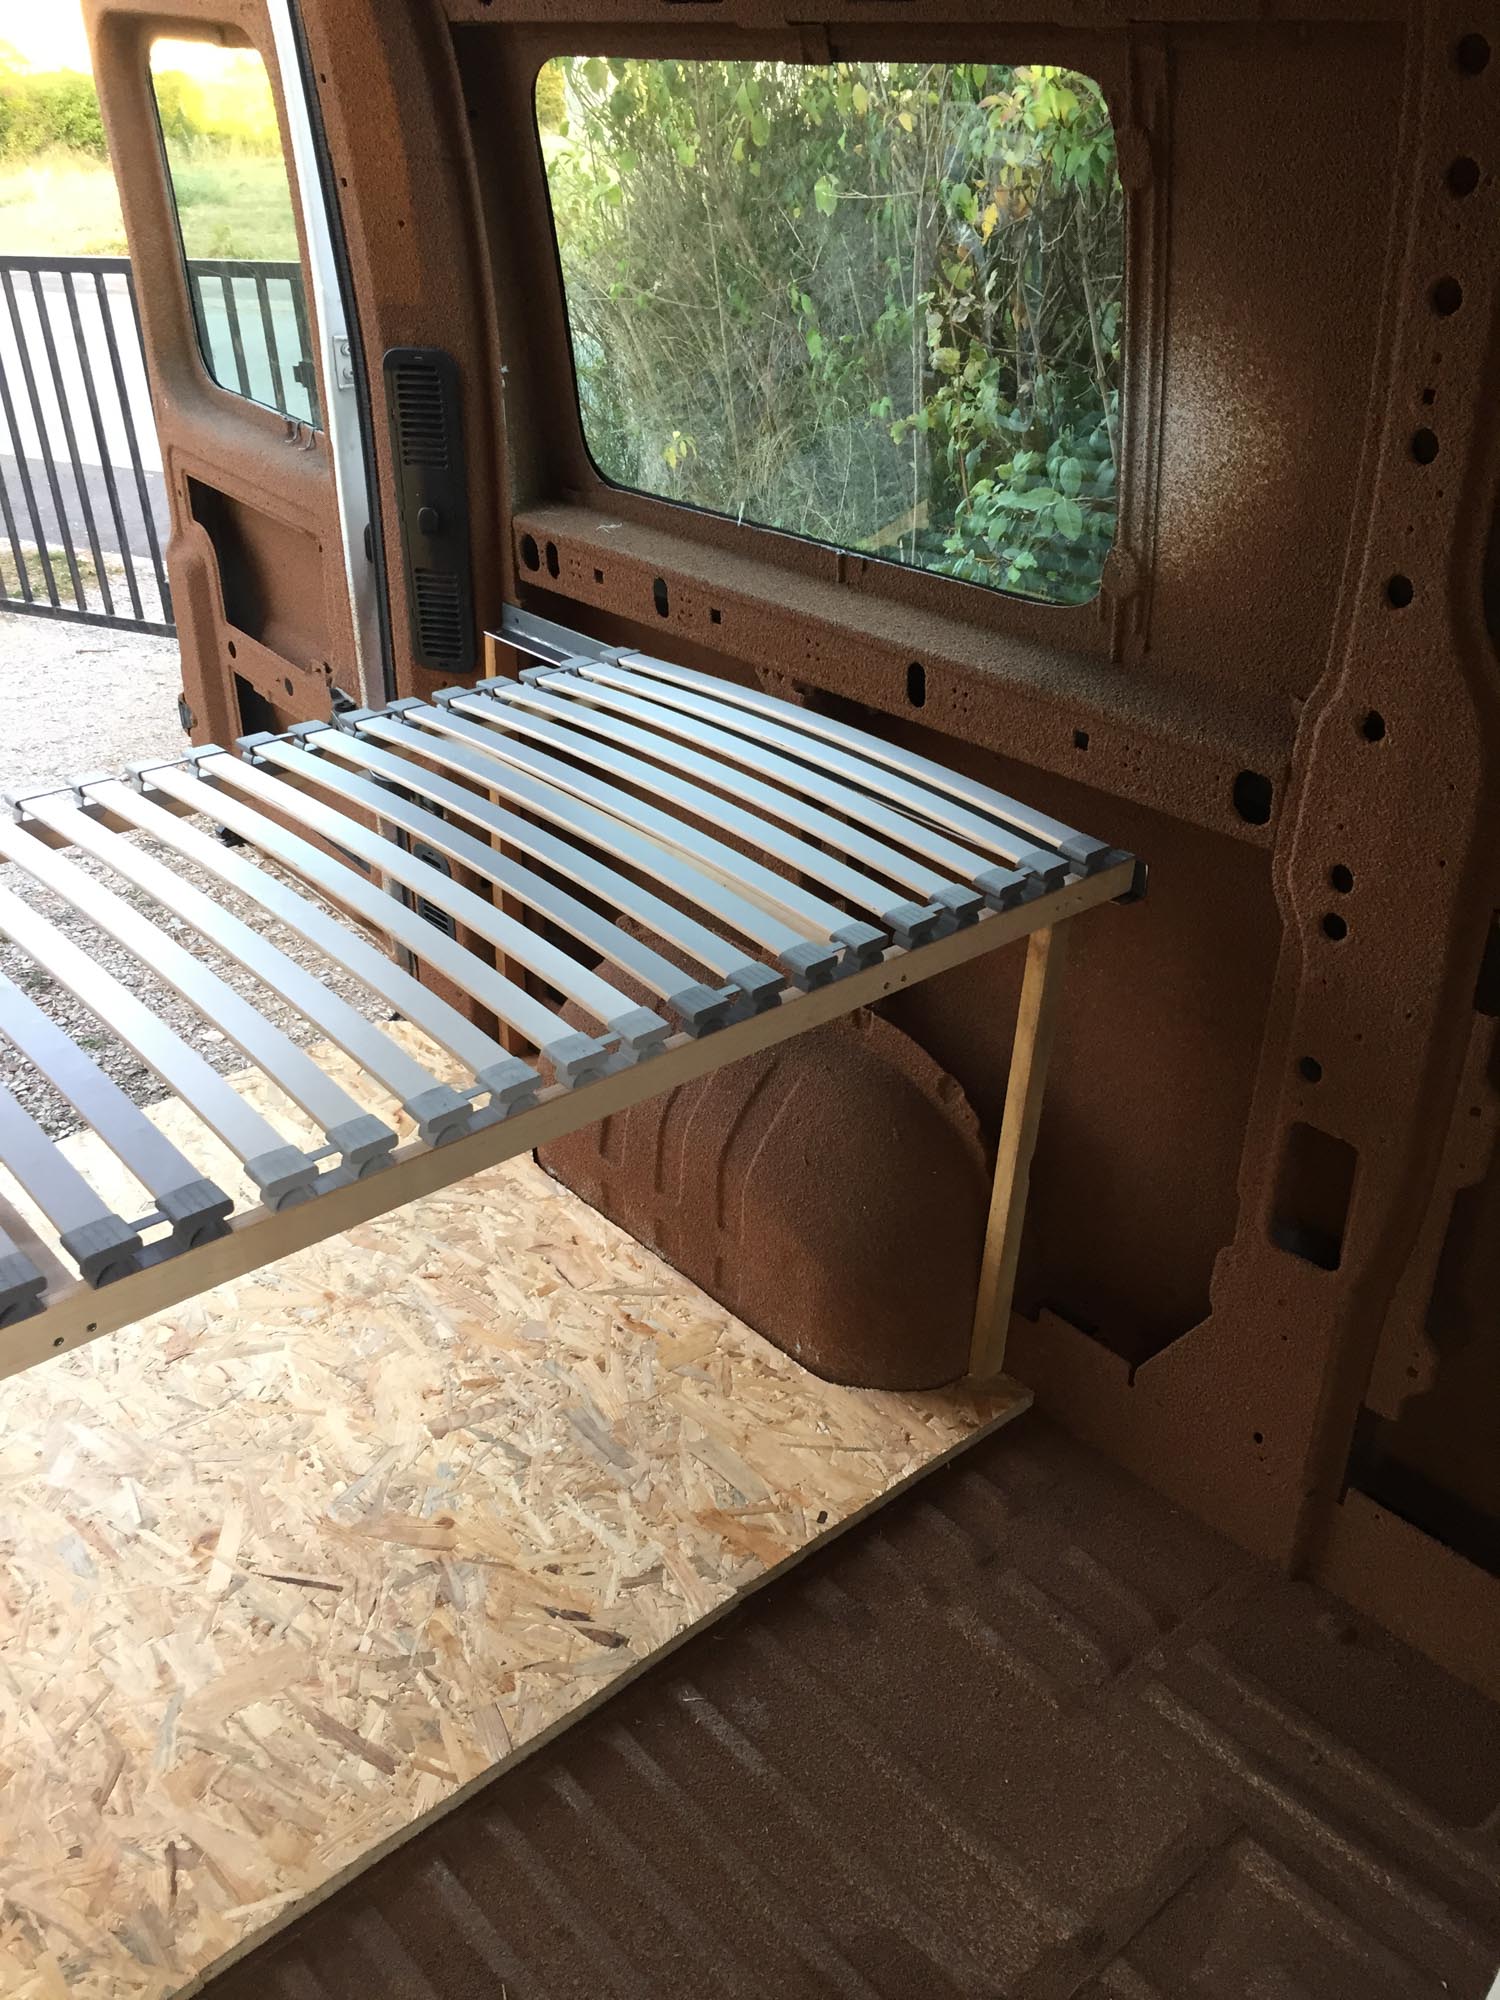
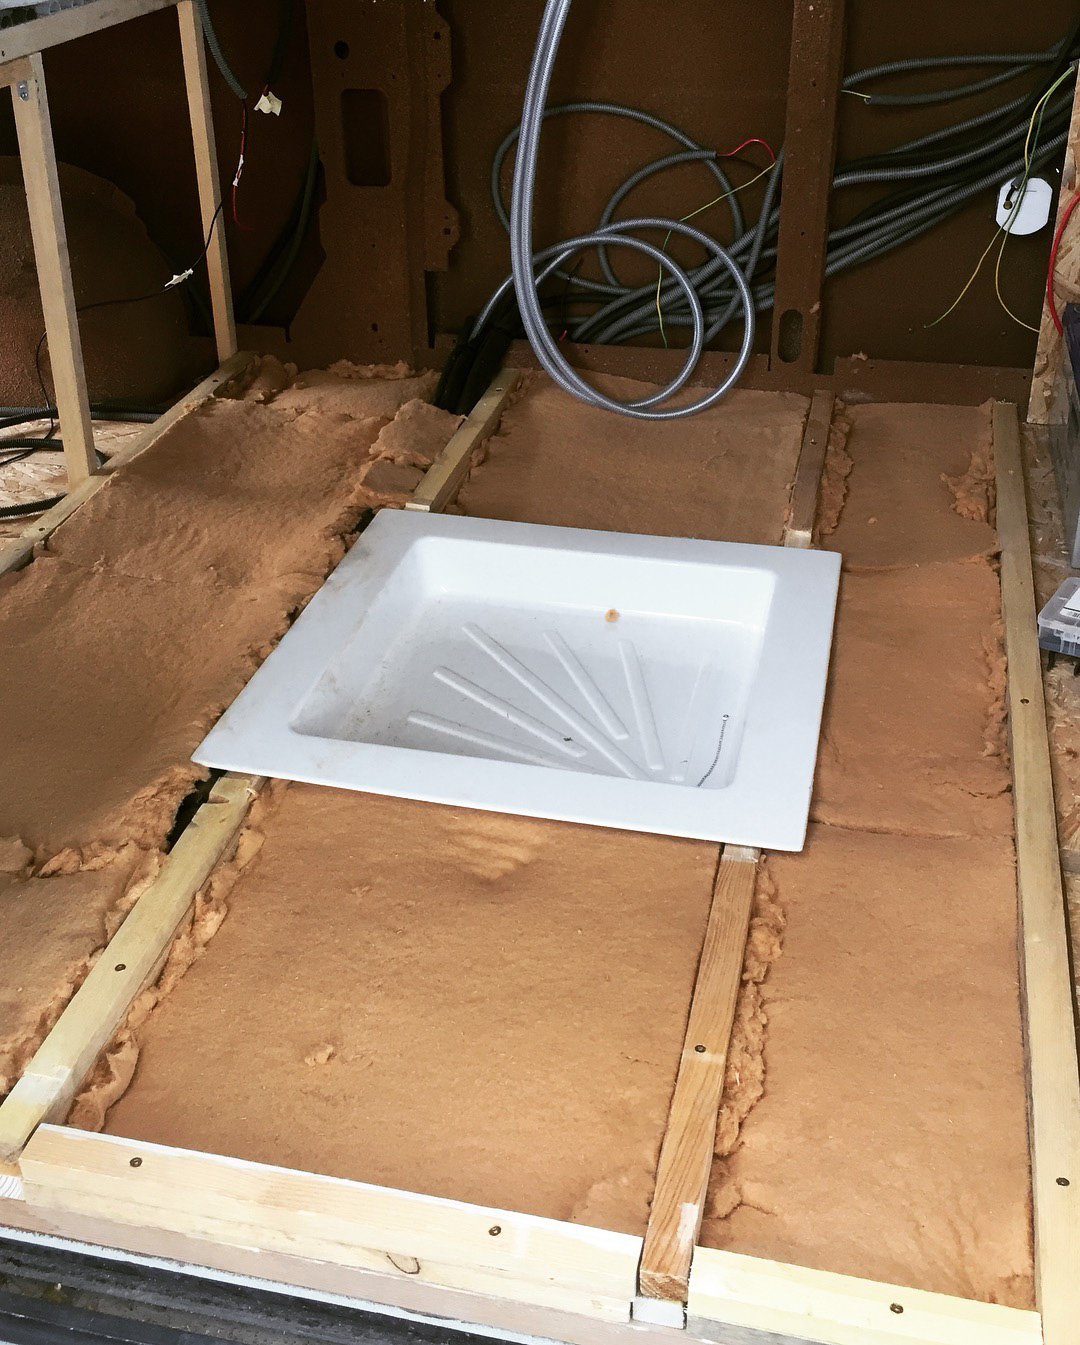
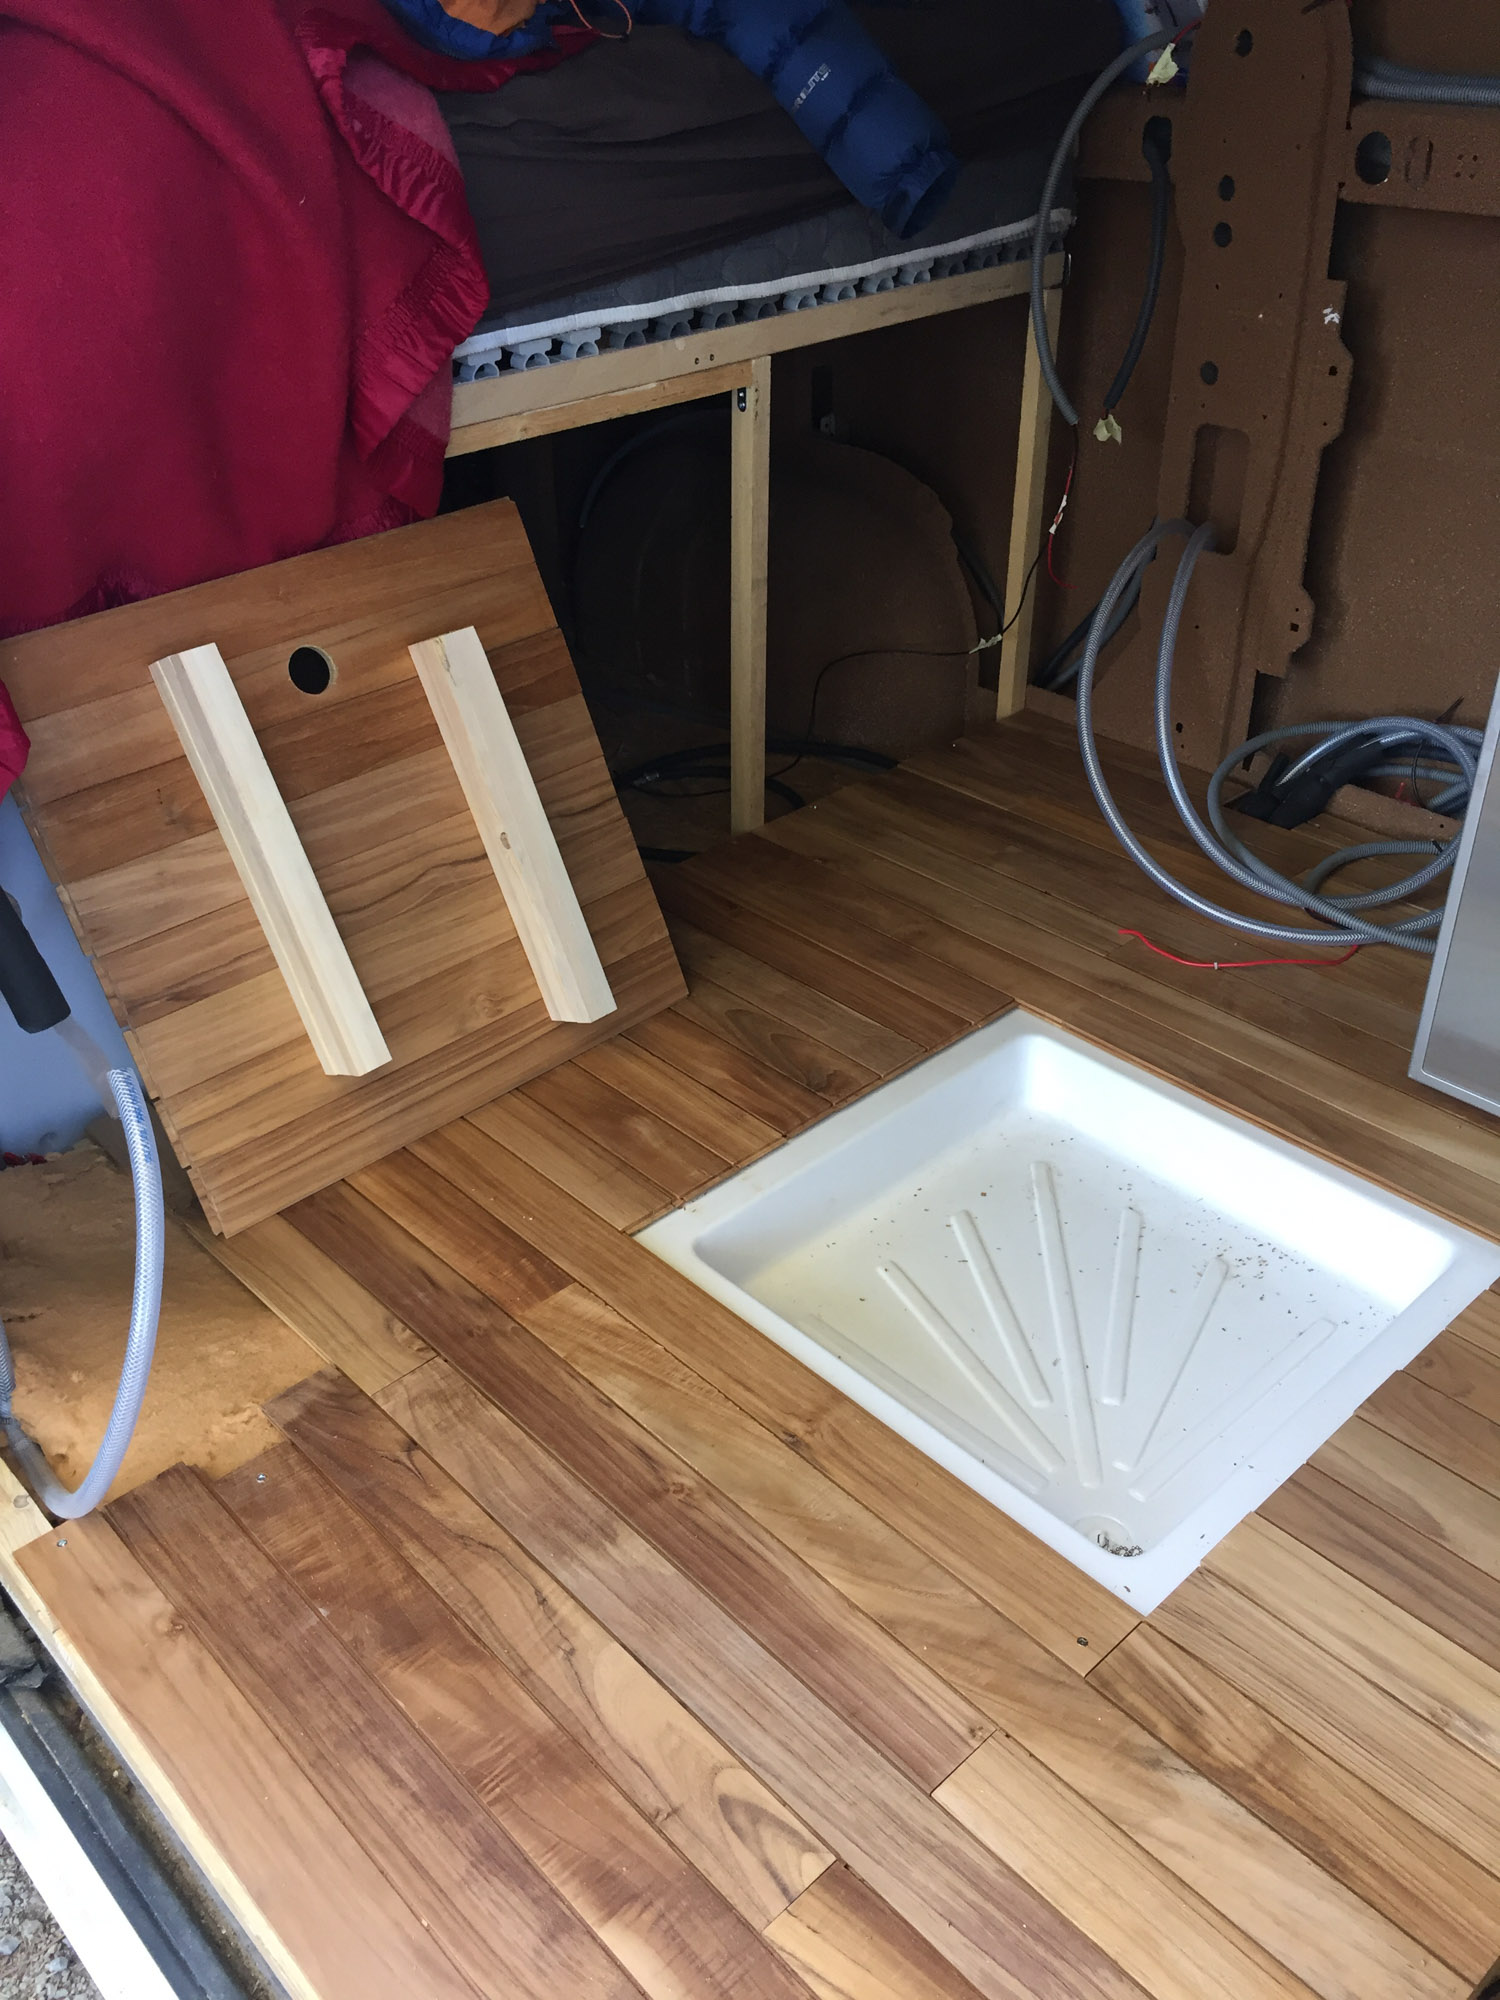
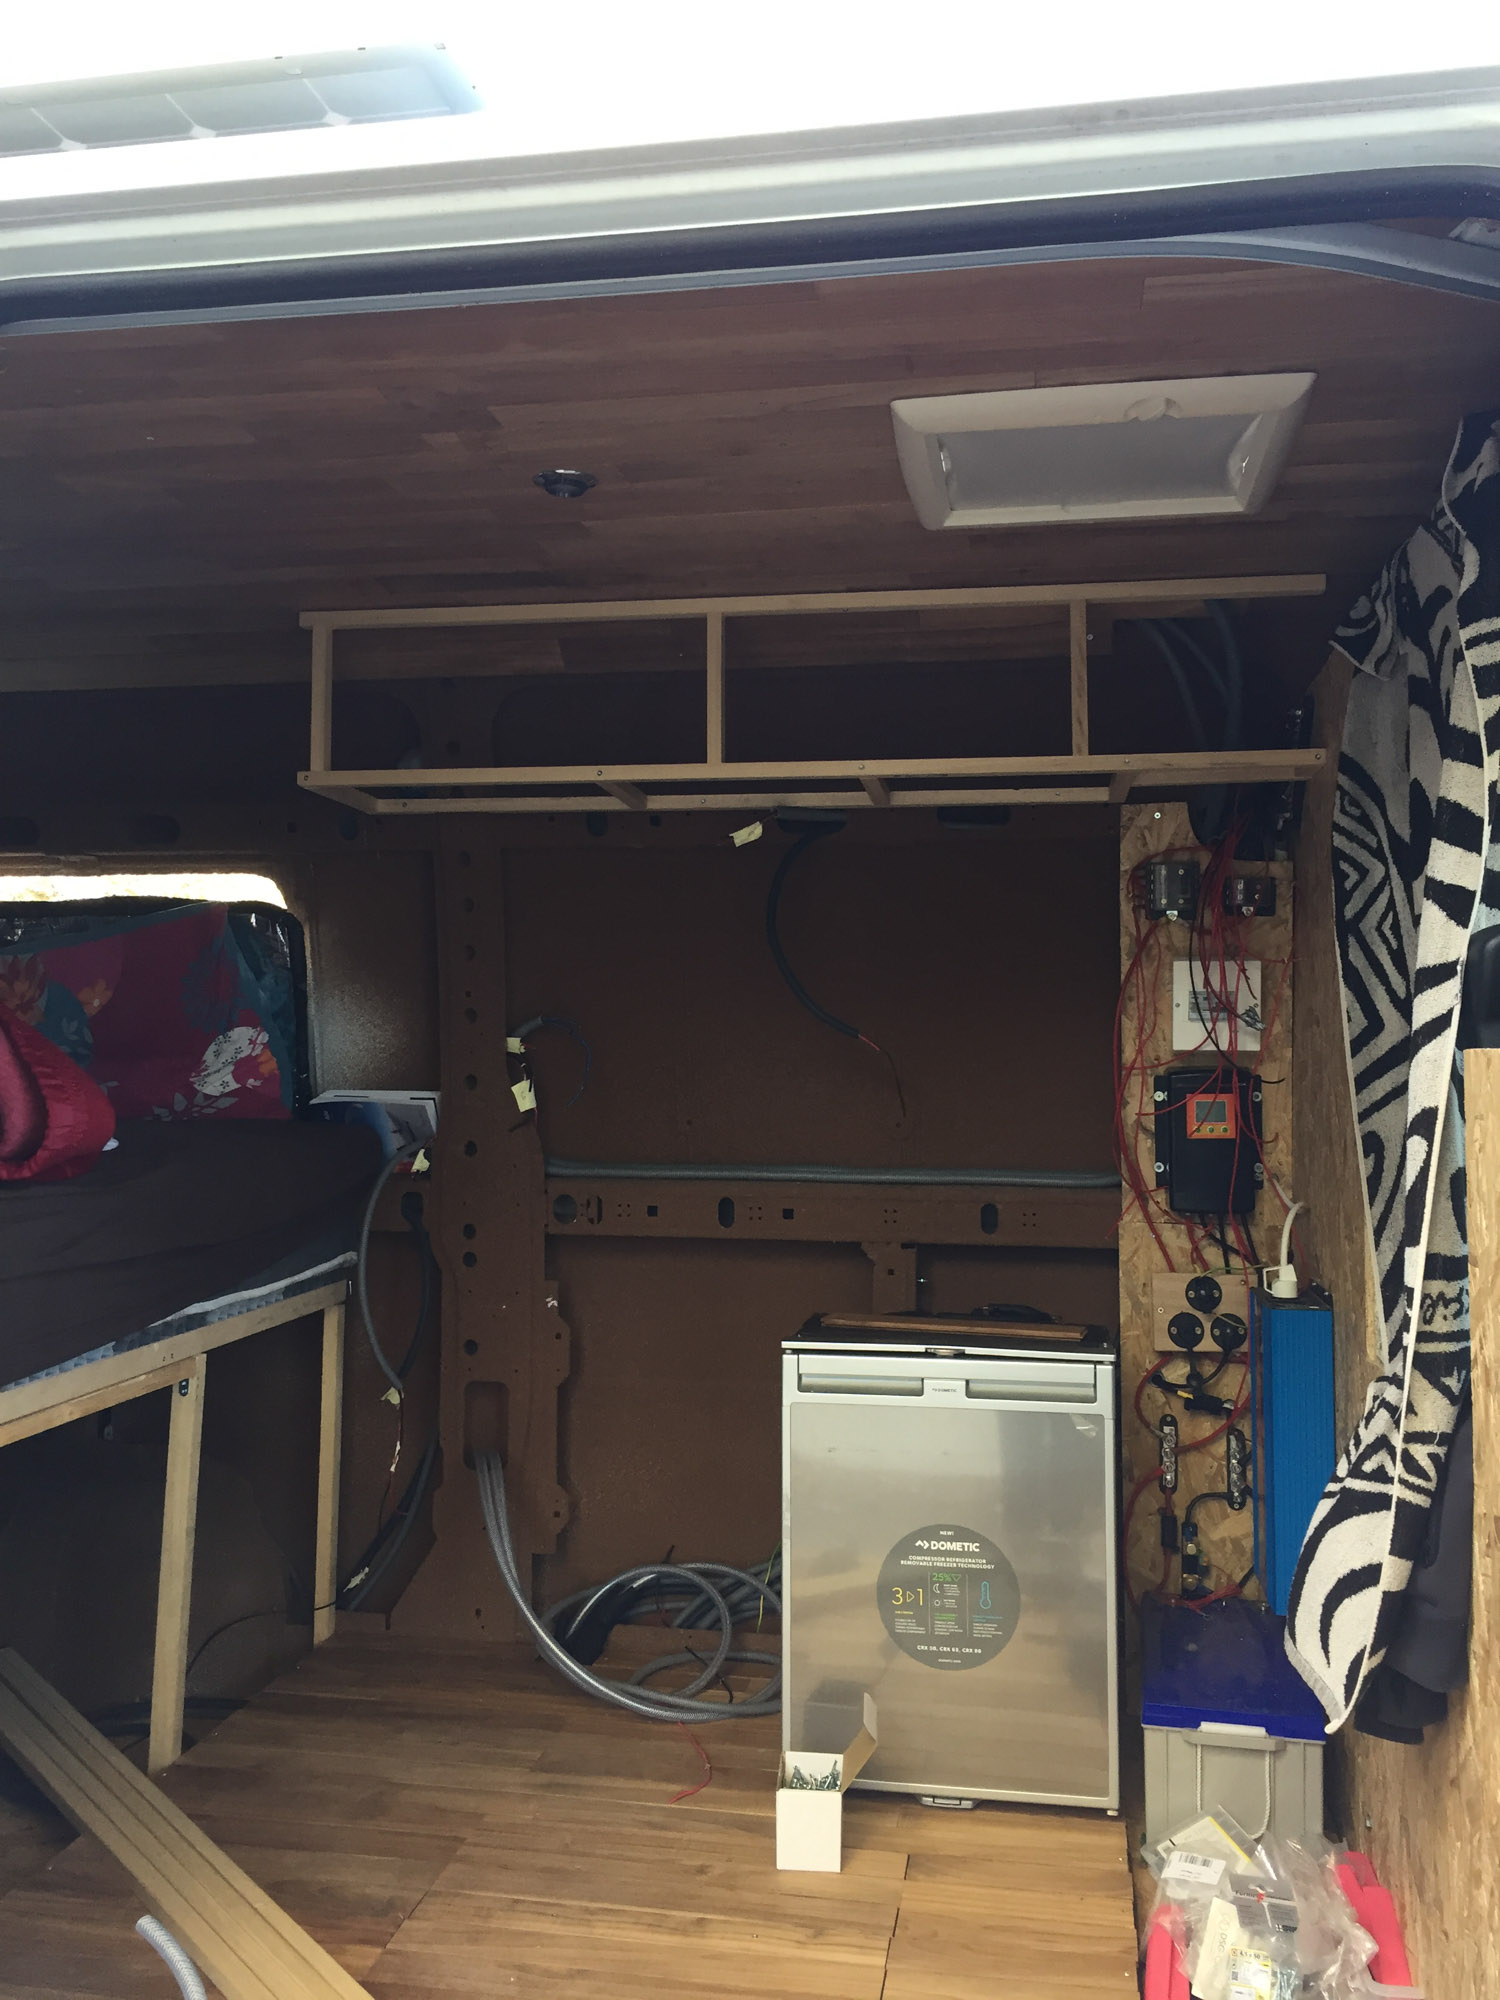
With this in mind I started to get the general layout pretty fast : a real bed in the back, big storage places under for the toys and clean water tank, some closets on top for clothing and food. About the shower, I didn’t want to waste a big part of the van for something you use just few minutes a day, and that can be done outside most of the time. Check the water part for more explanation of how I imagine the build.
For same reason, I didn’t setup a toilet and find this super foldable toilet seat. But for sure, when you have to do your thing in the middle of the van, it means you are alone or with someone that really loves you ! But as I am not planning to share the van with strangers, it’s fine.
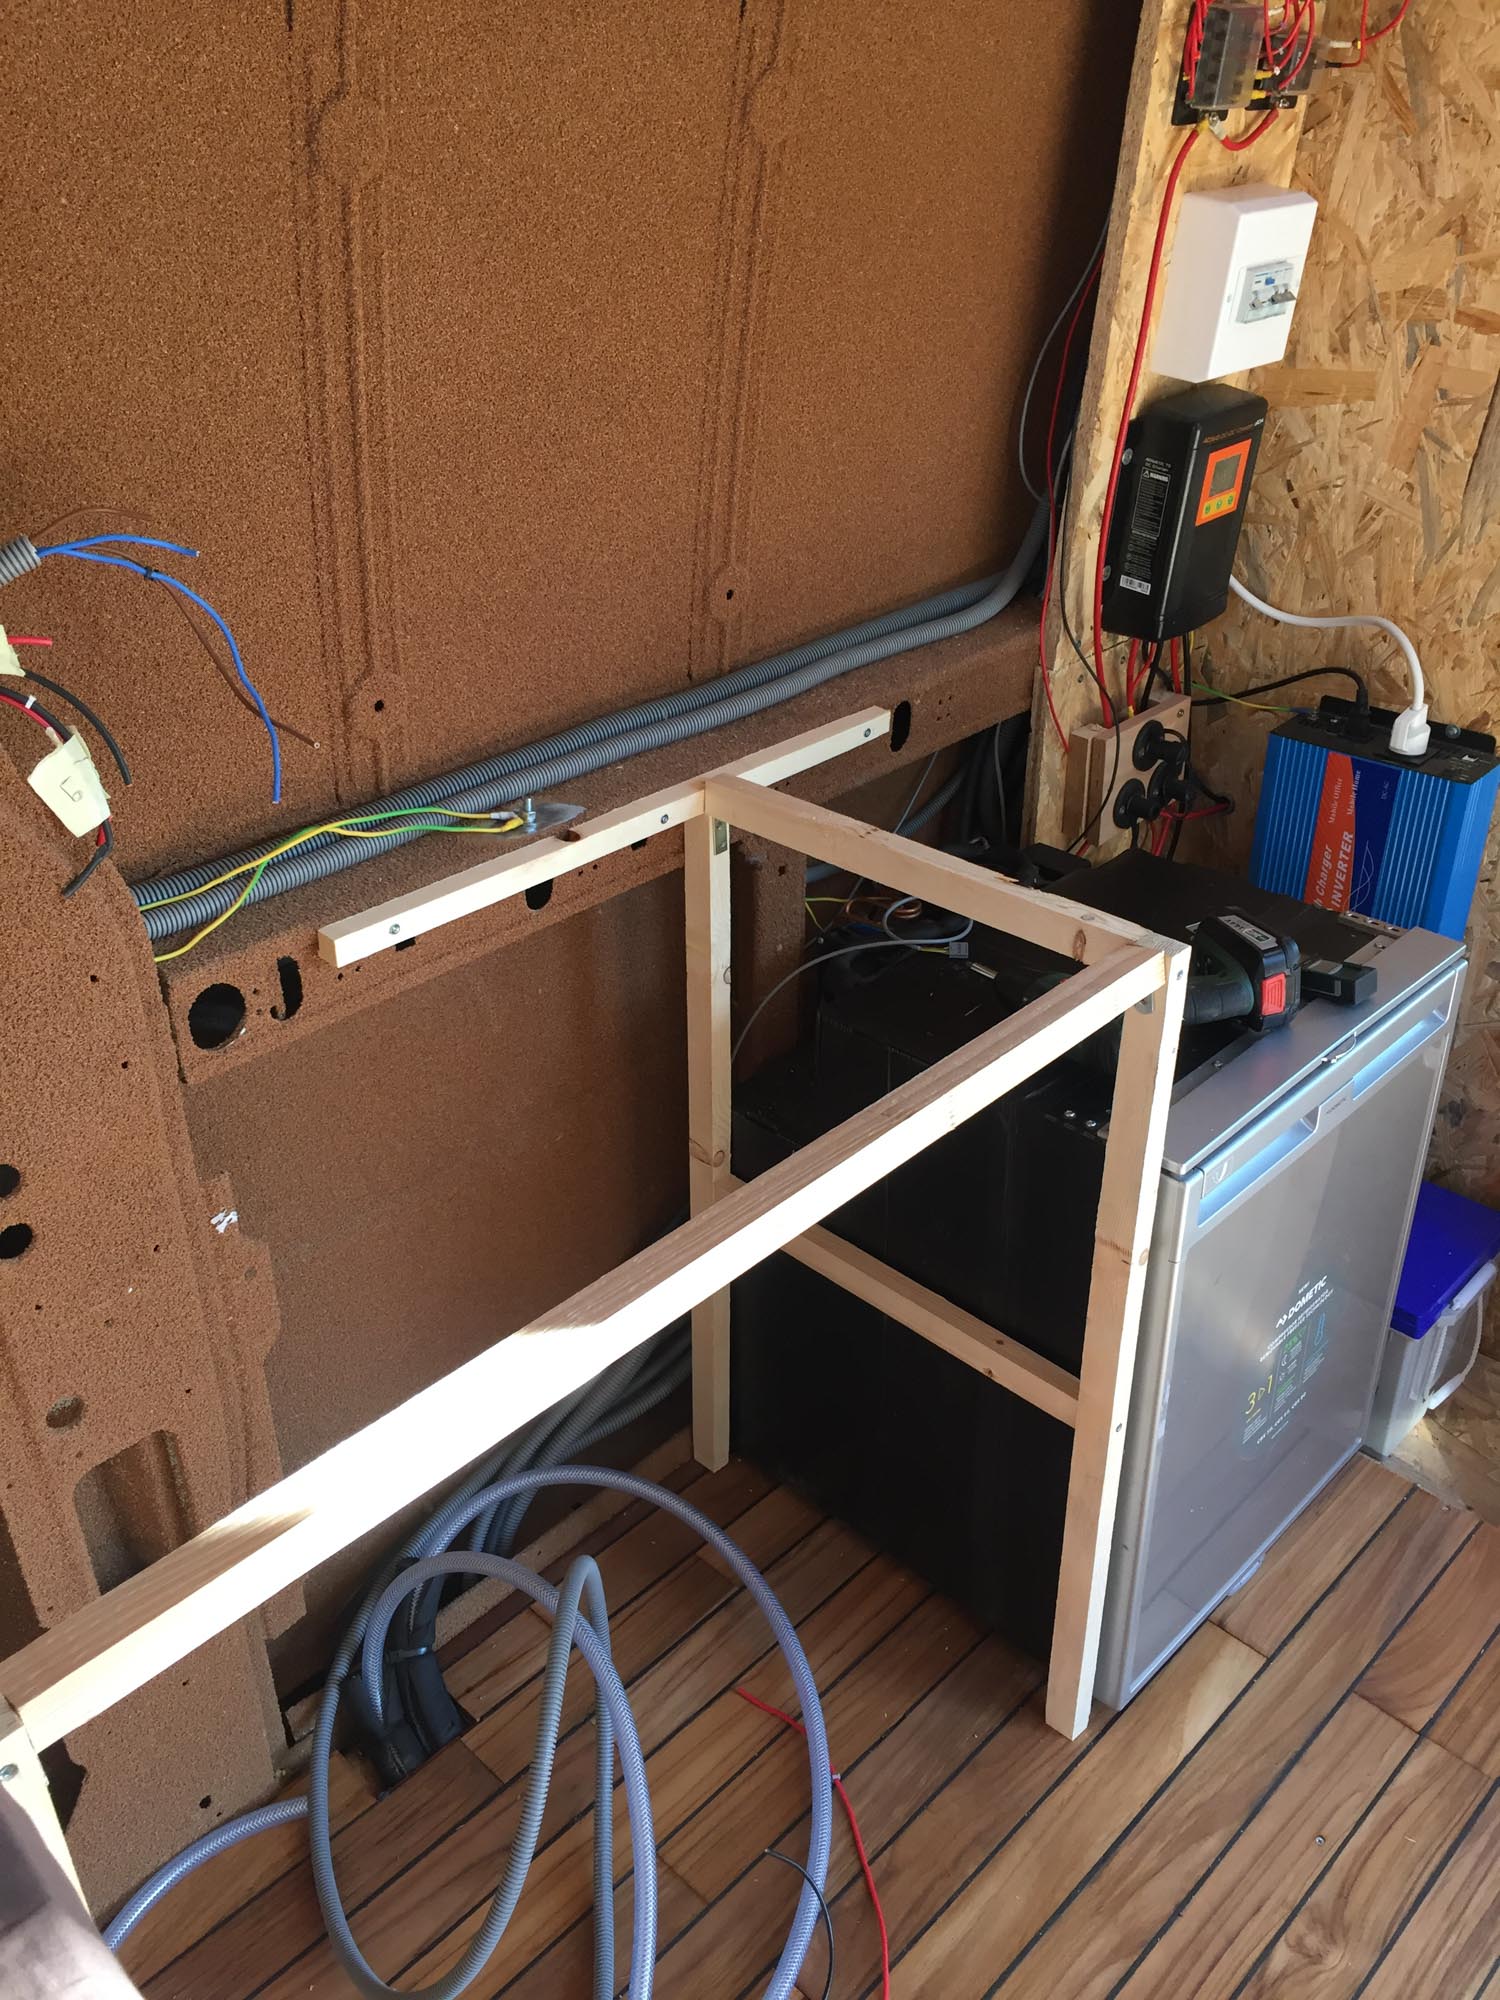
About the batteries and water tank capacity, check the electric and water part.
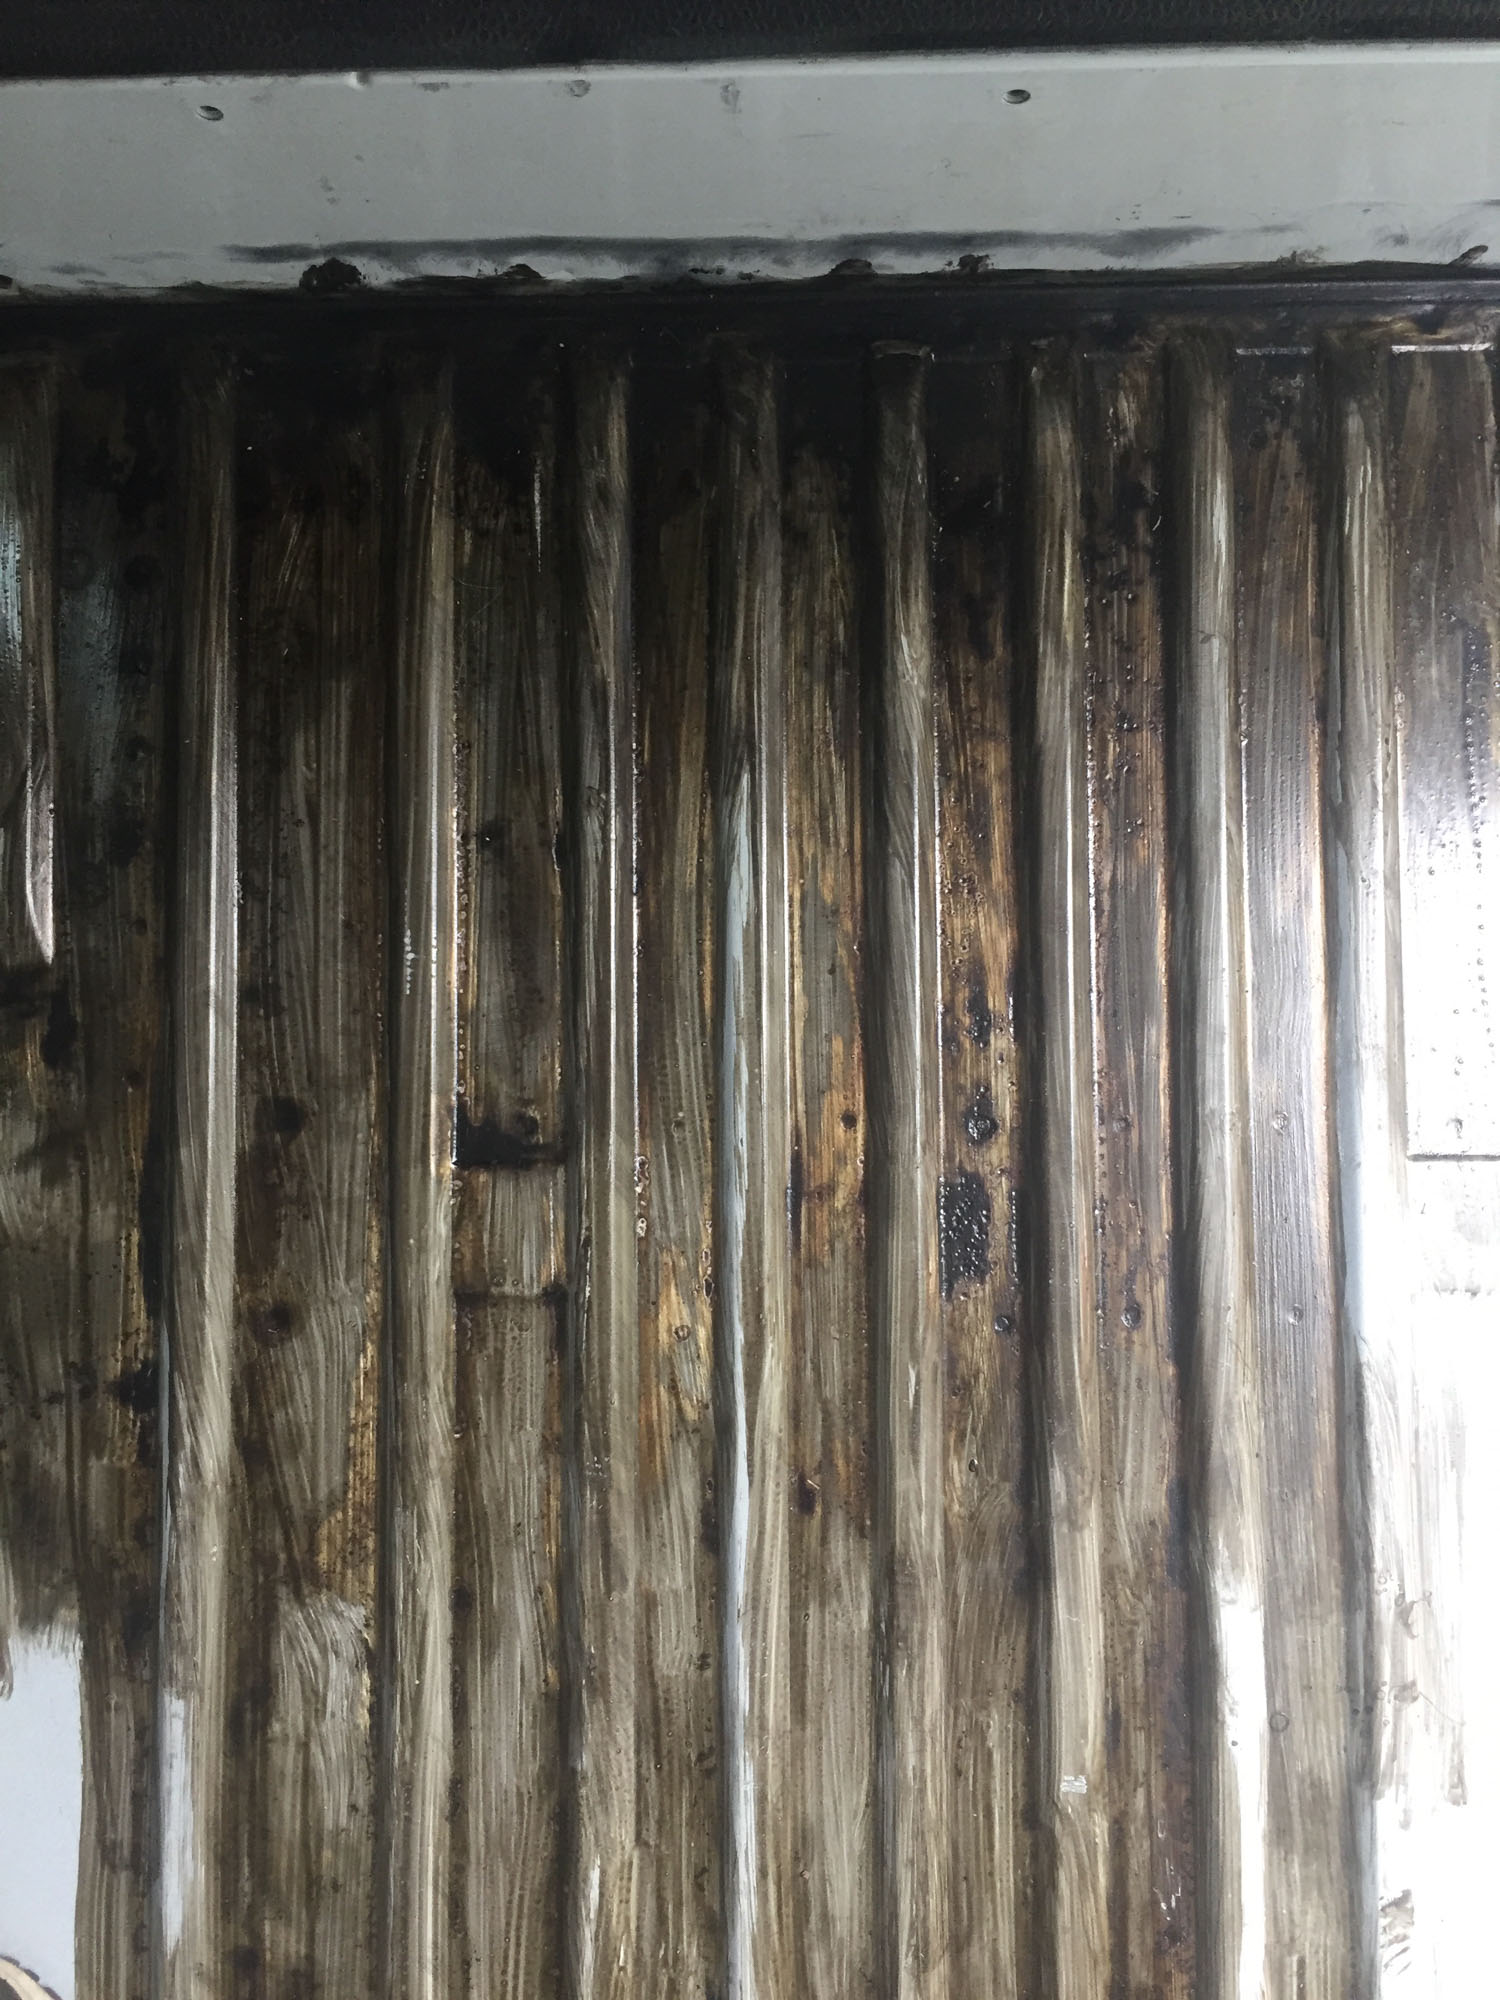
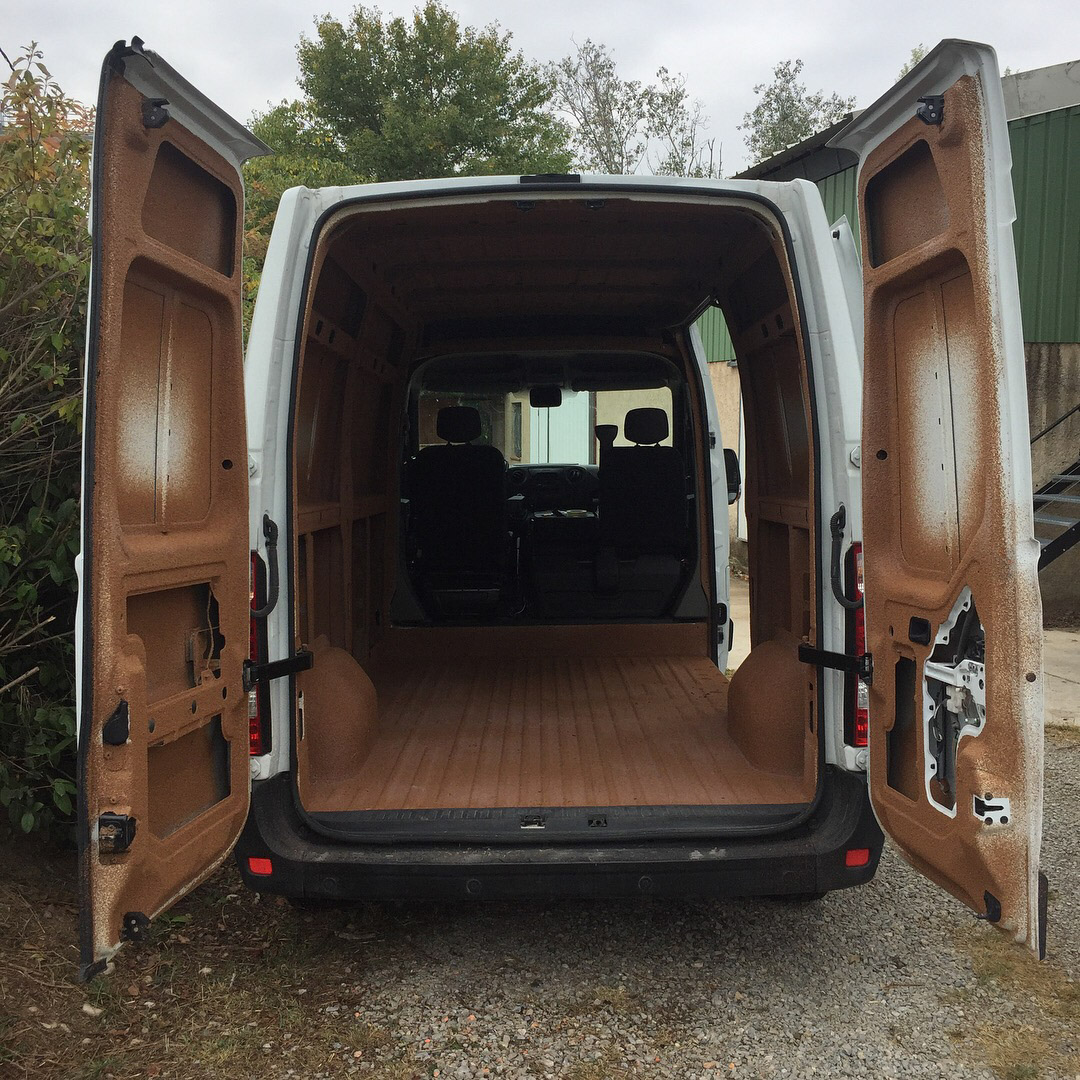
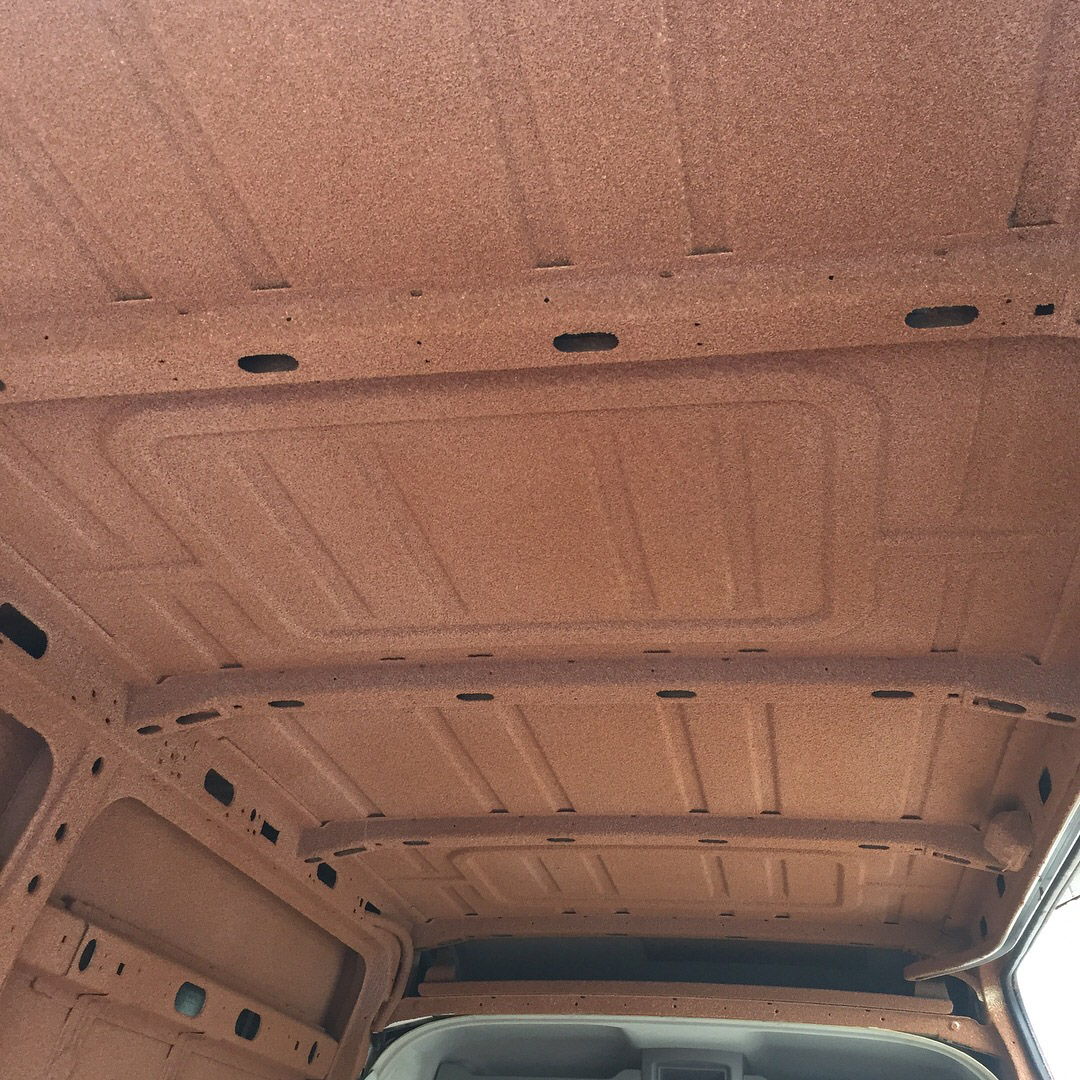
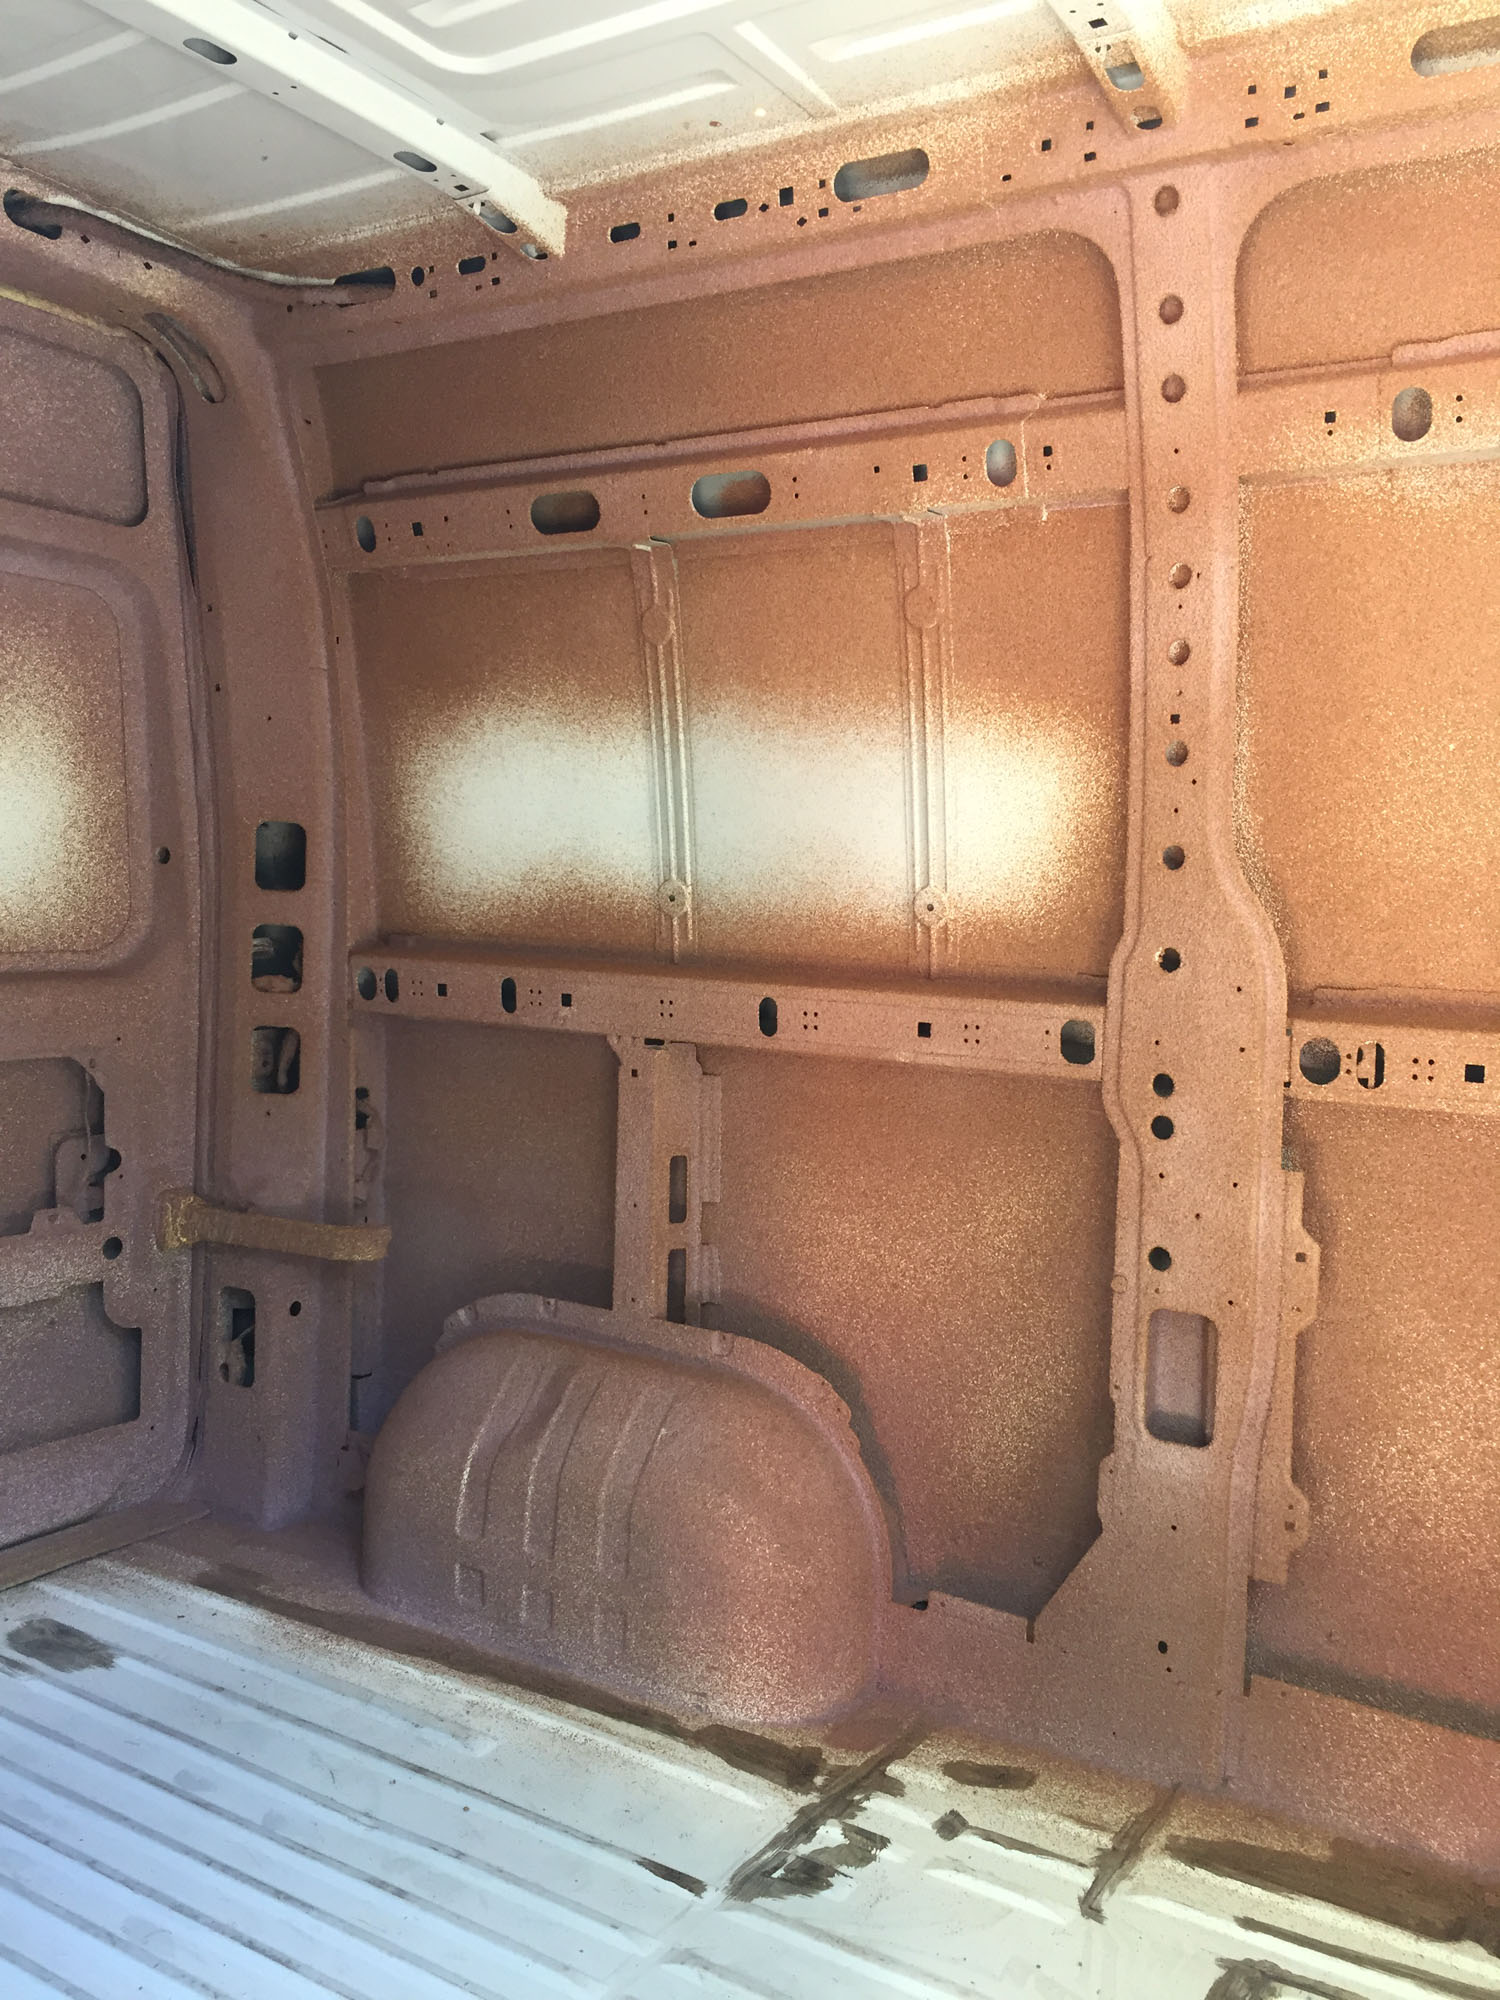
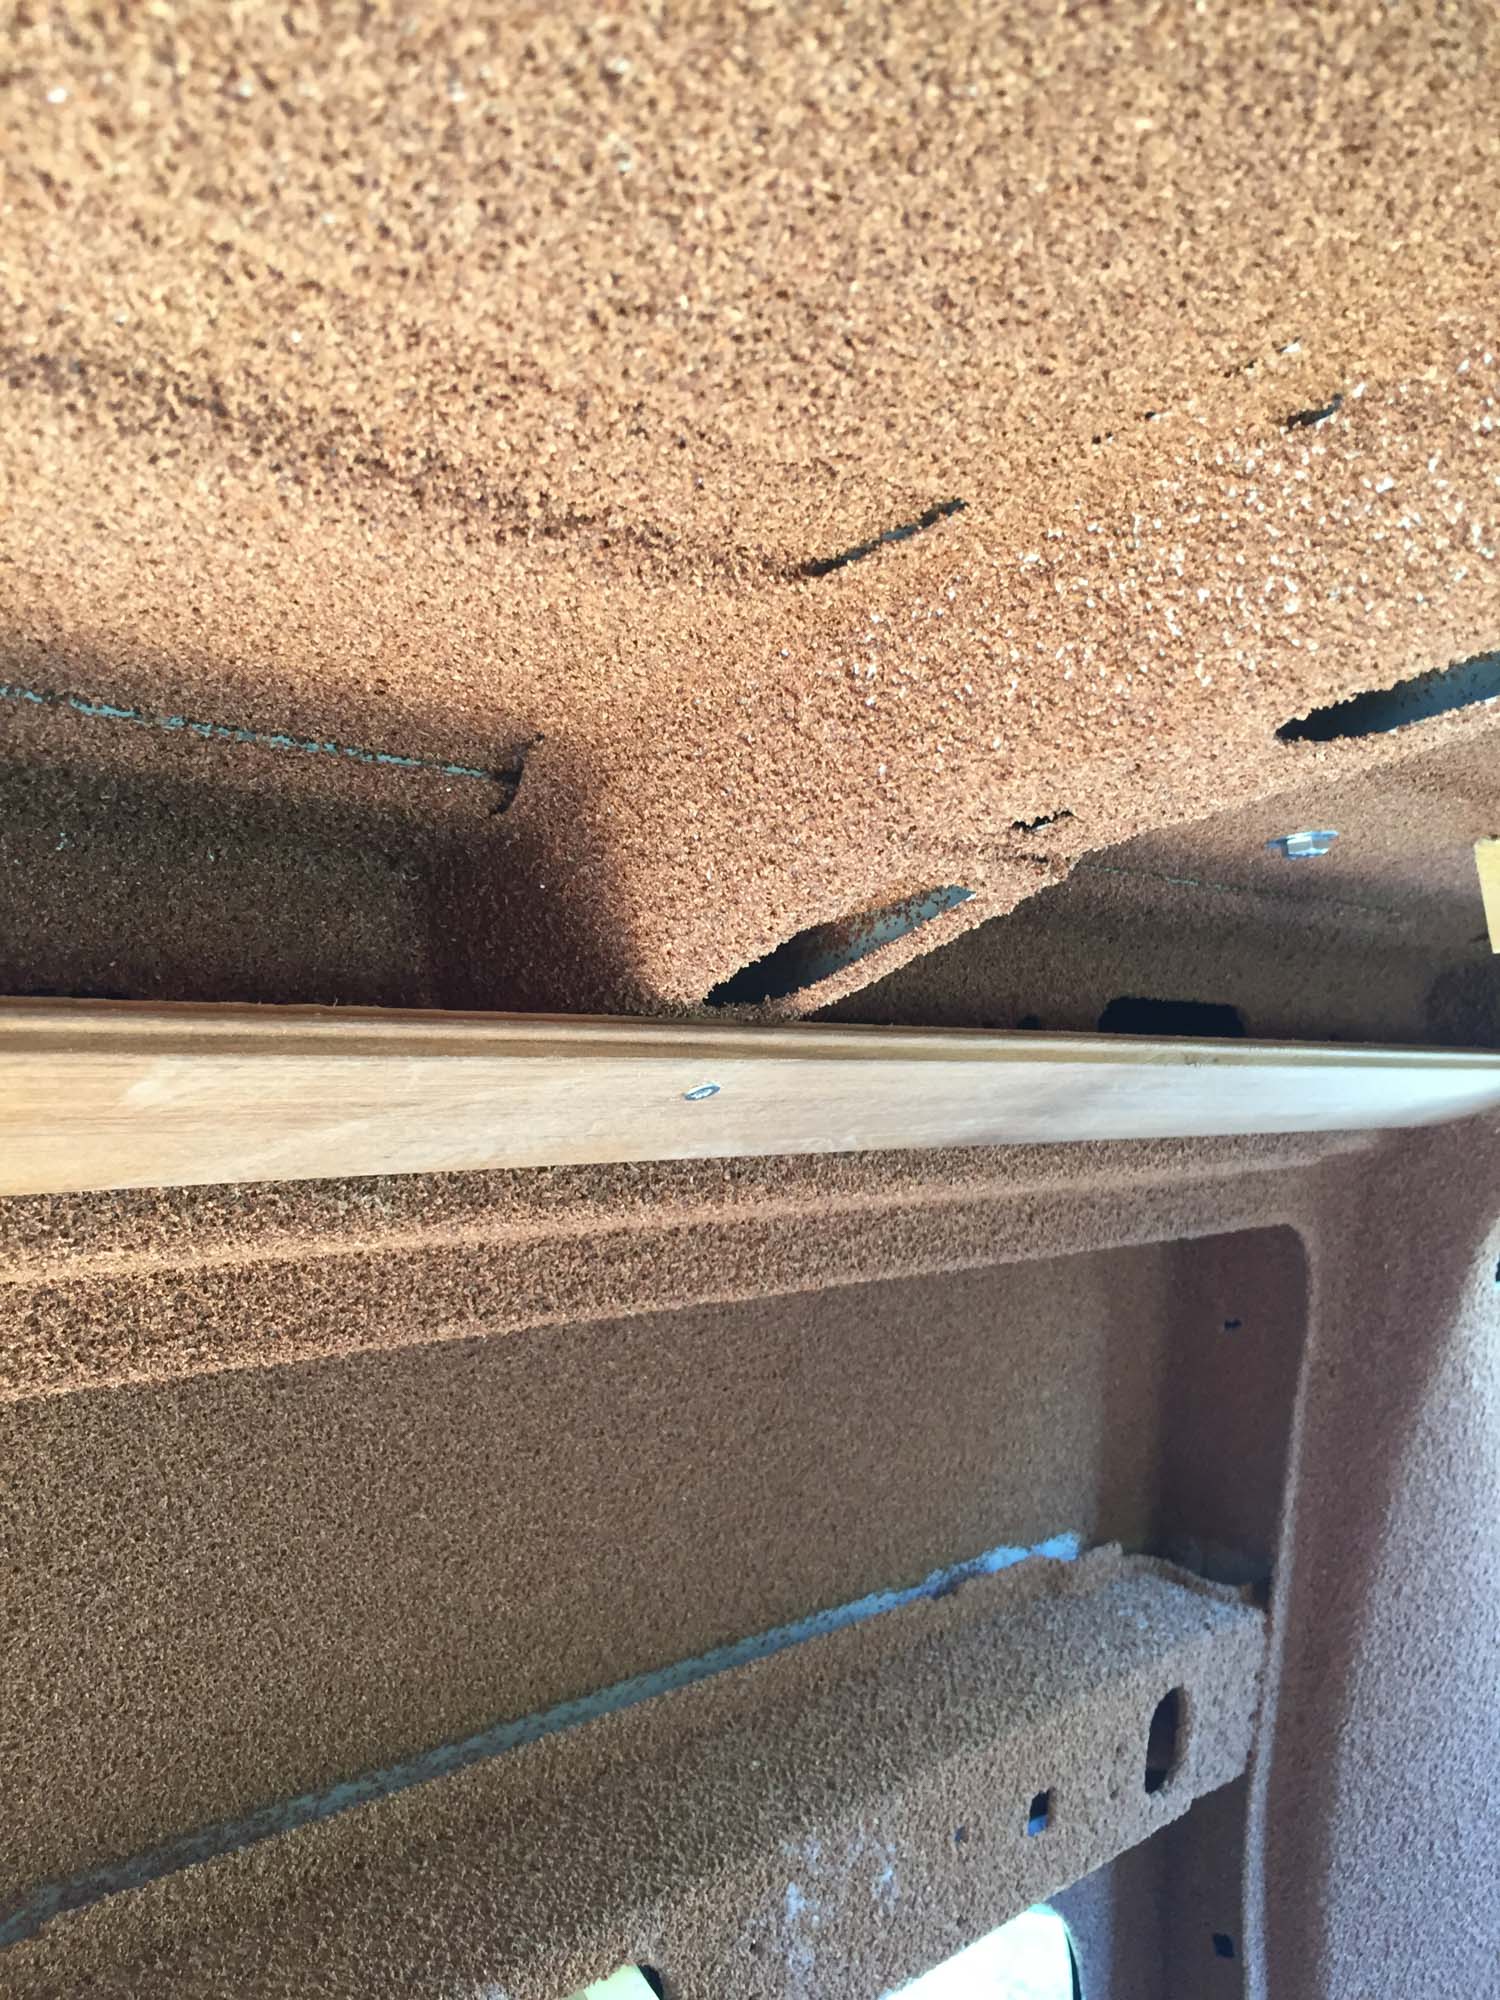
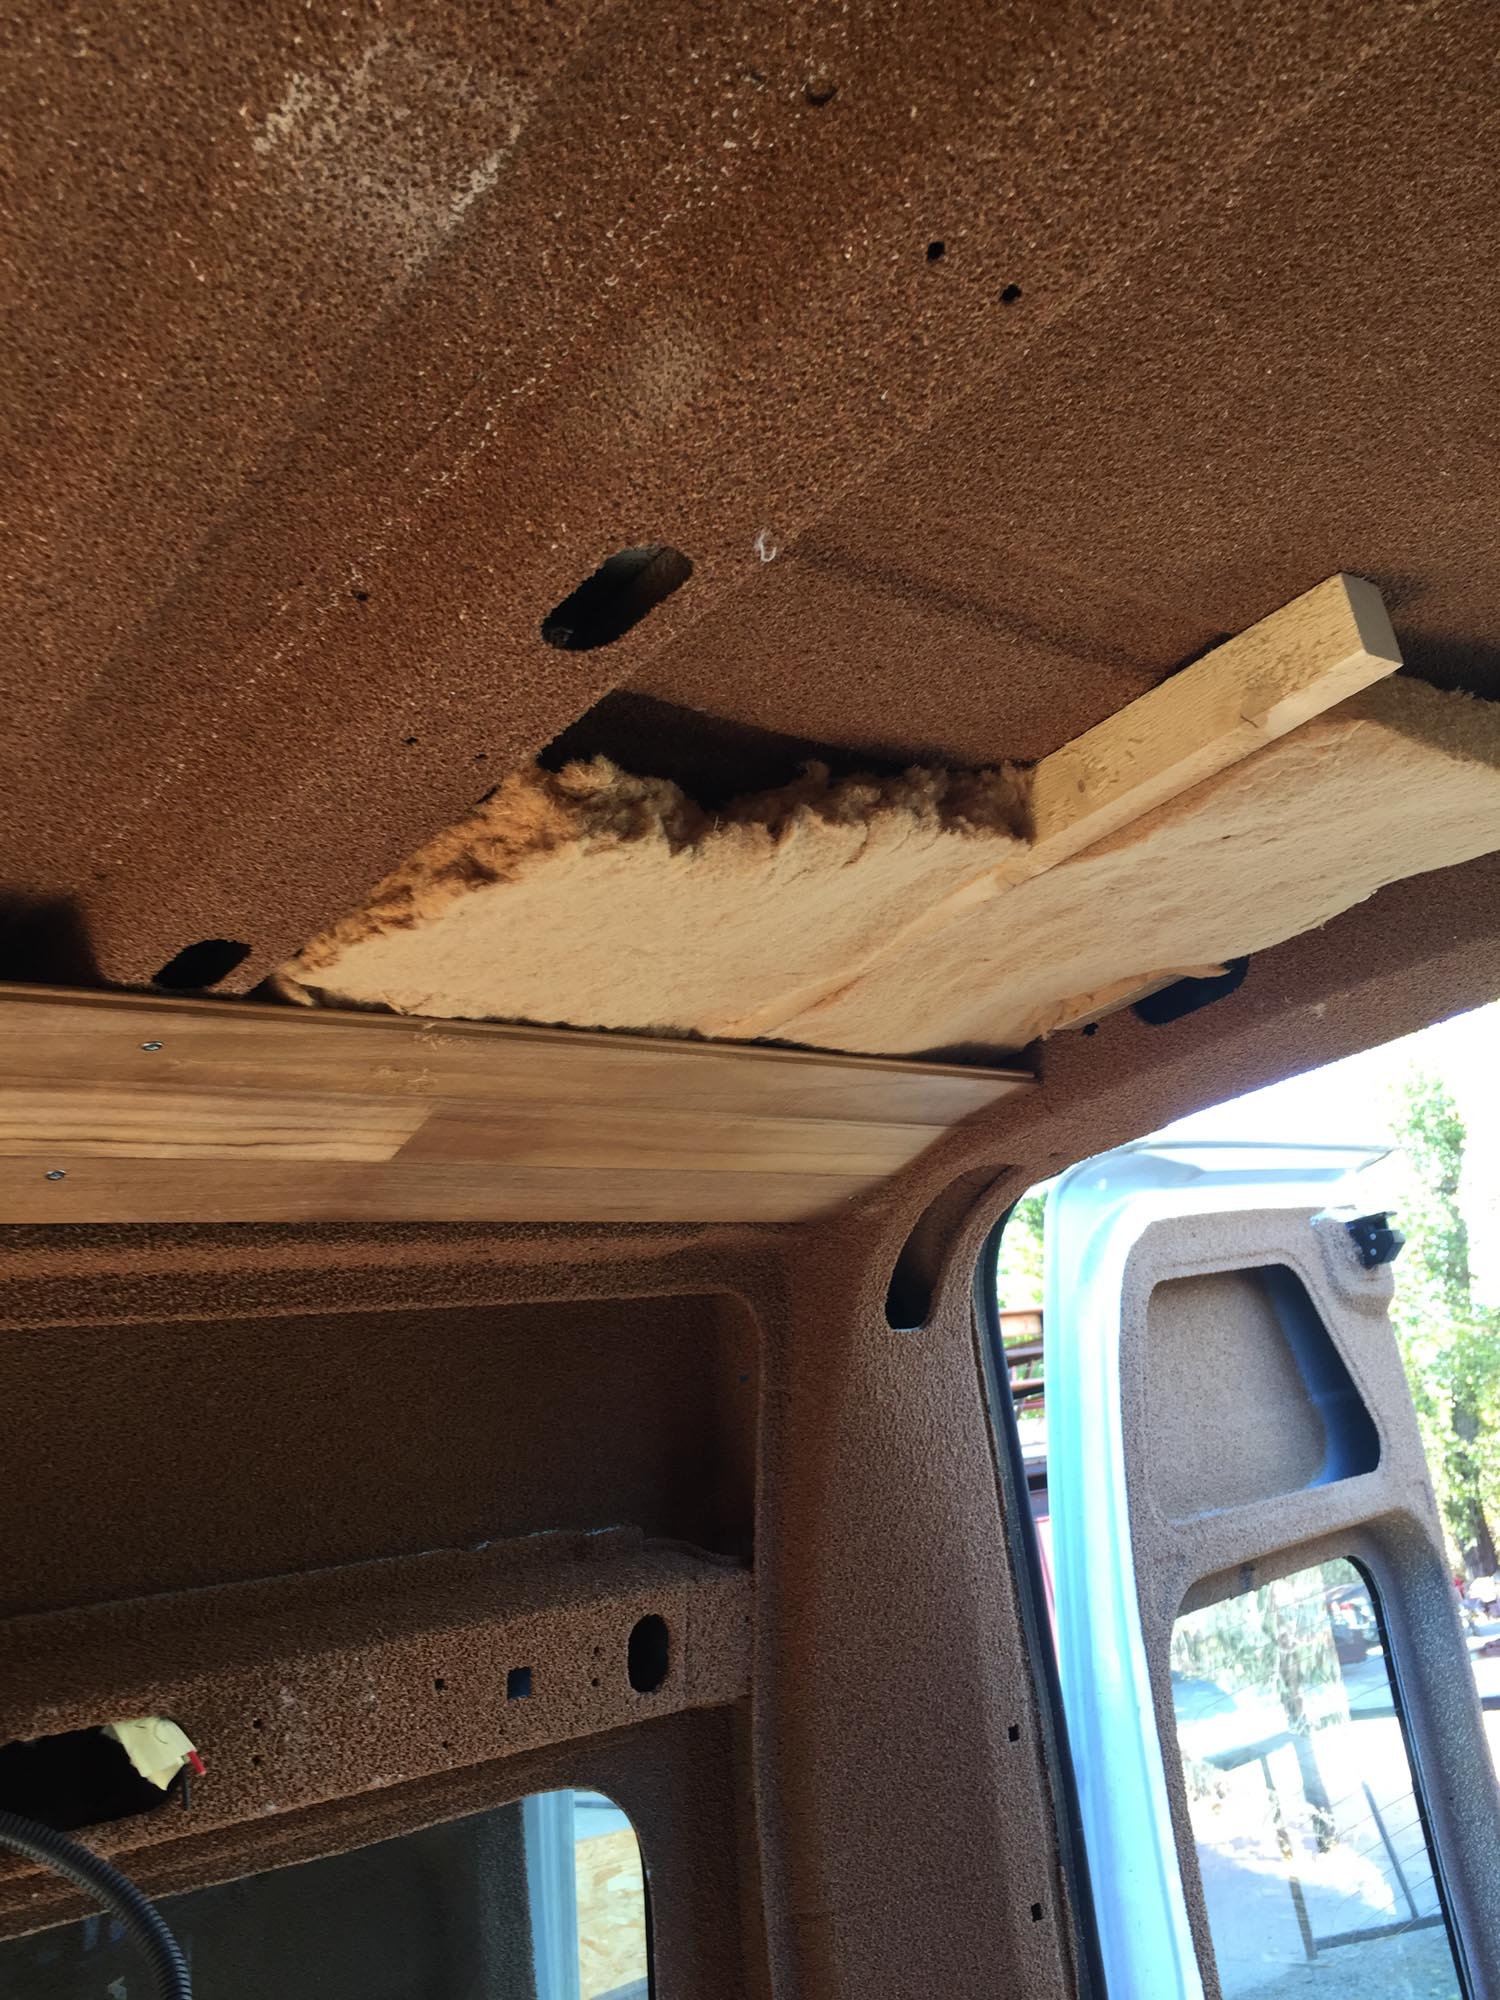
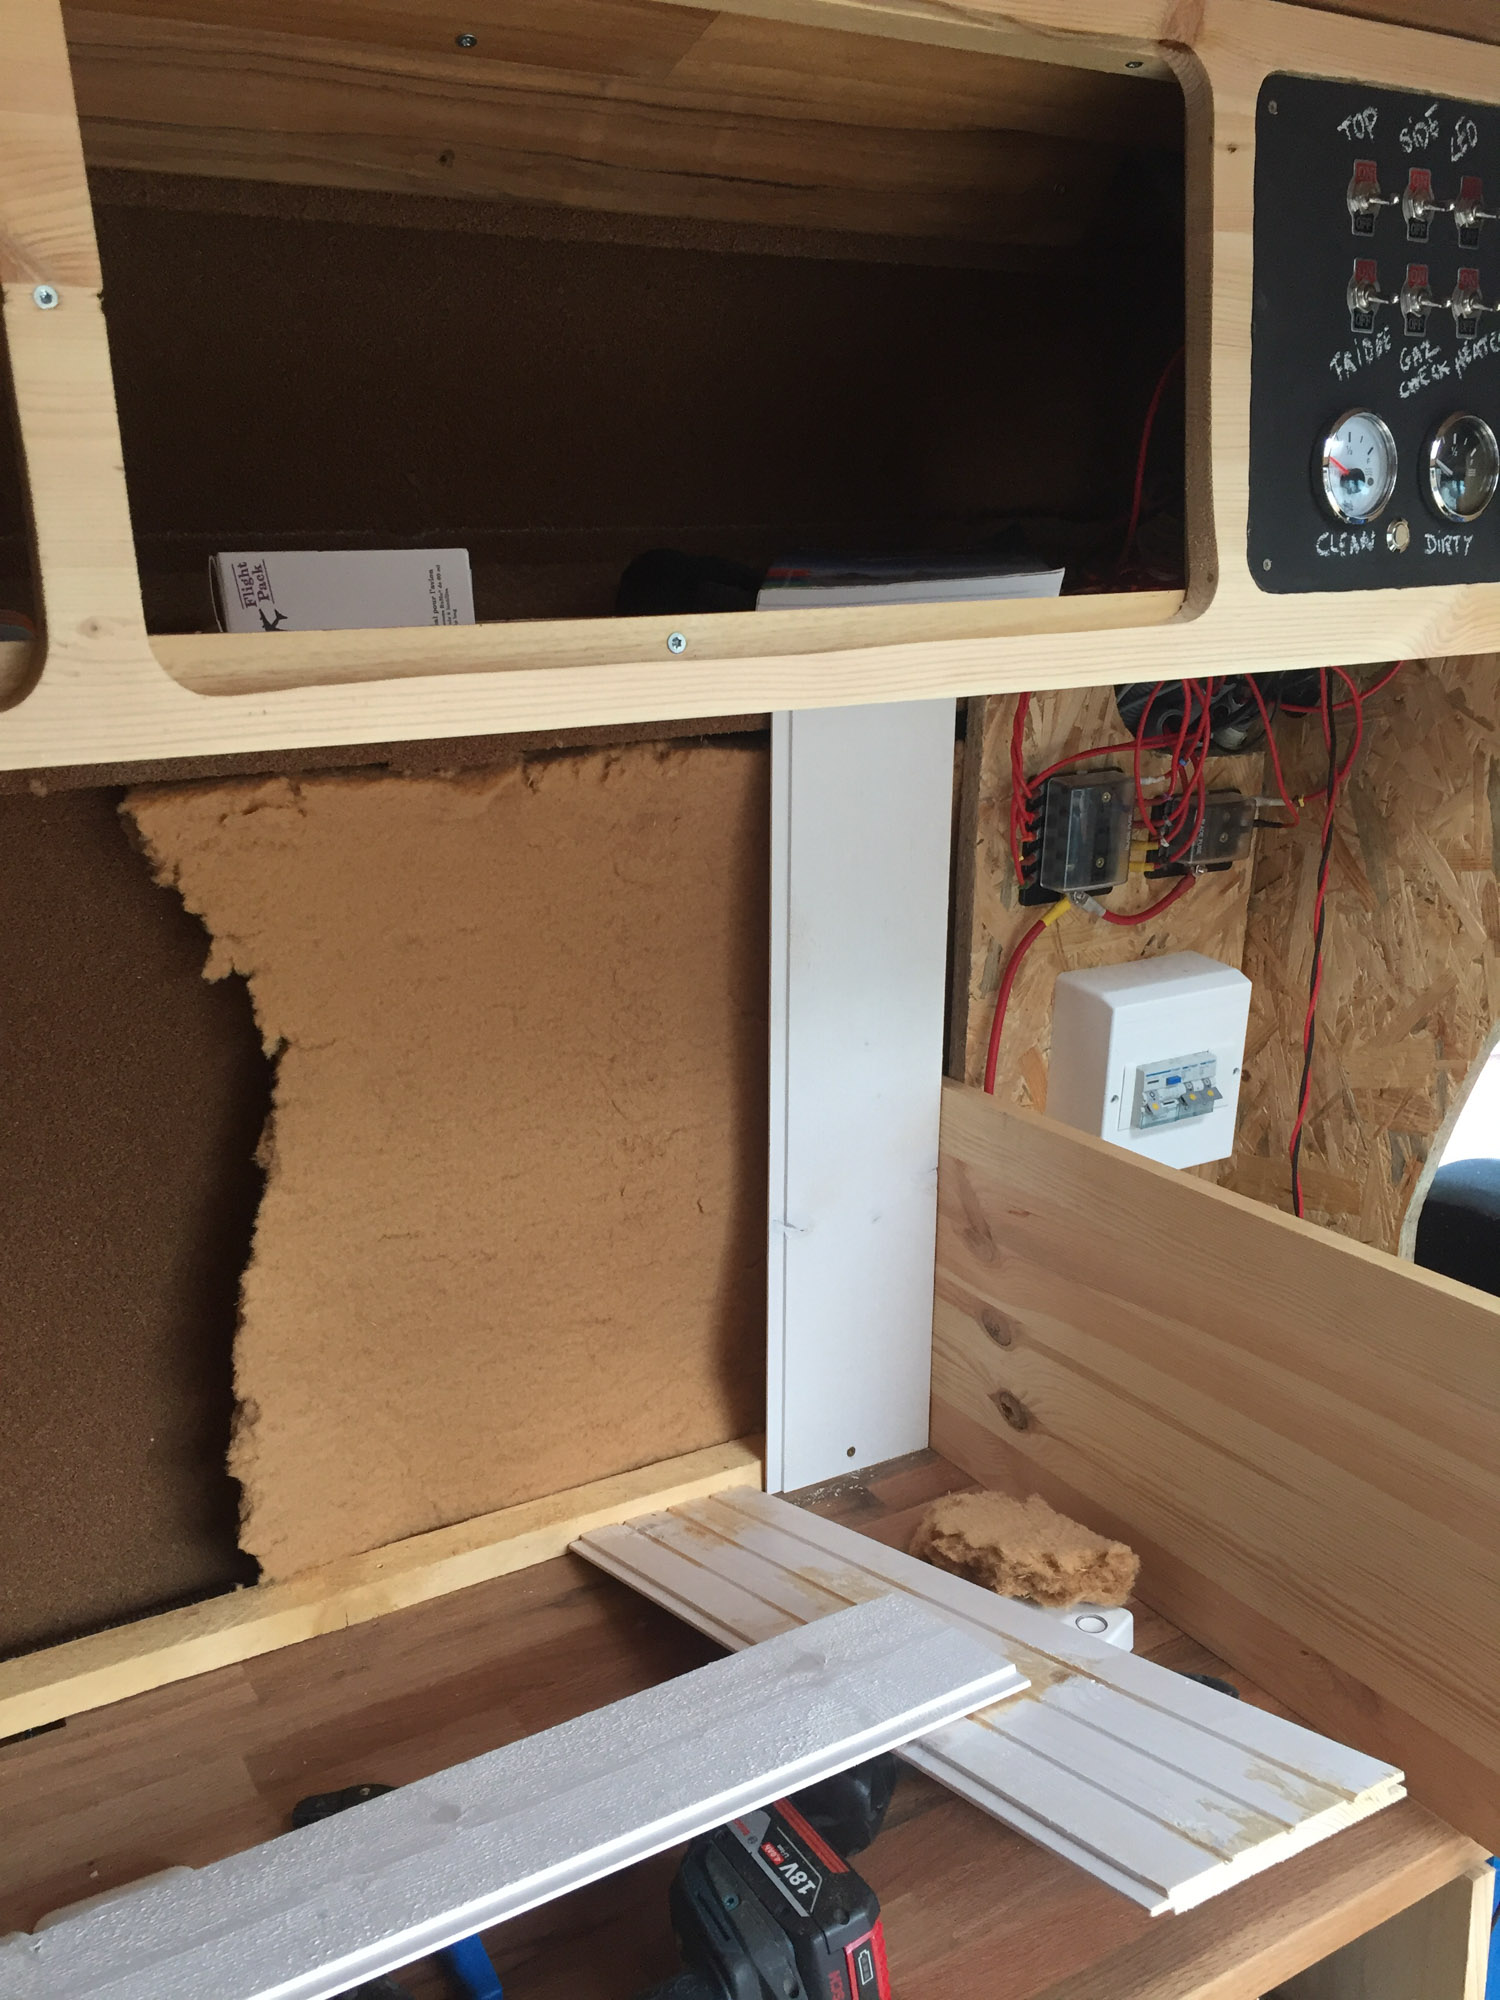
Last thing but actually the first thing to do in your van : isolation. The only good isolation would be a complete hermetic box inside the van. with no windows, etc.. As I already planned to get 4 windows, my game was to find a good compromise between isolation and not loosing too much spaces for that. By using the structure of the van to fix my inside layout, I decided to put some projected cork everywhere inside the van. This cork is used for the boats mainly and it’s coming to the van world. But as it’s quite expansive, it’s not often you see a van full isolated with cork. But in my opinion, it’s really amazing and it’s a must have. The cork will never be sufficient to isolate the van but it reduce the feeling of cold or warm, has an acoustic effect, and more important : delete the thermal bridges and the condensation.
Bu using the cork, I can save a lot of space as I will just fill the emptiness with wood foam of 4cm. And for the windows, I cut covers in a multilayer isolation panel.
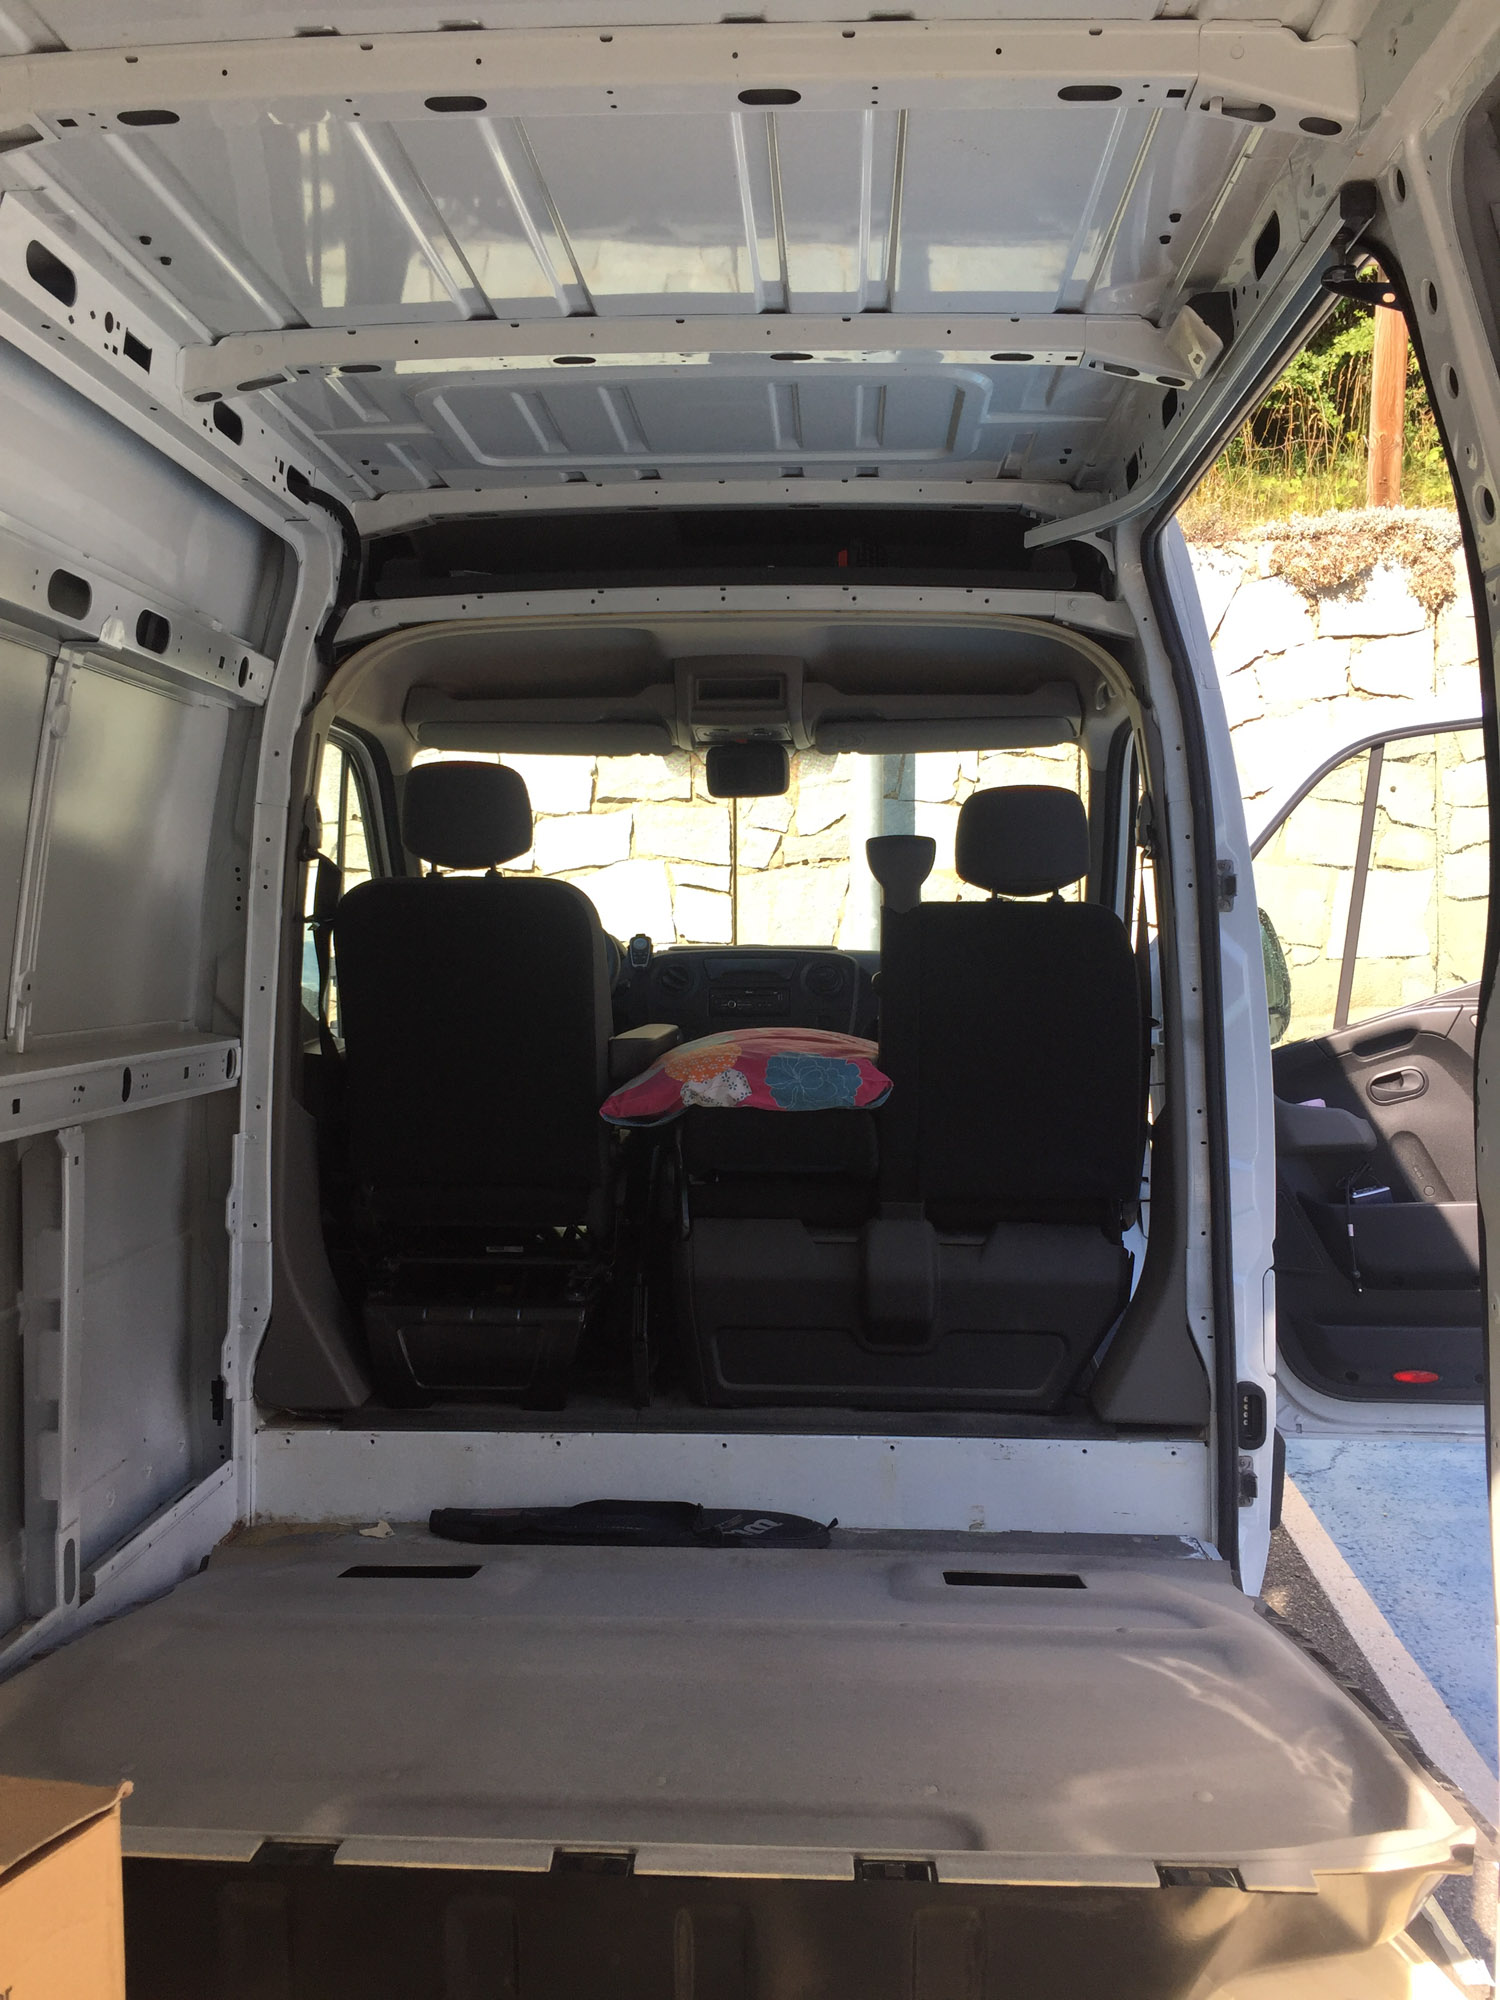
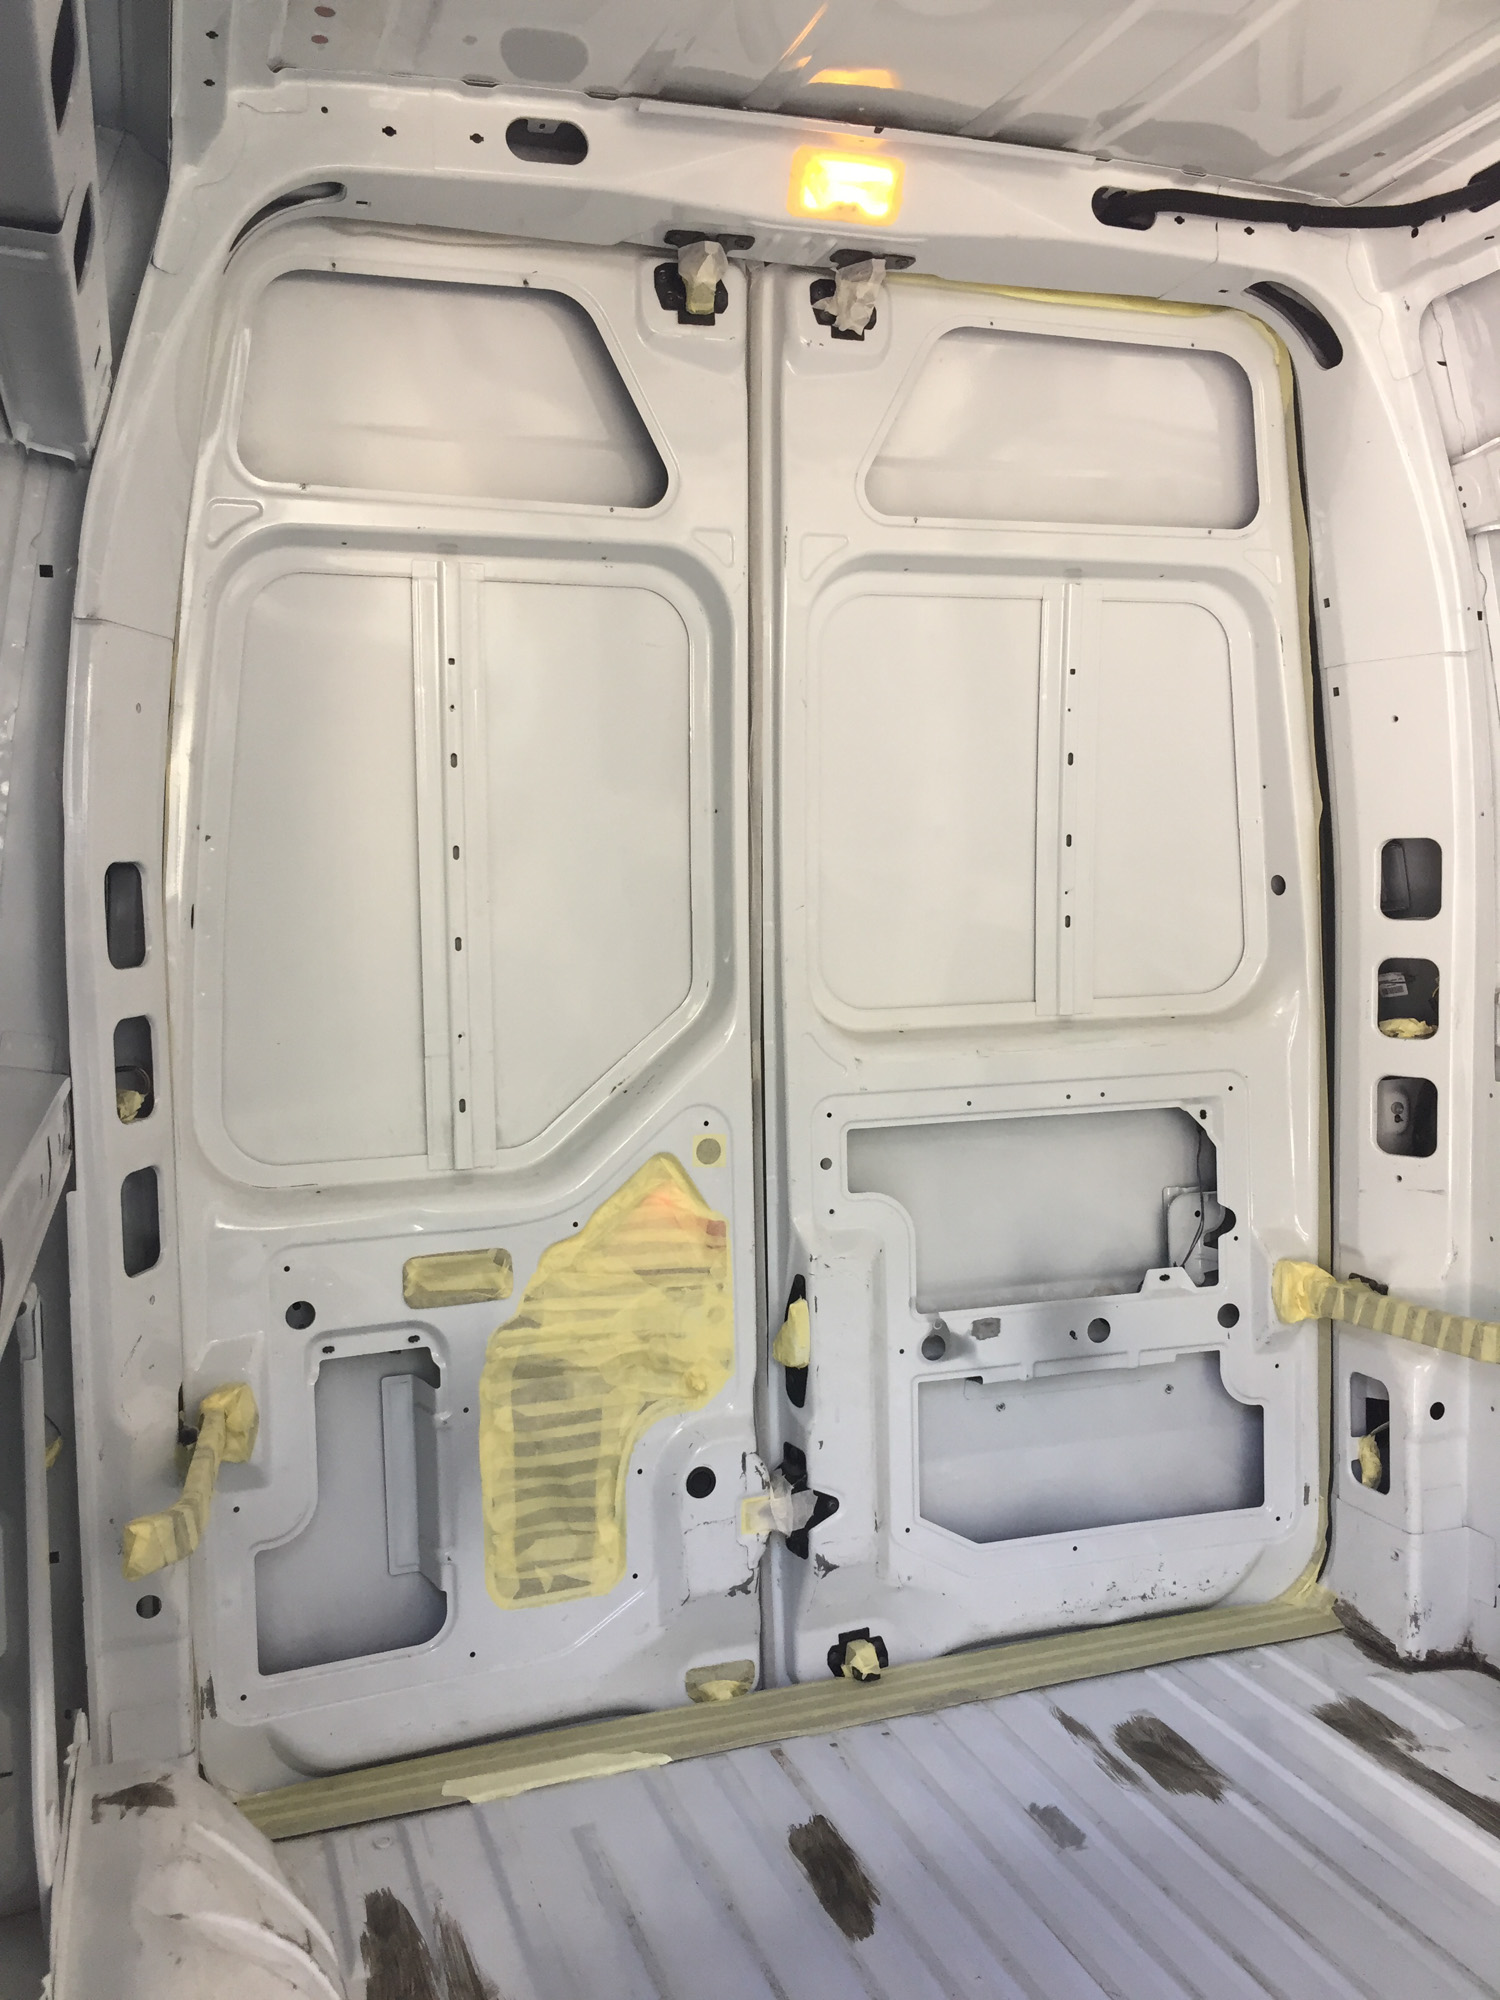
THE FIRST STEPS
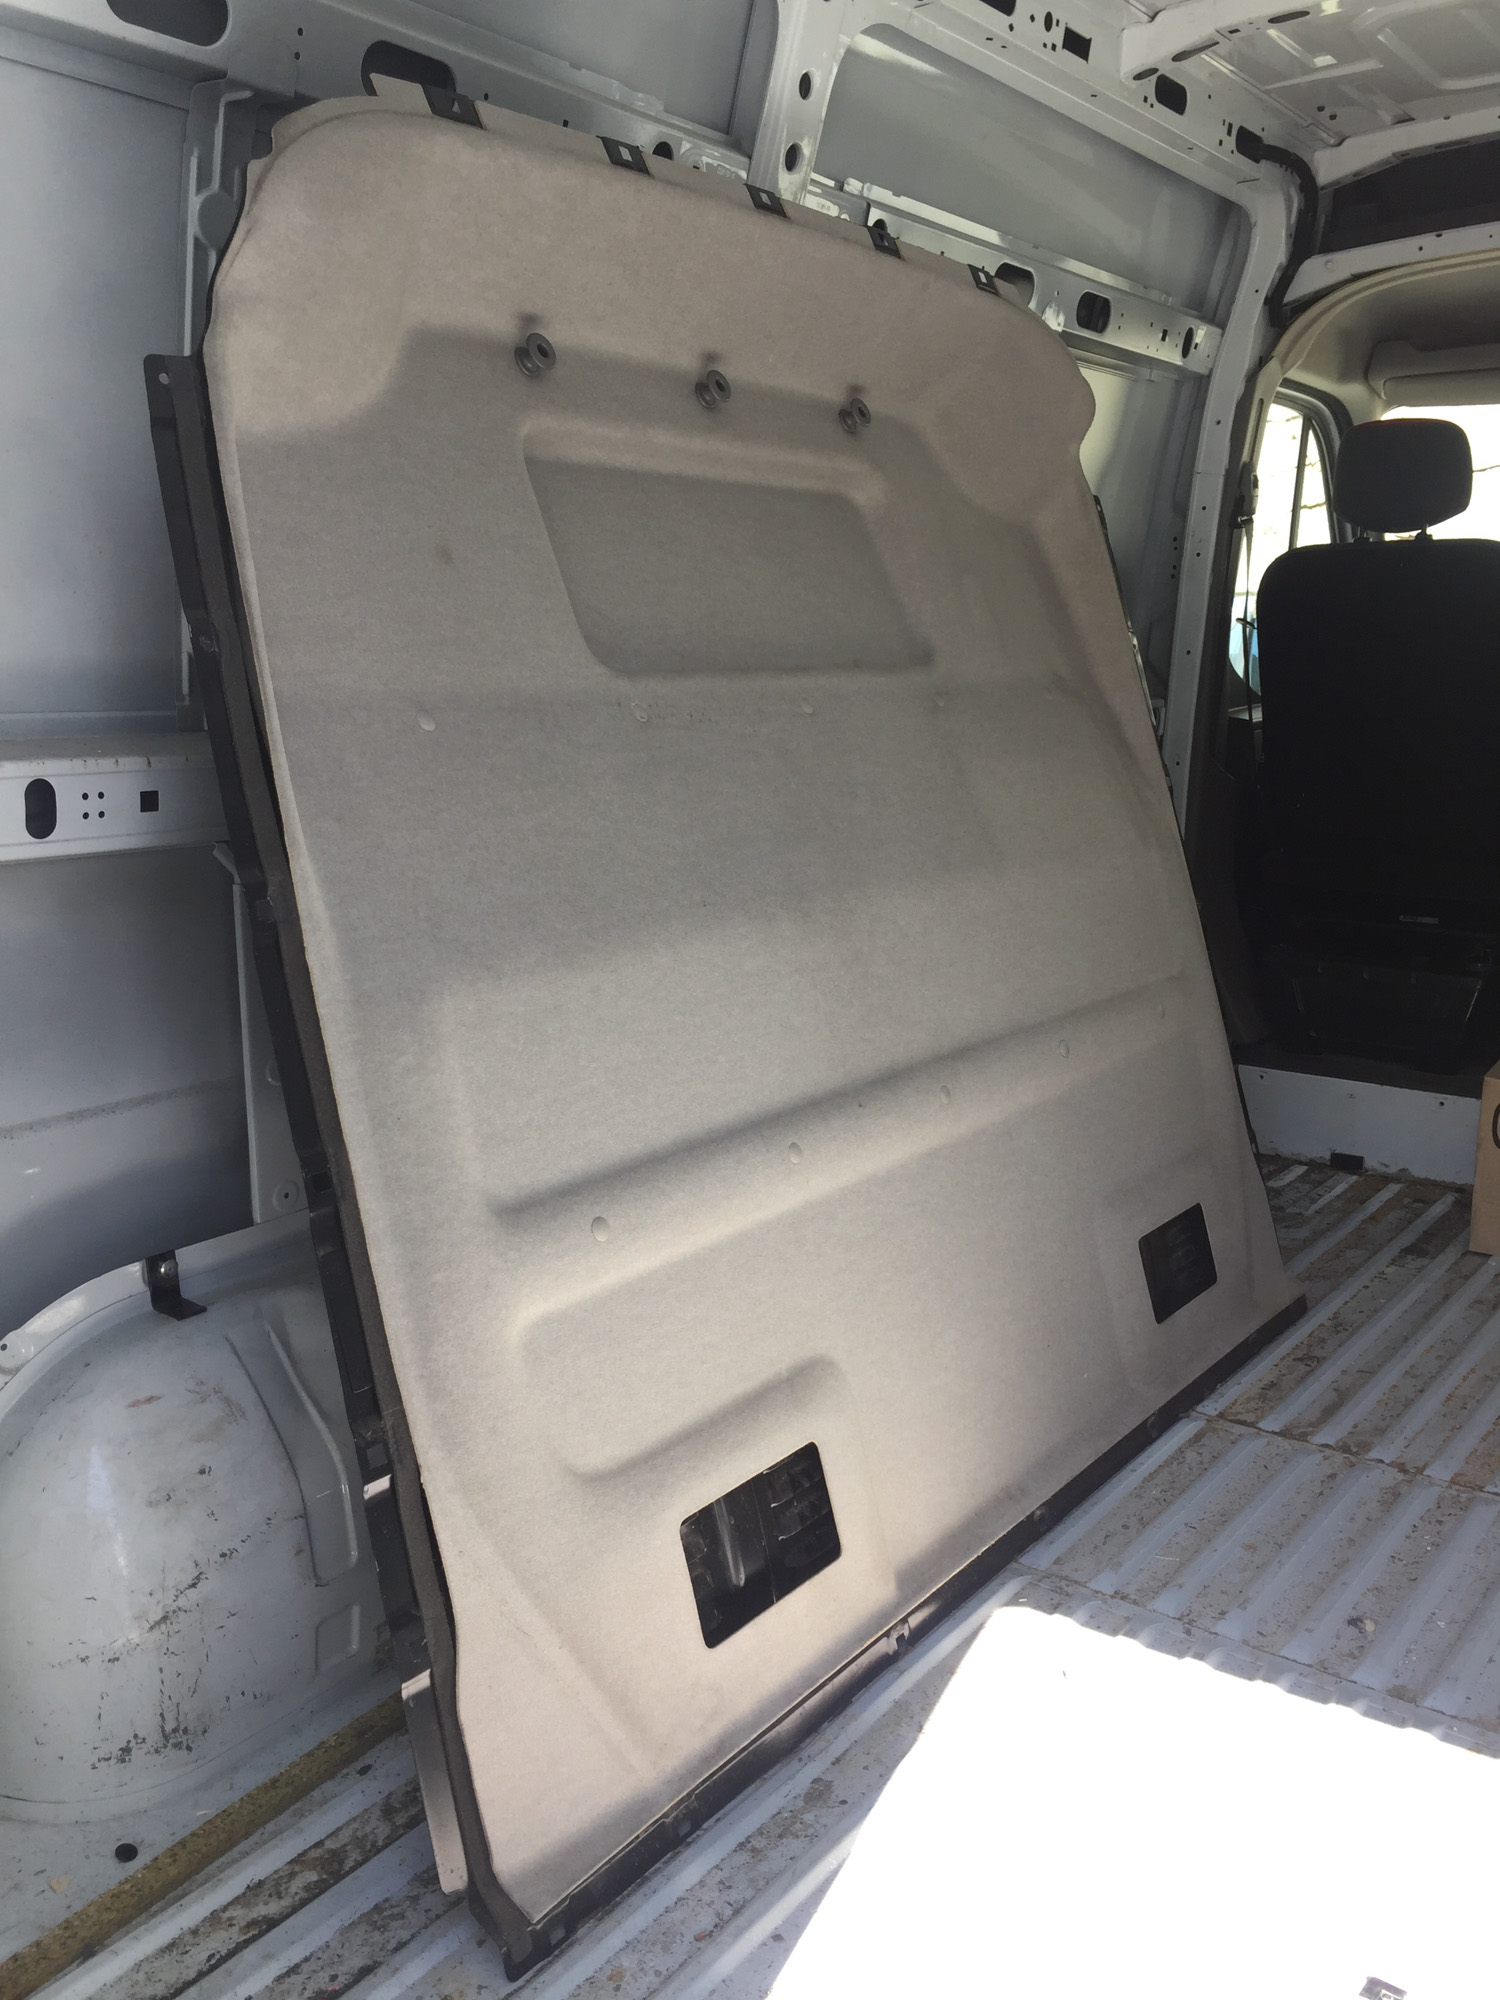
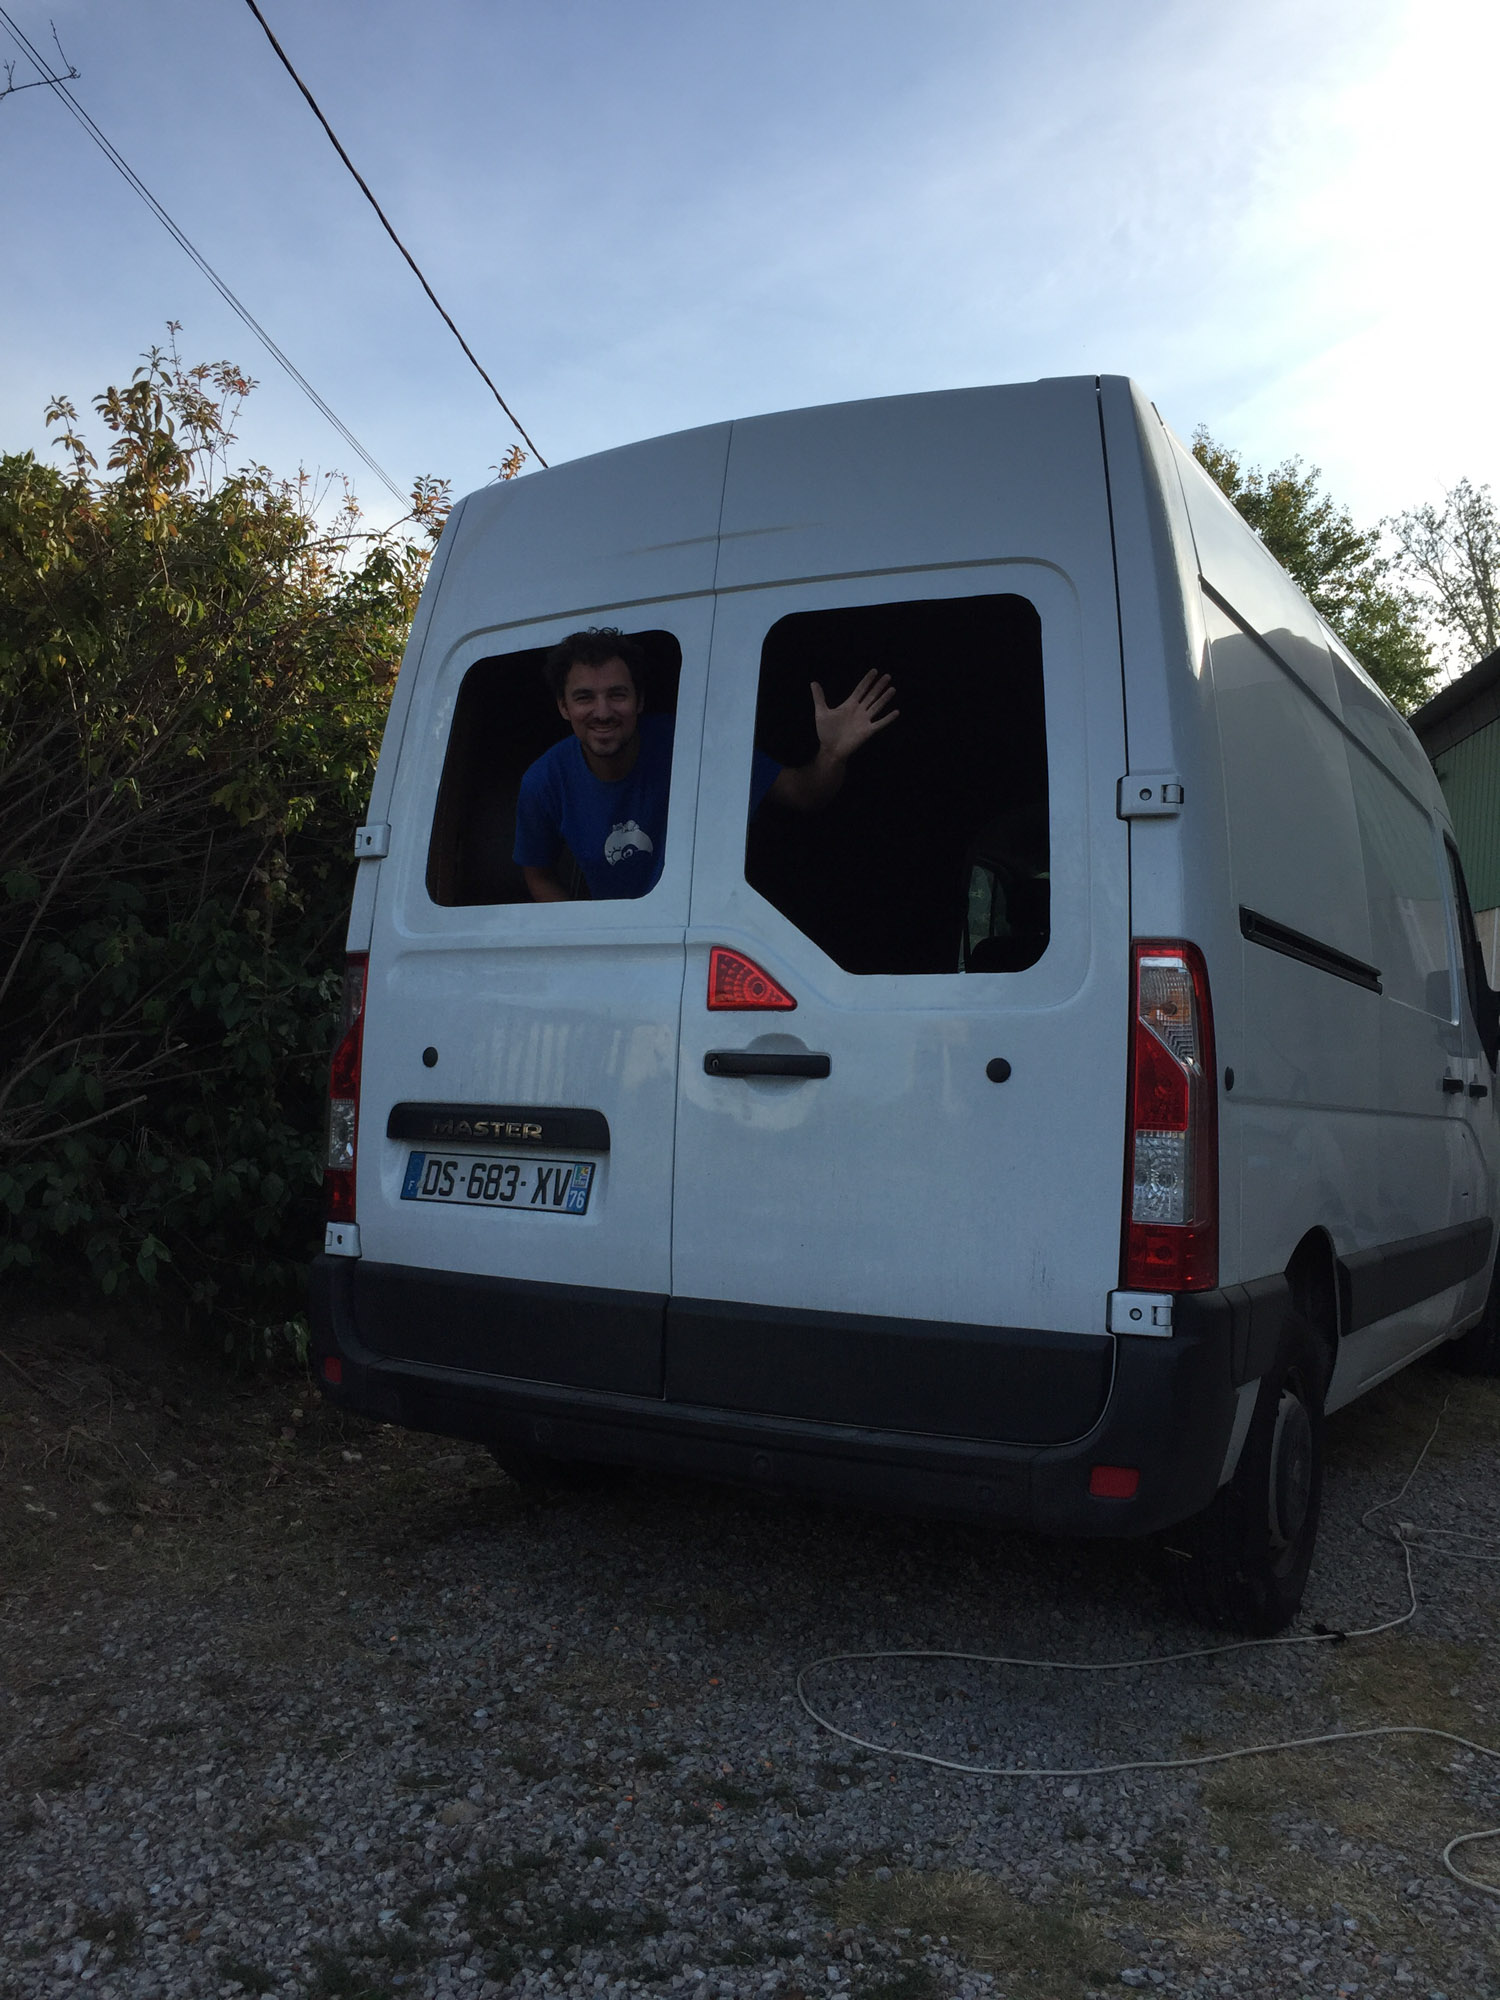
Removing the separation wall to open the space was quite a big moment! It was the start of the build! I had also to fix some rusty part, not really a big problem.
The cork was quite easy to do. You juste need a good gun and a powerful compressor. It comes in big boxes of 12kg, you just have to mix it to get a sort of liquid paste, then fill up the pistols and make circular movement when projecting it. I used 4 boxes to do 2 layers except on the ground (only 1 layer cause not enough cork).
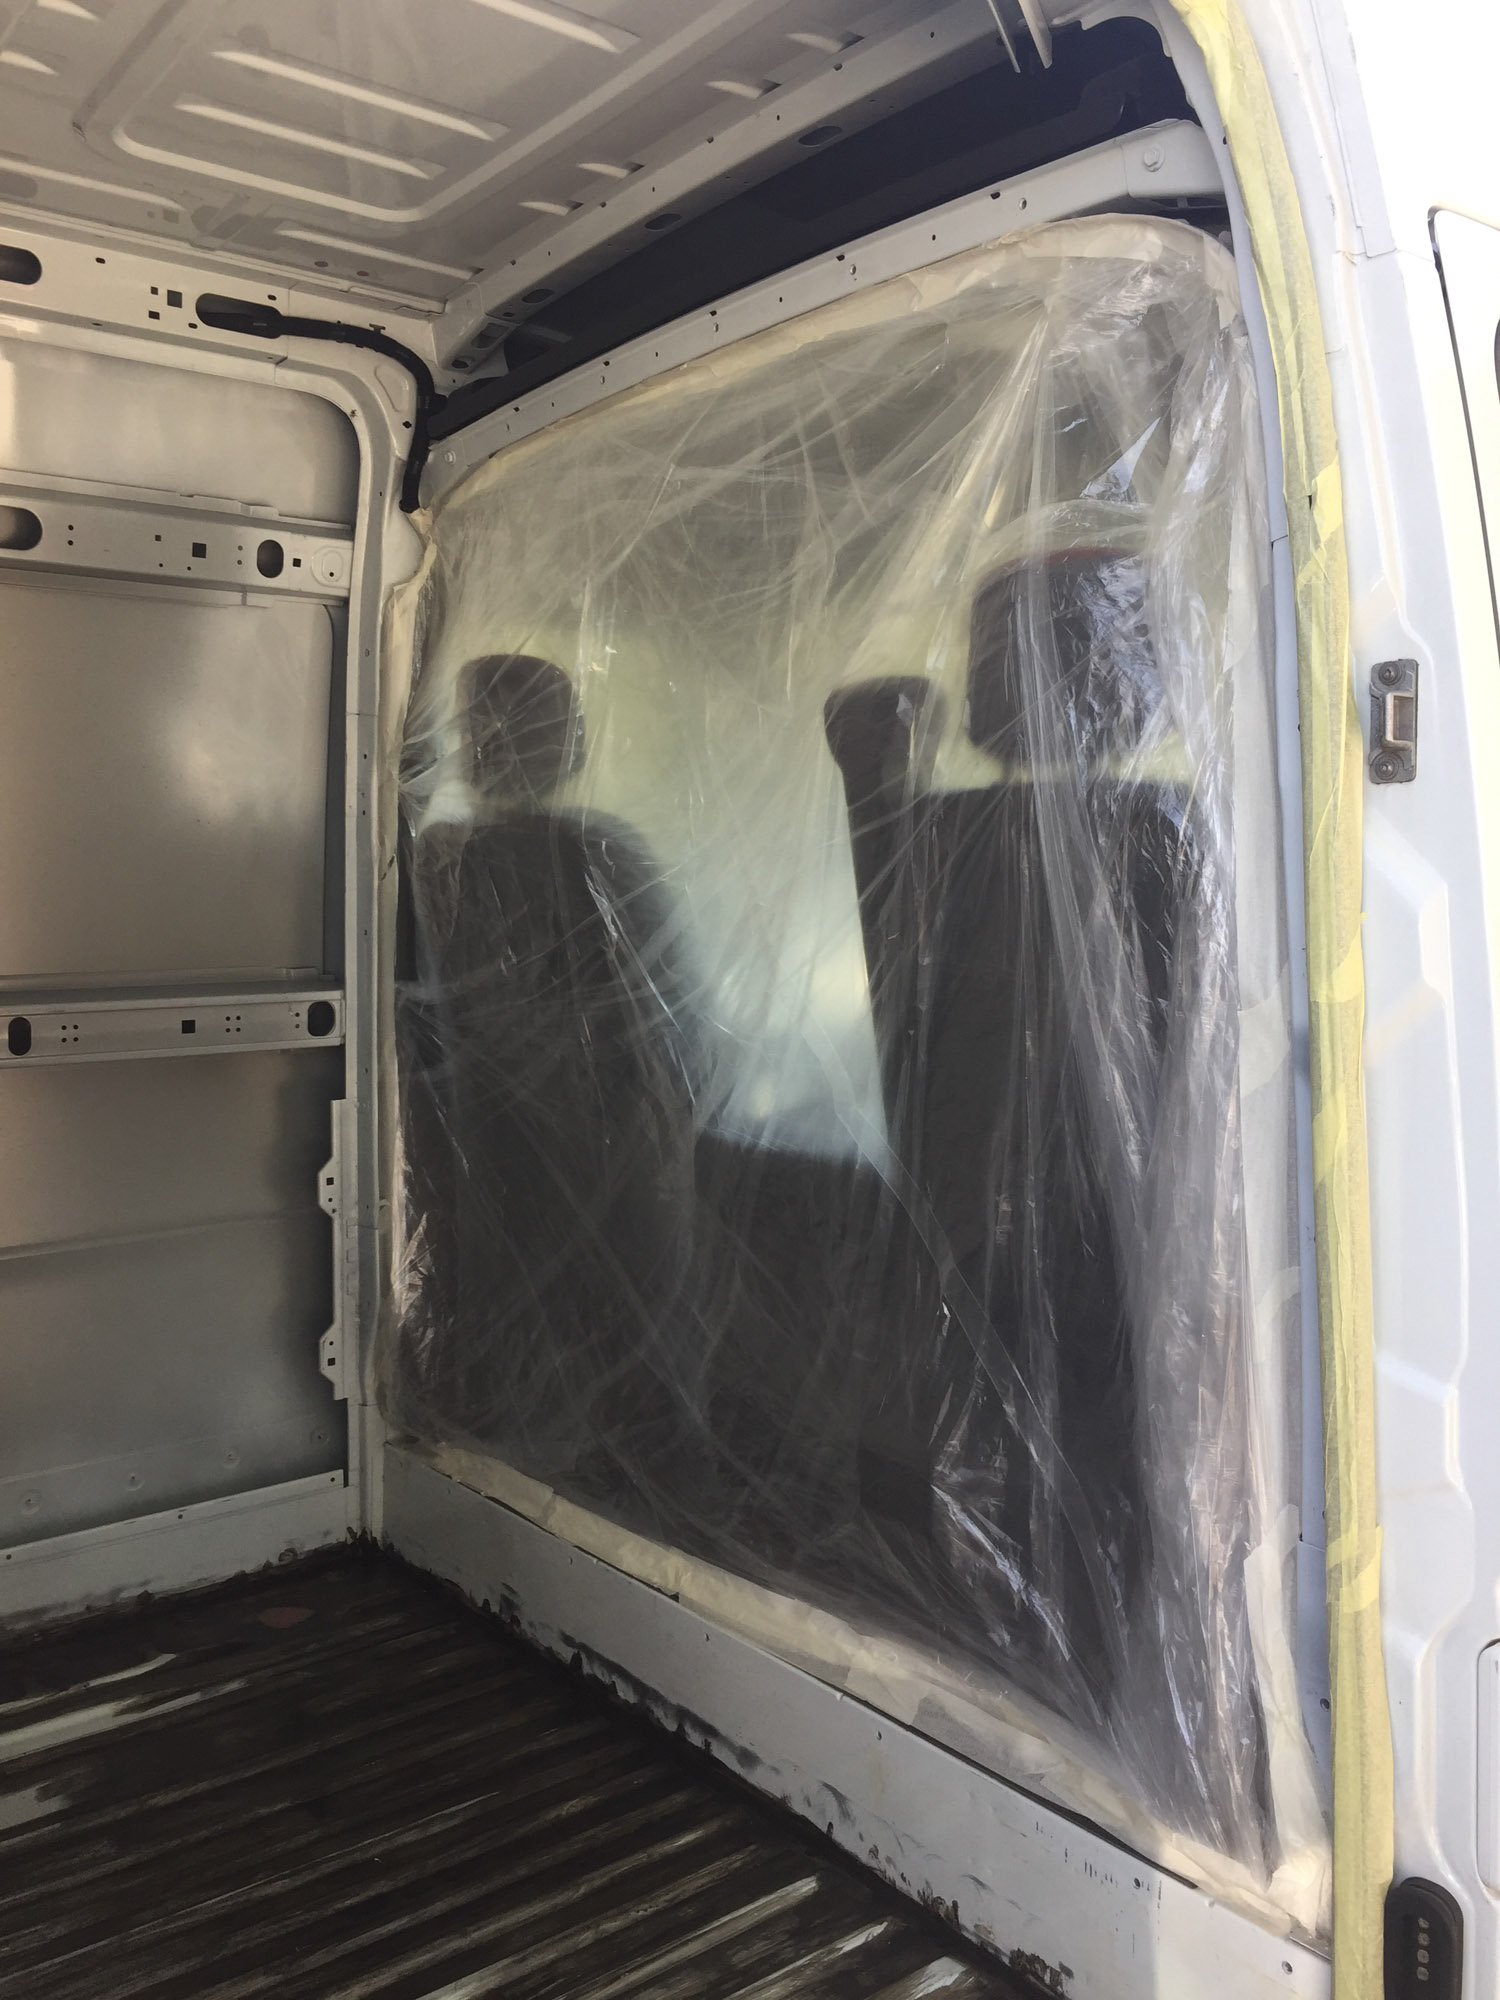
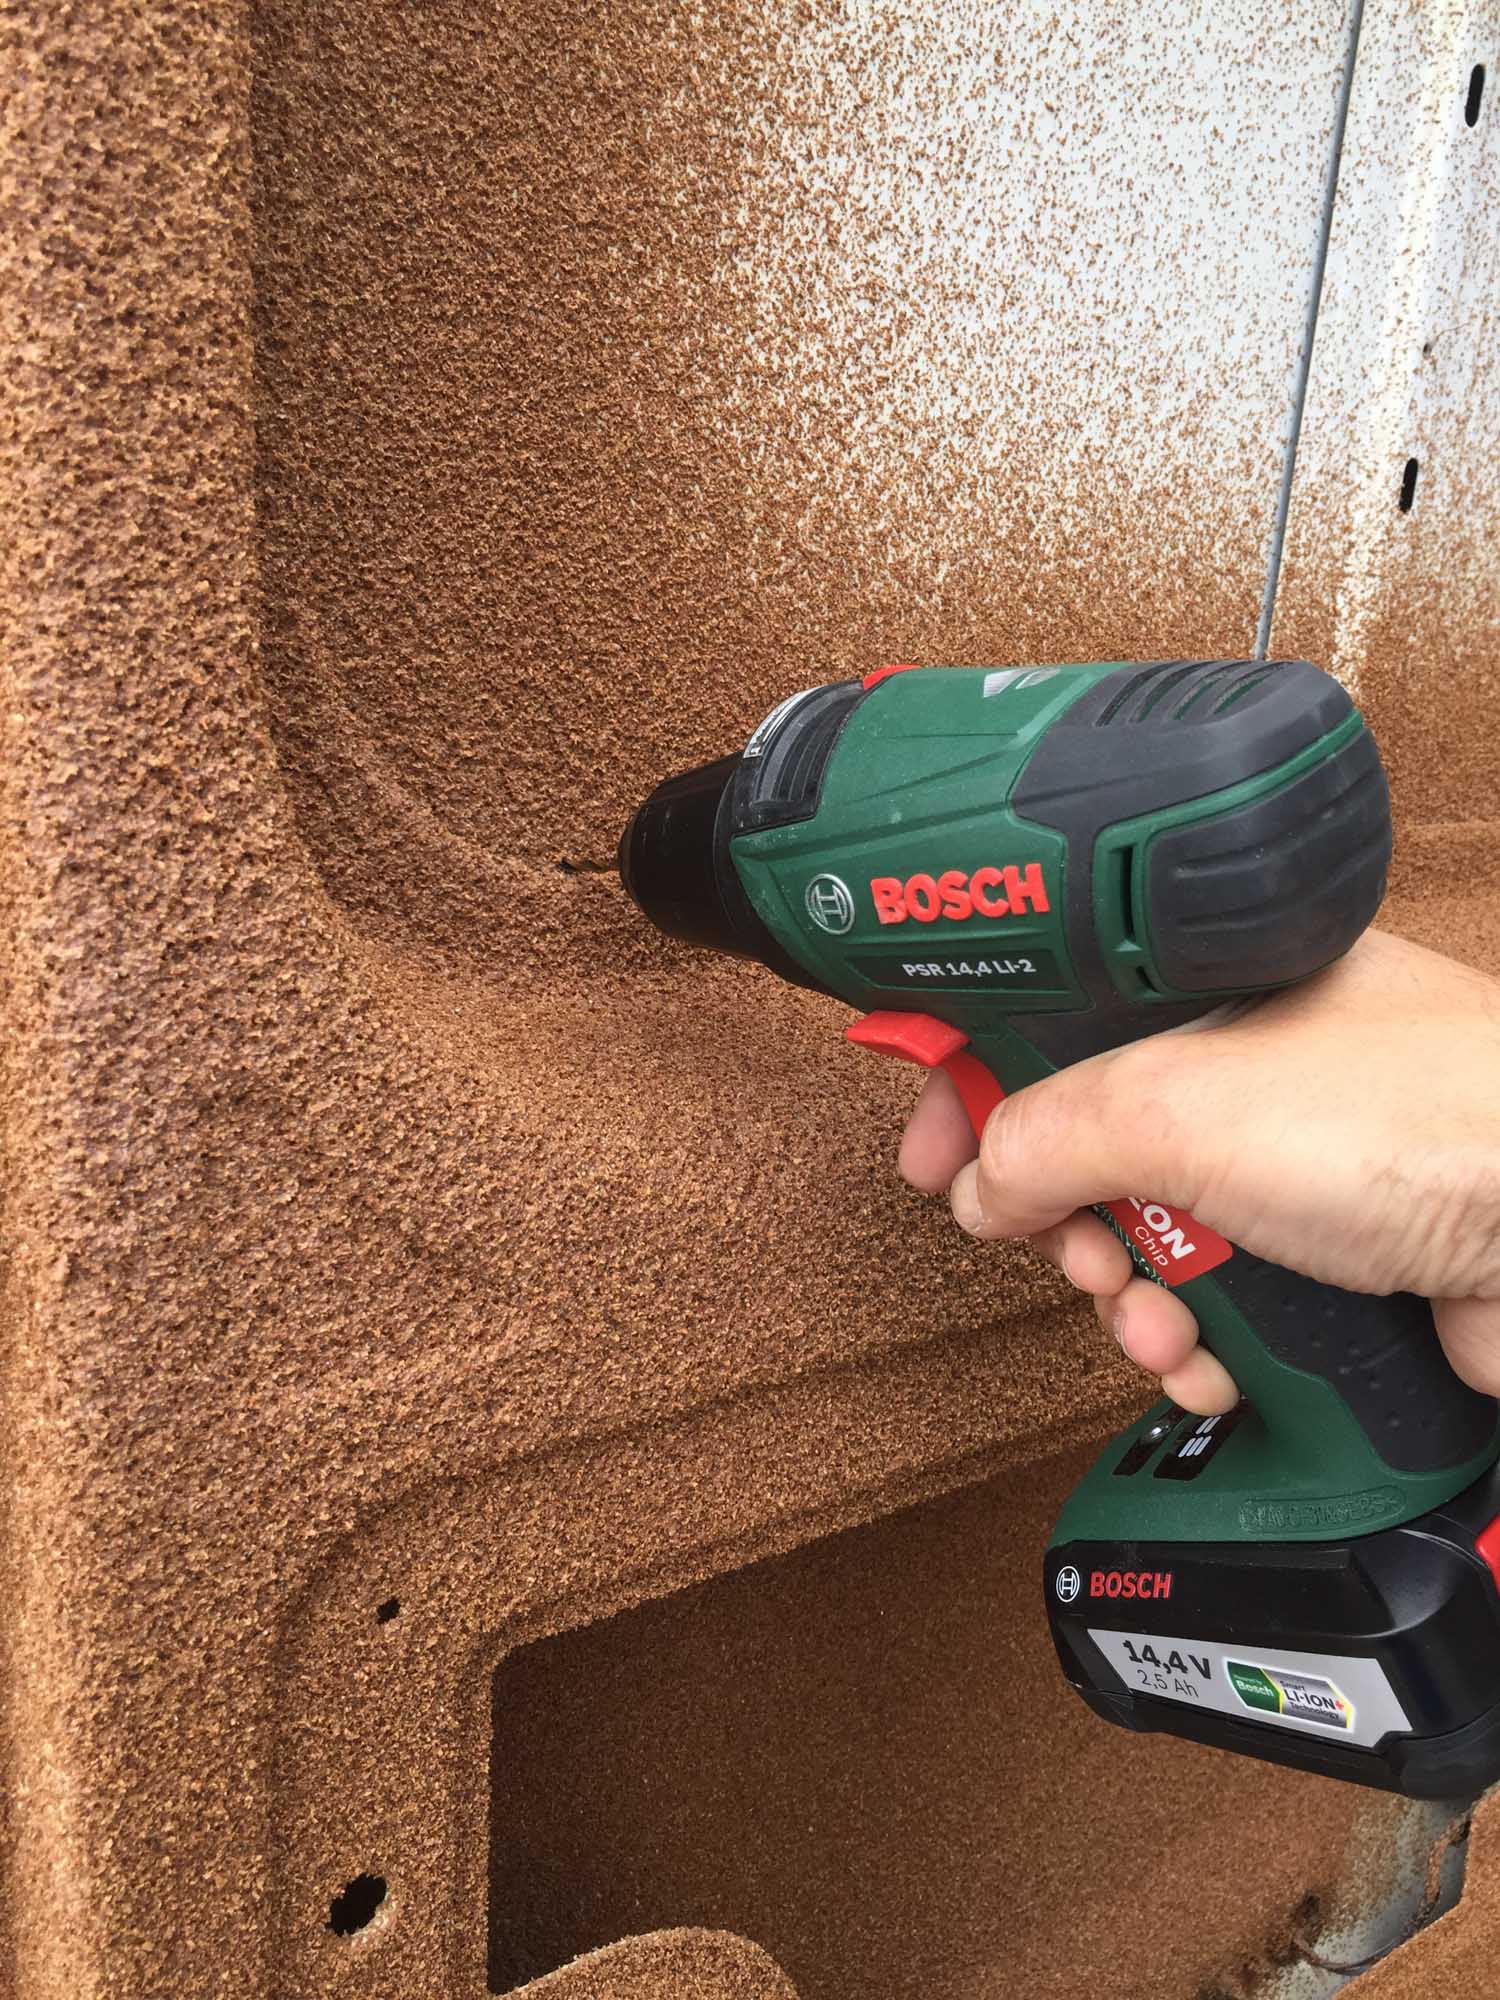
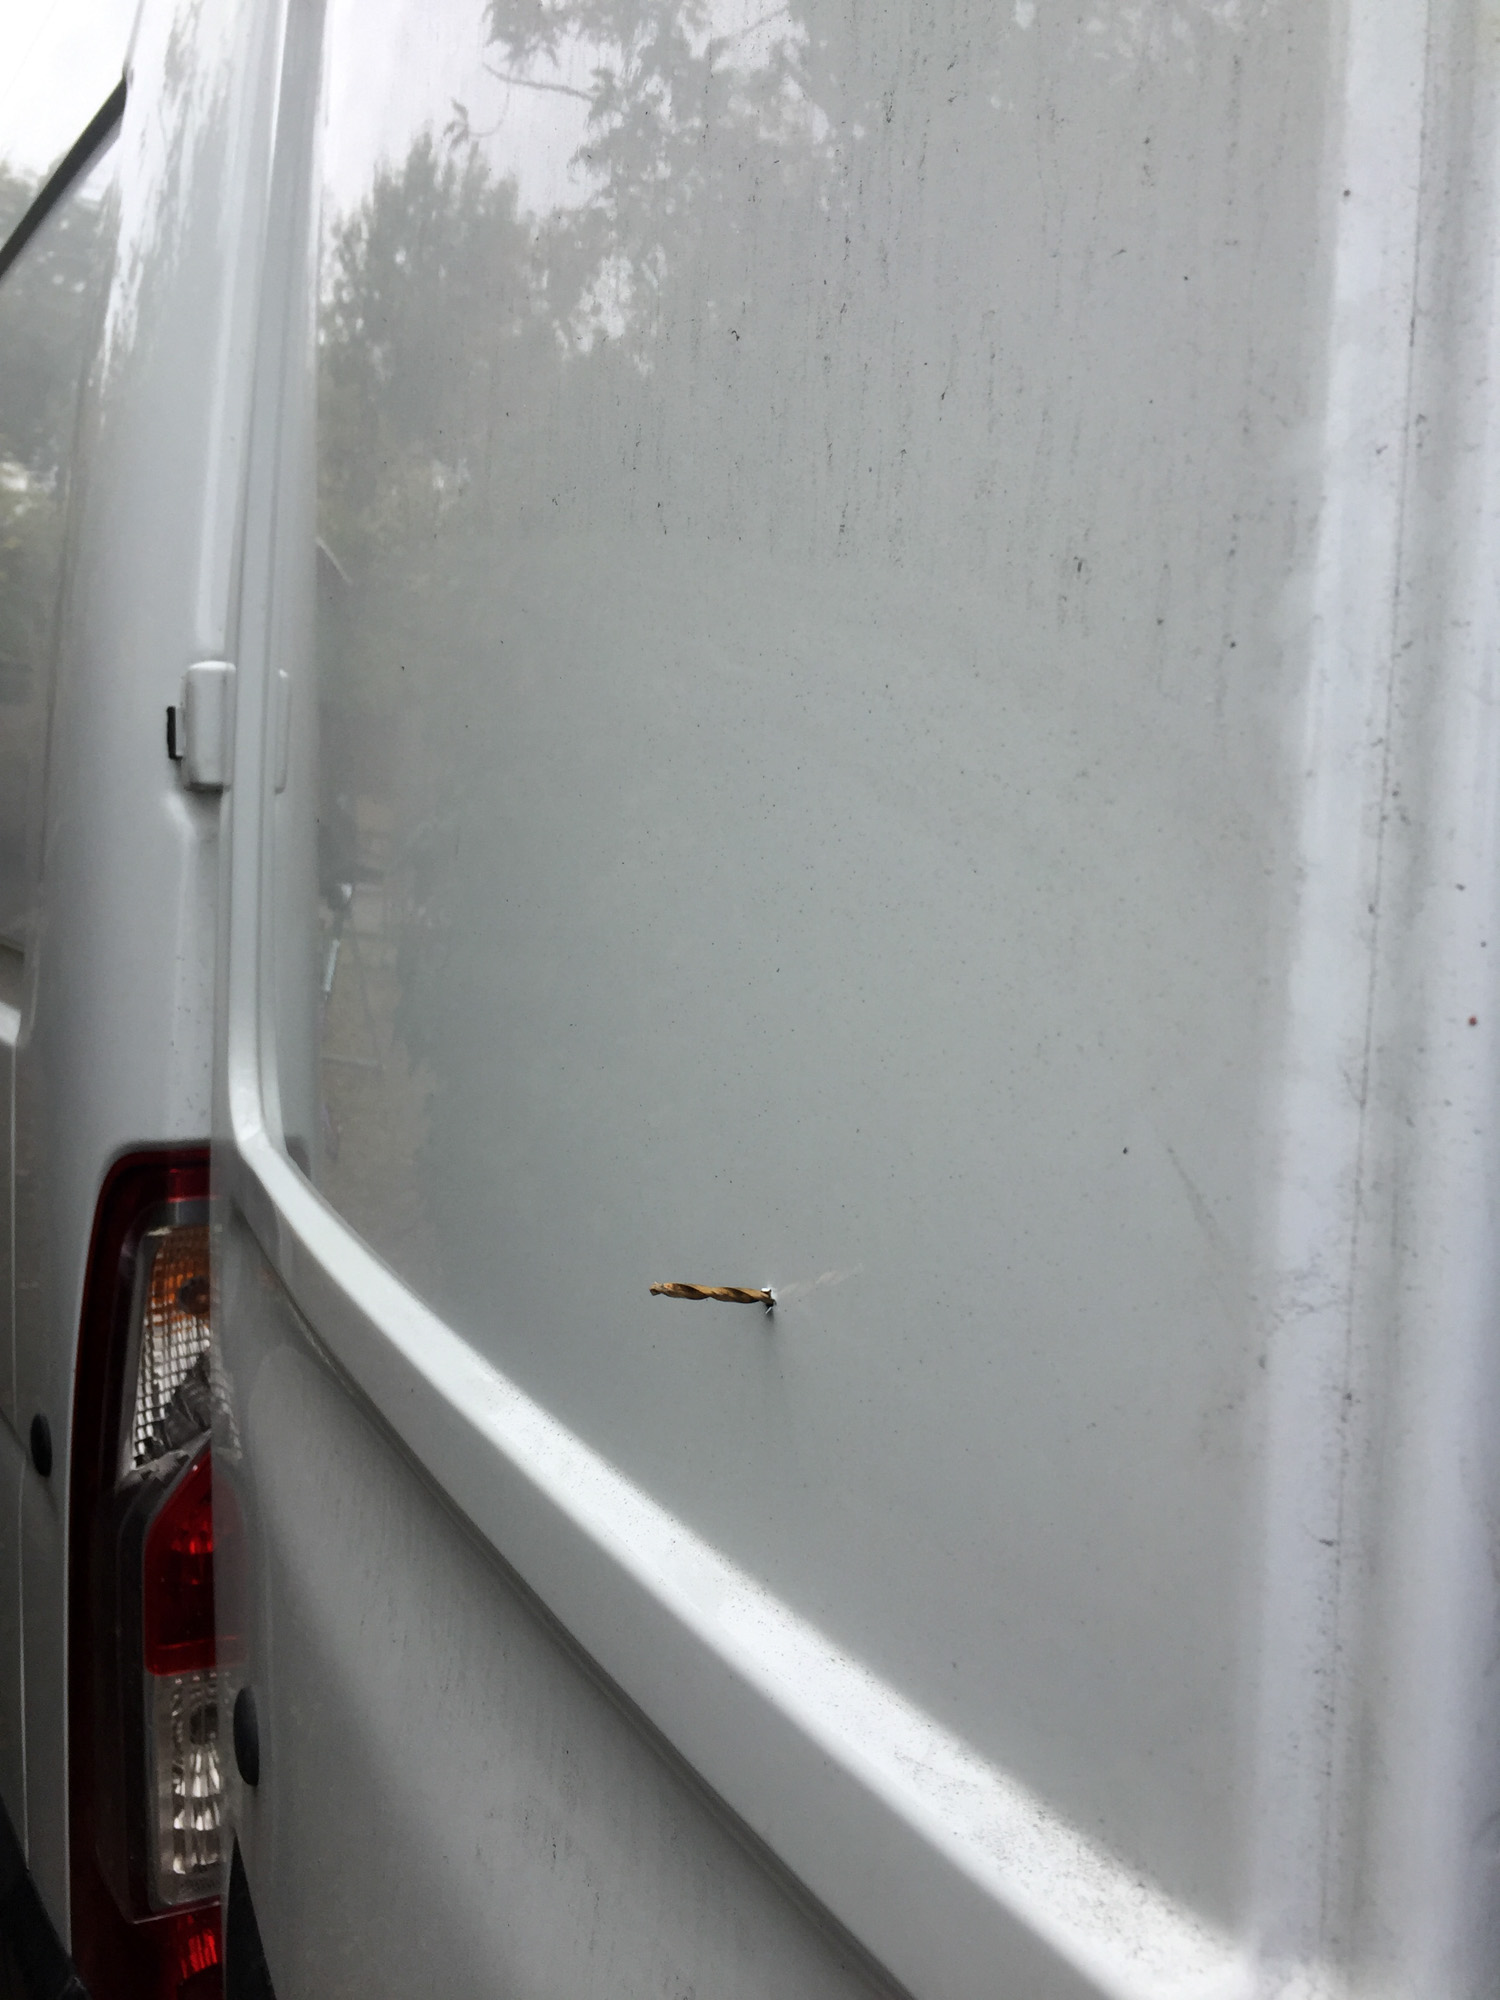
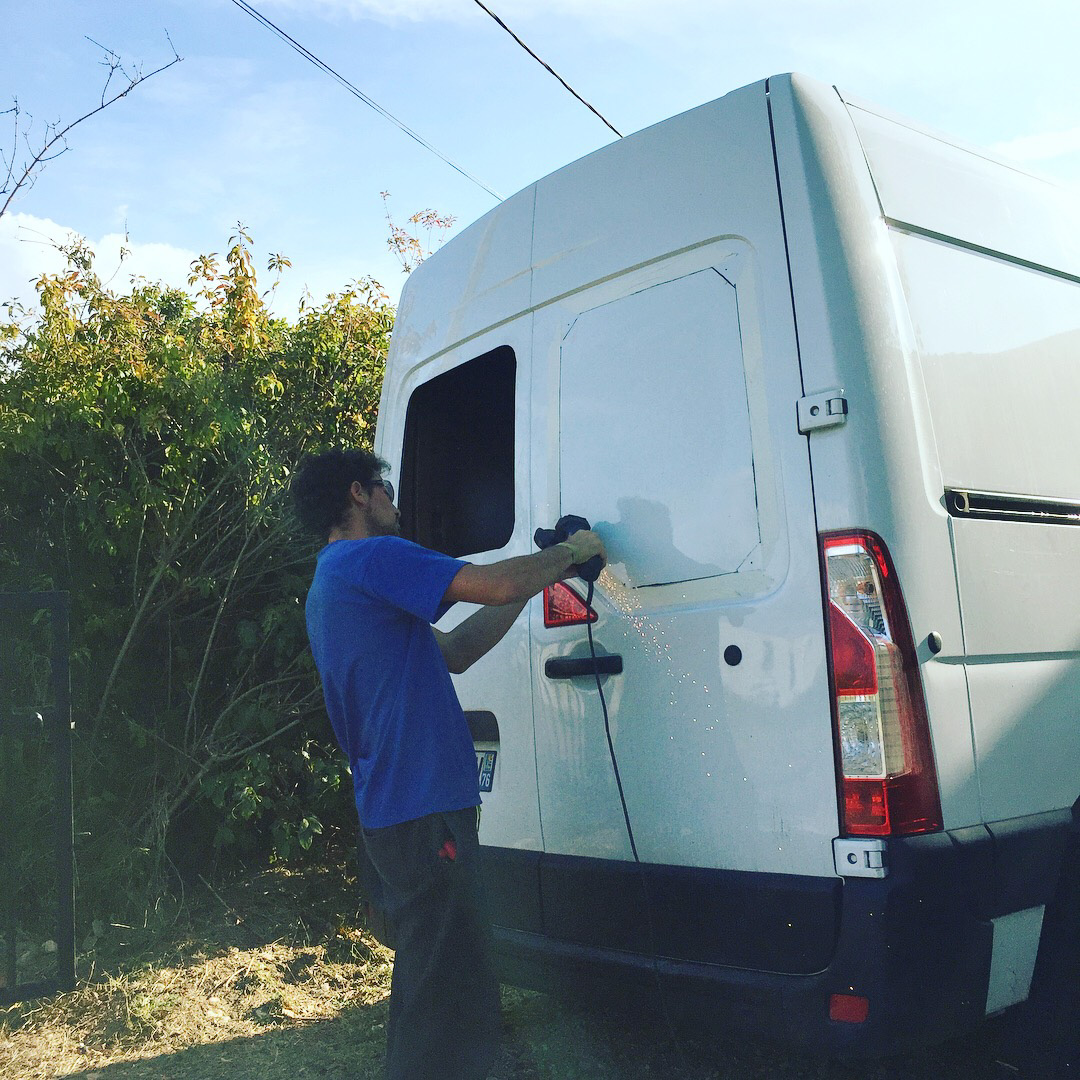
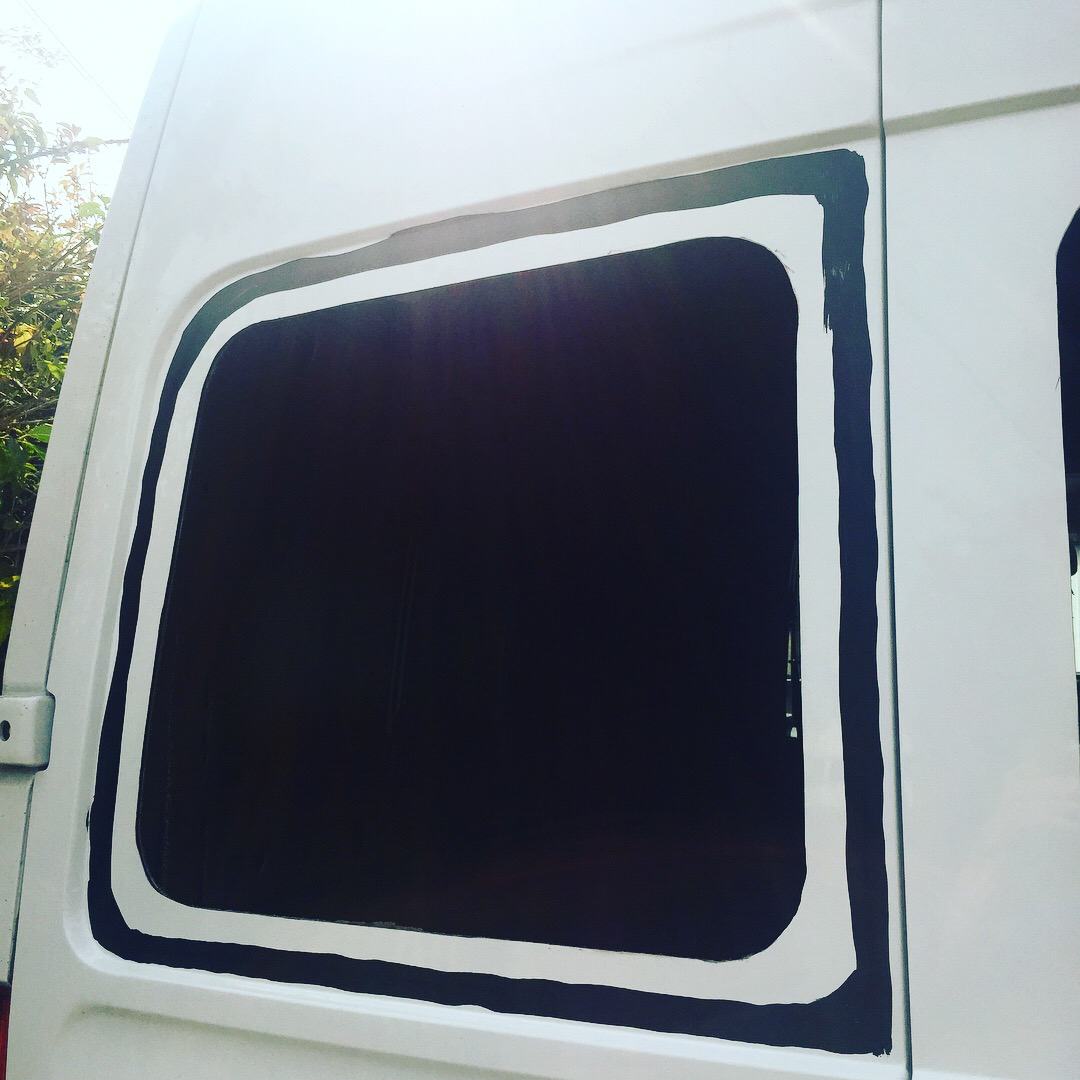
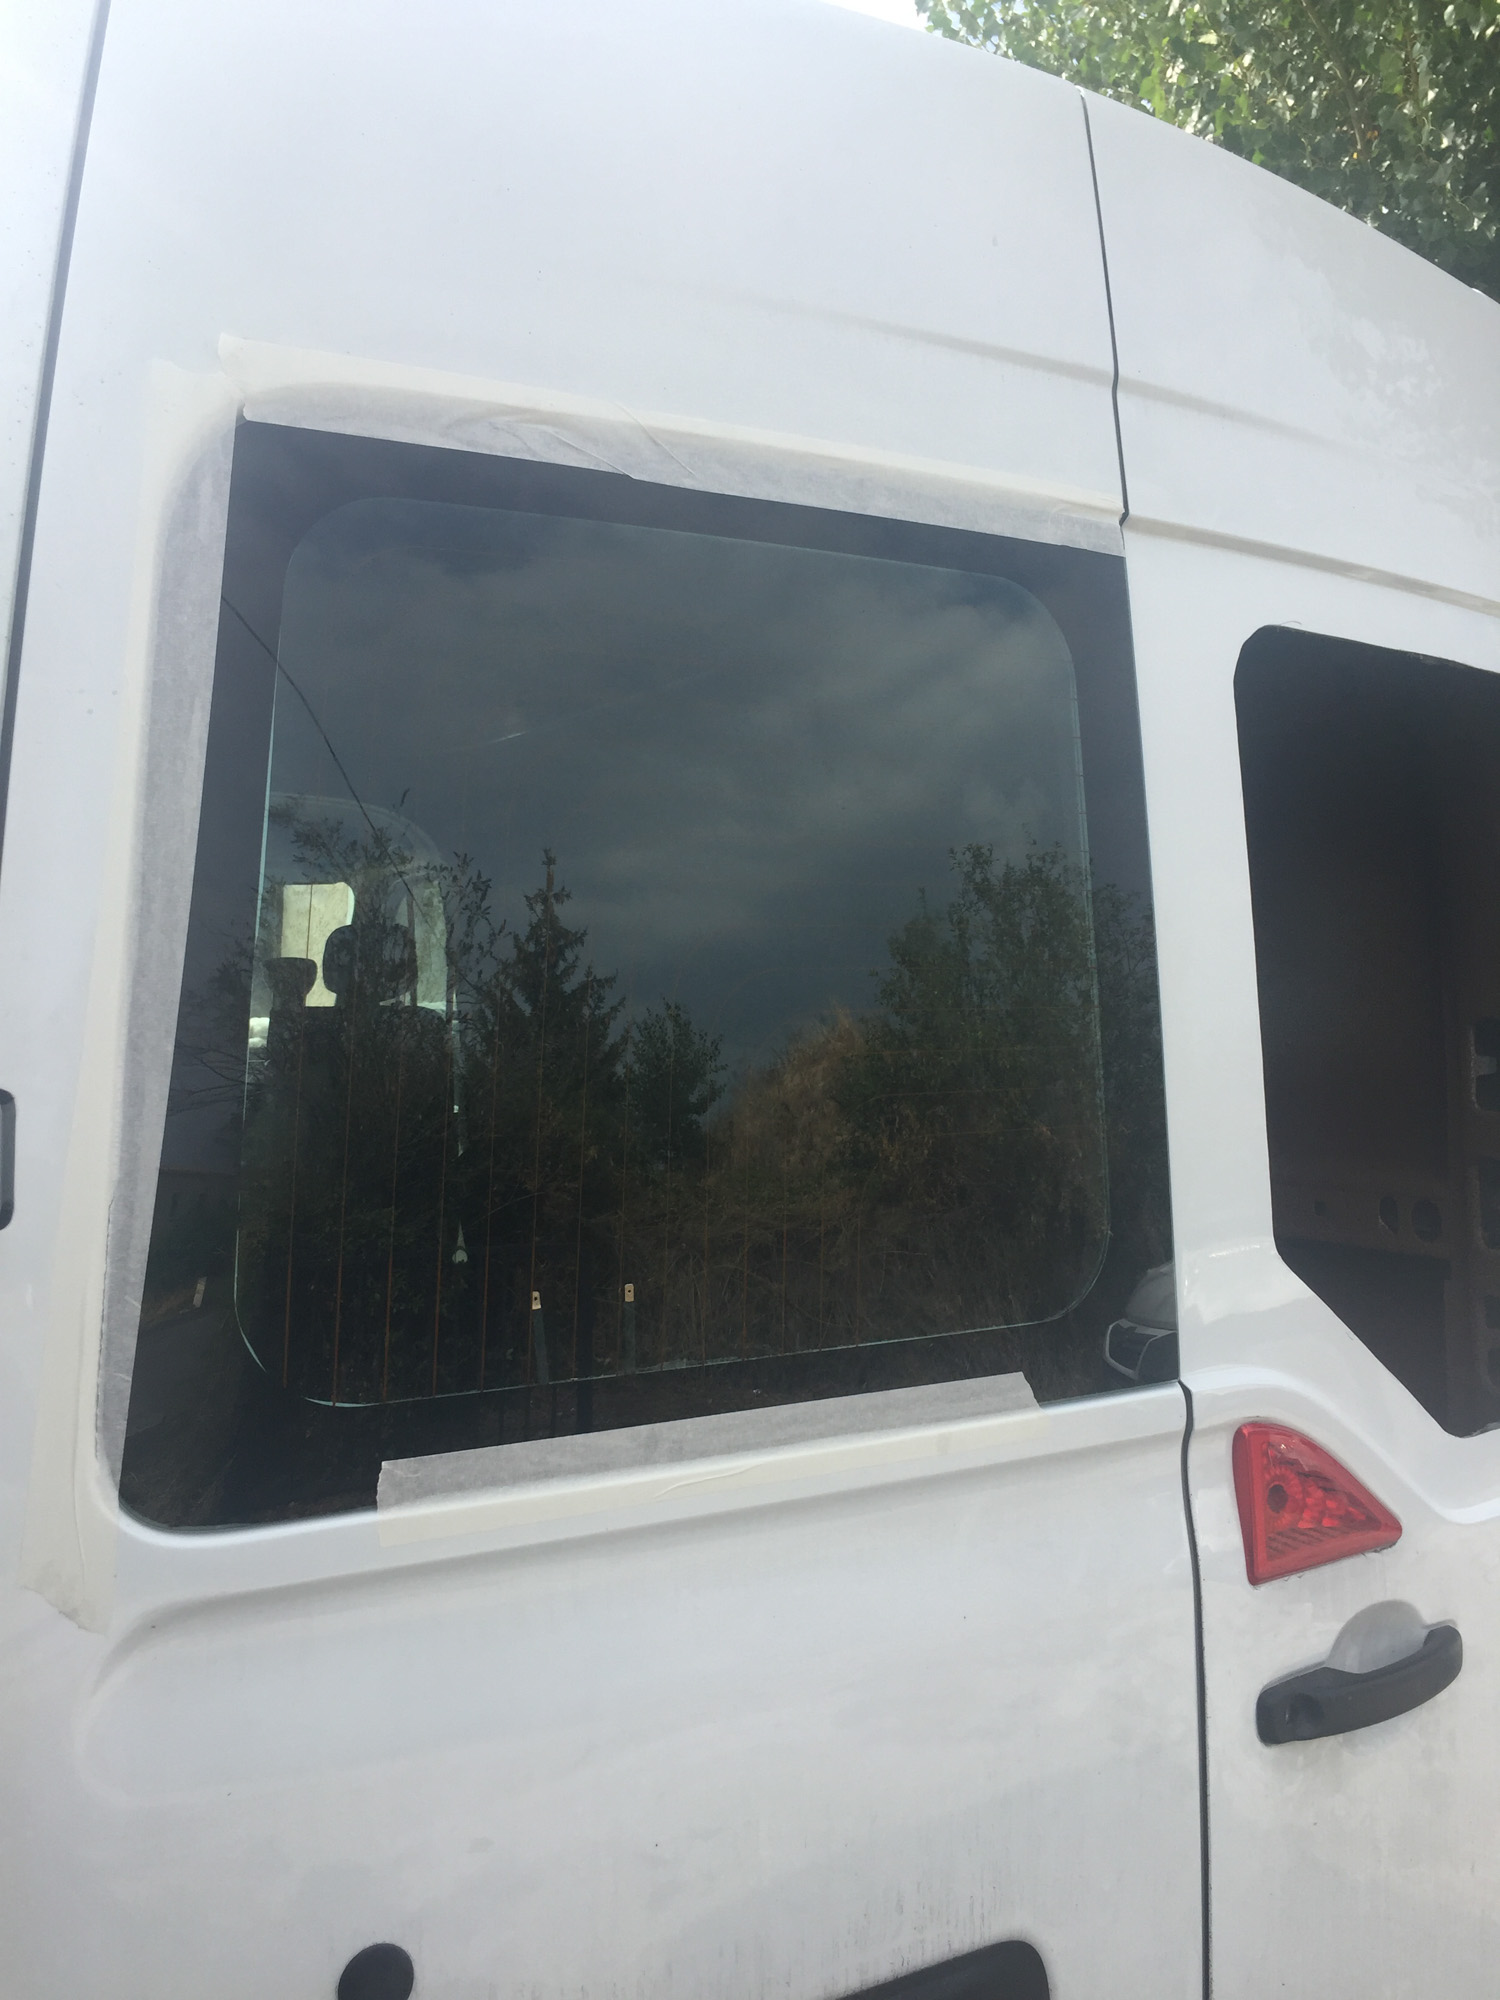
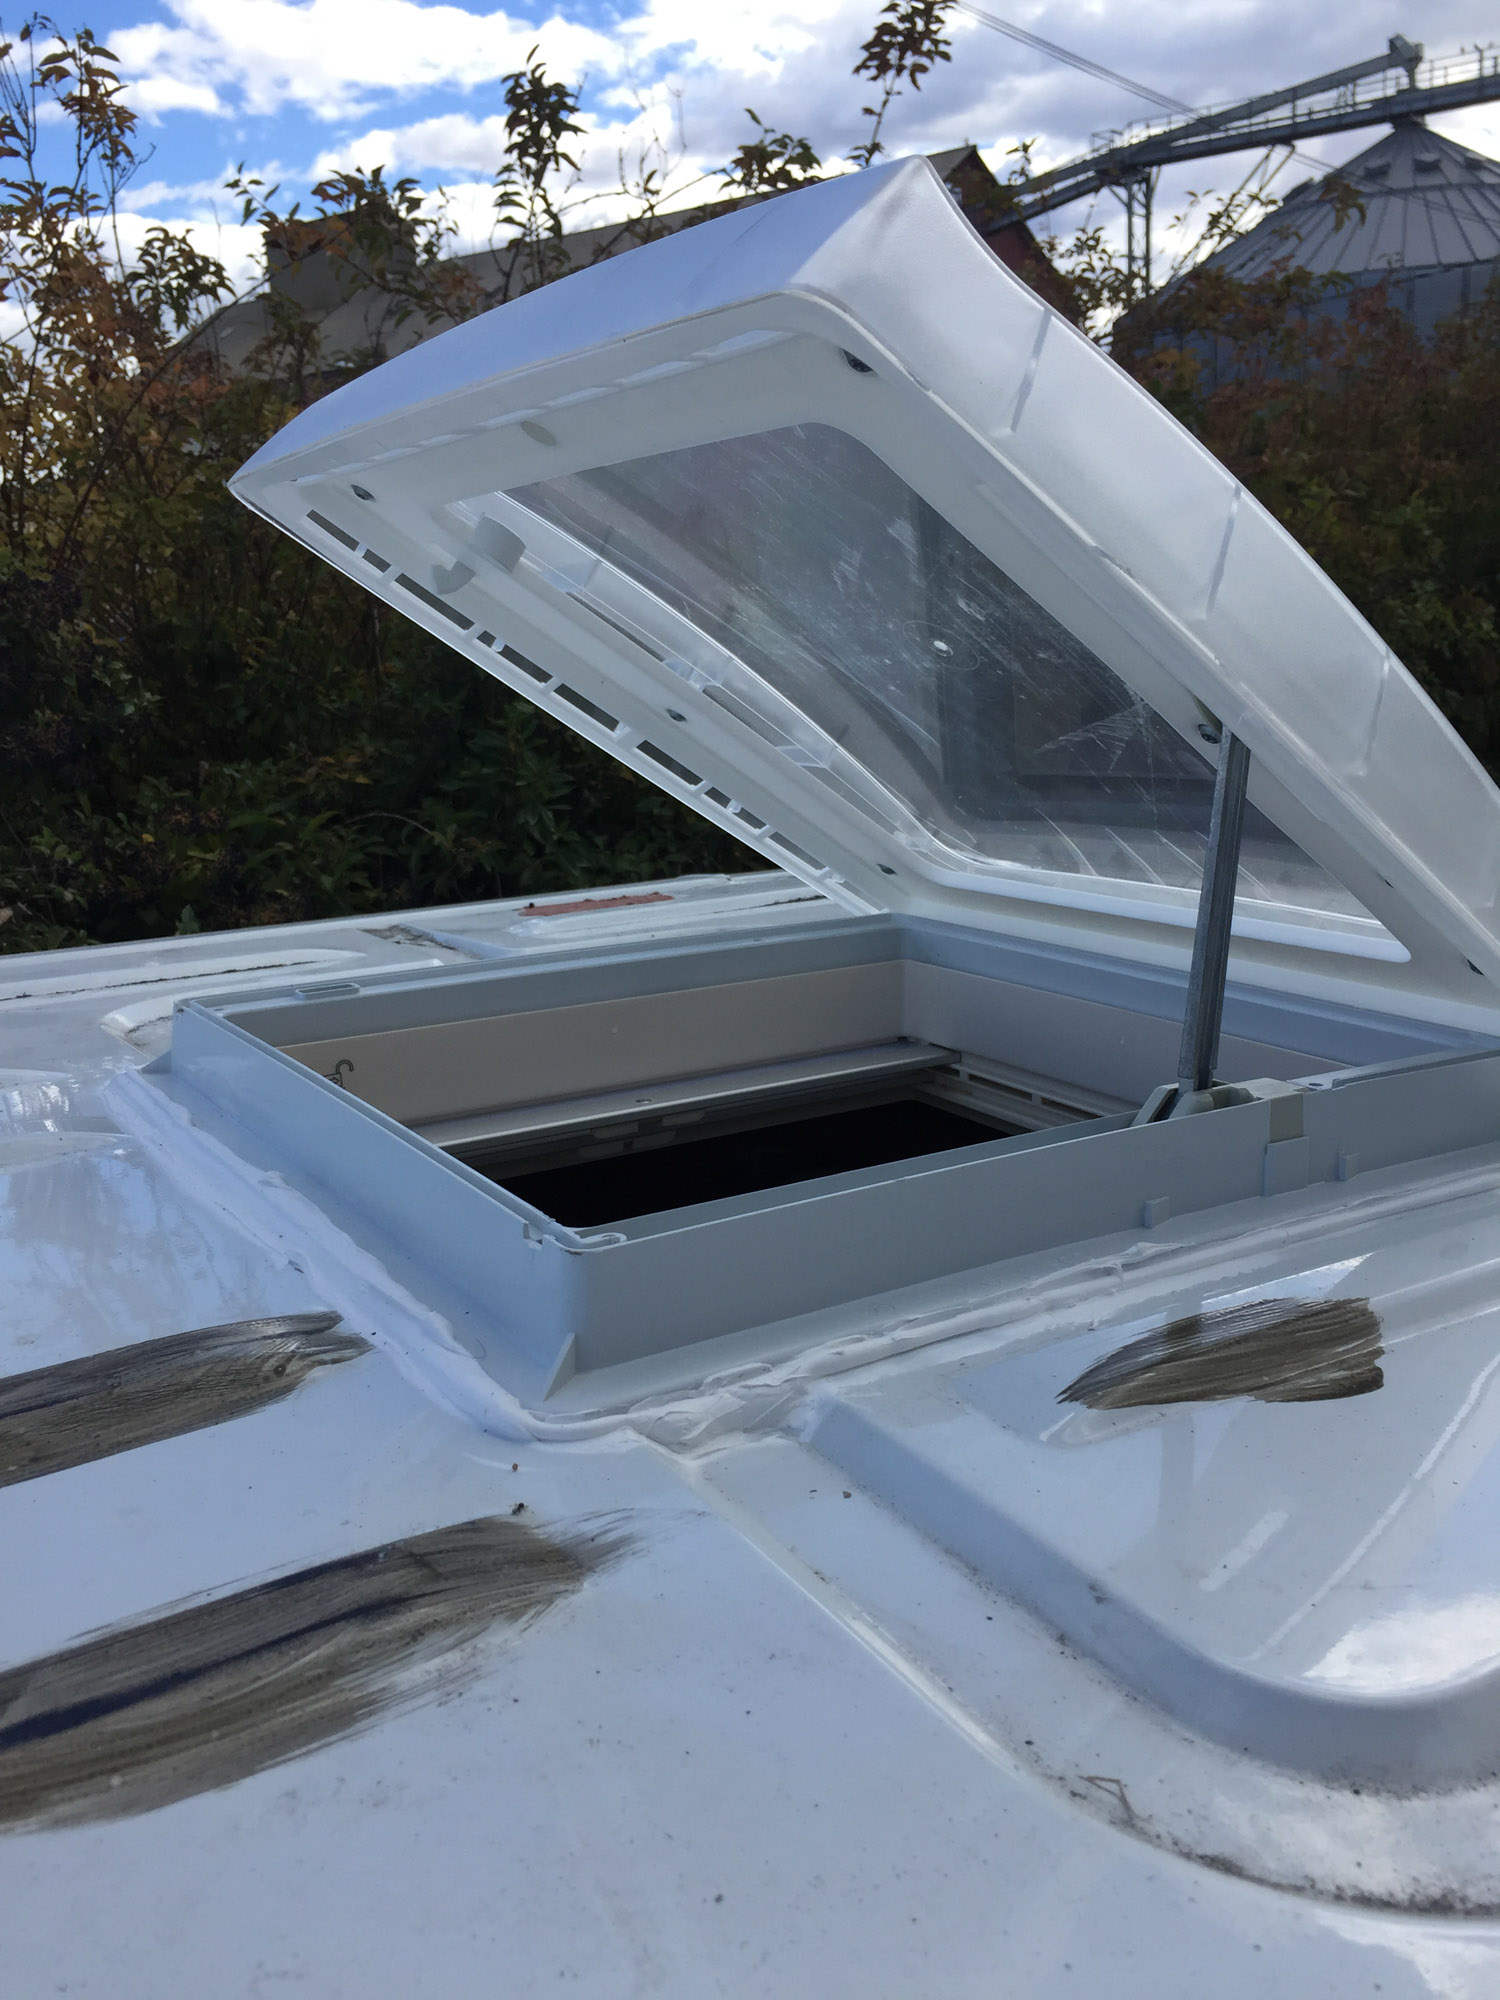
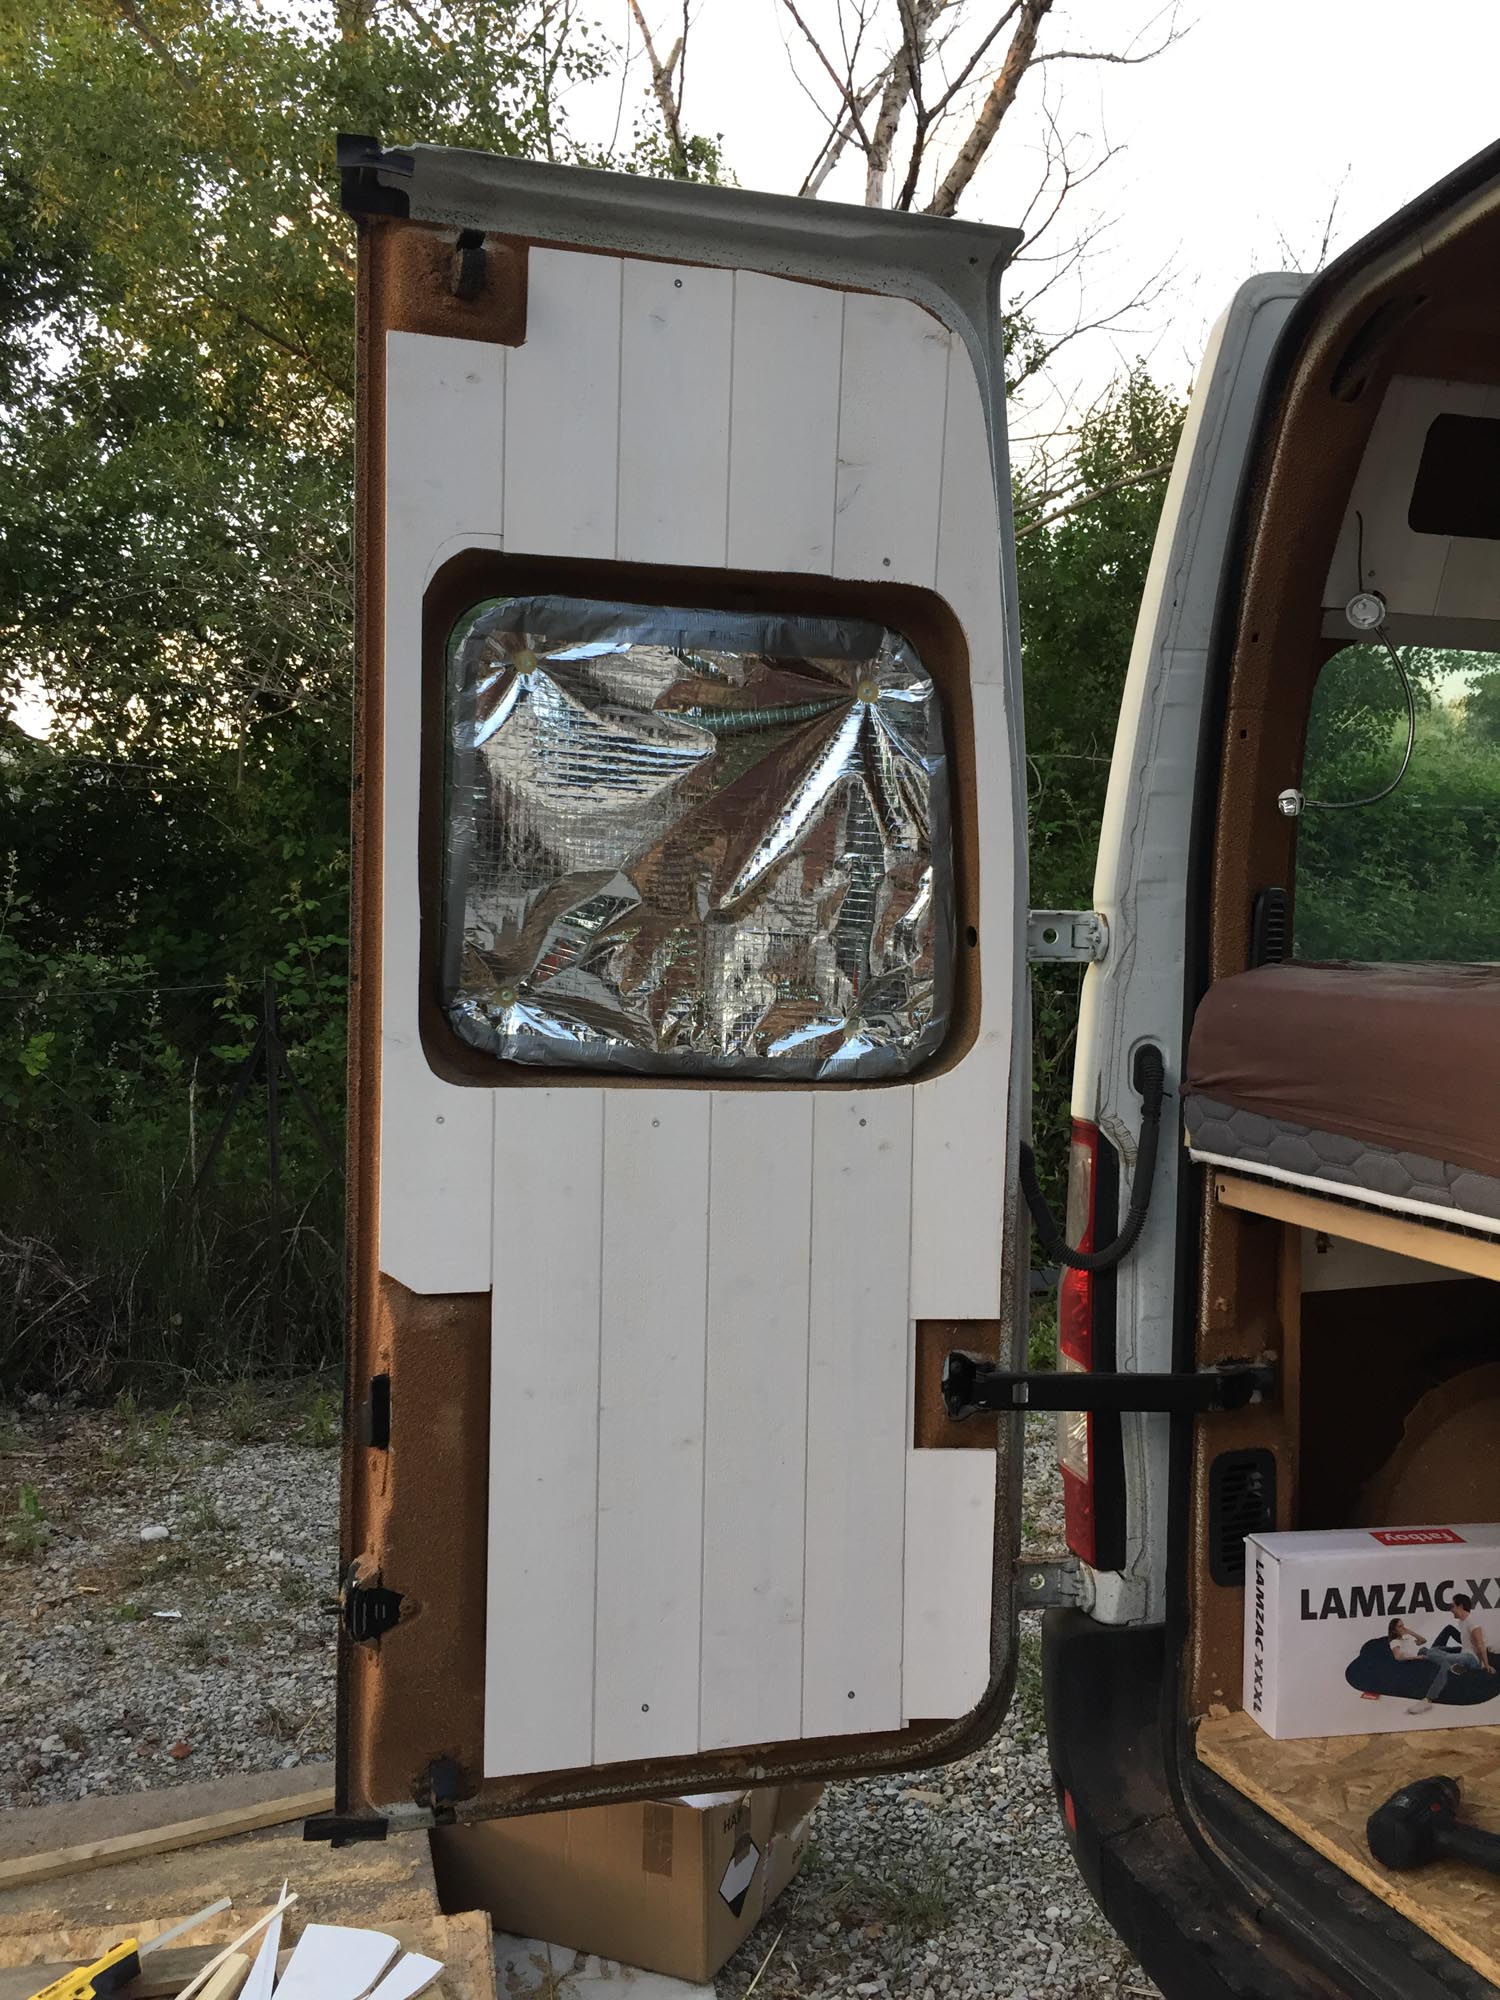
Then, arrived the big day where you do the first hole in your van!! I decided to install the 4 windows myself. It was supposed to be easy, and it really was! You just need to be a bit attentive to not make mistakes. And actually, I did one : for the fist window I use ropes to keep the window in pressure for 1 night. I didn’t do the same on the next ones and I get leaks…
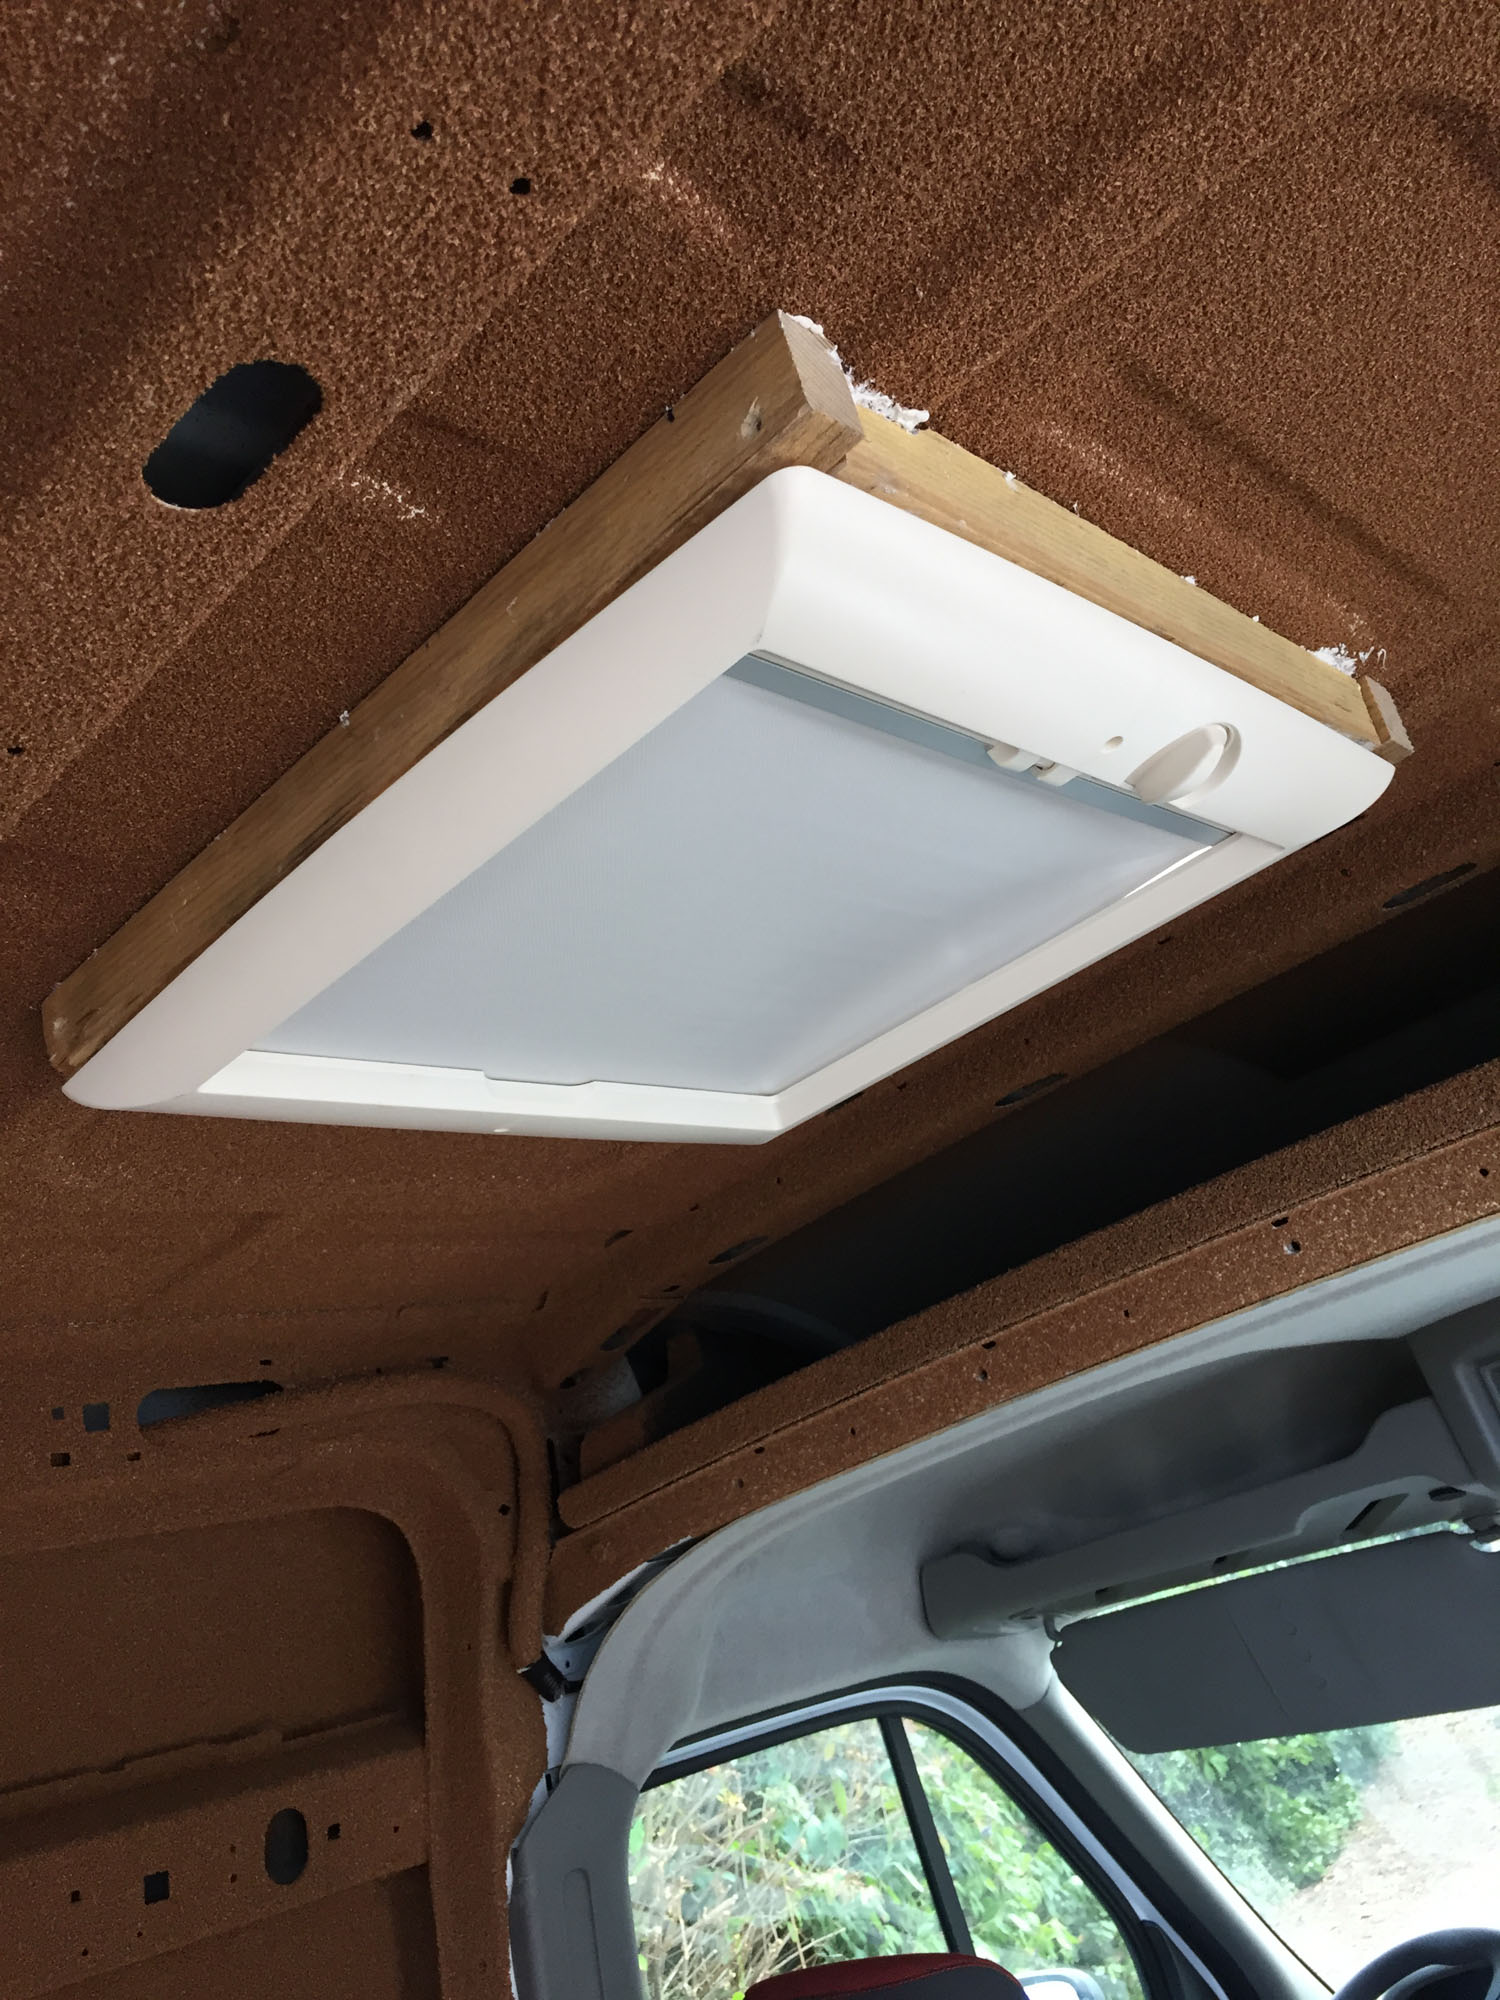
Anyway, after making those 4 holes, it was not a problem to make new ones anymore! There is also a roof window.
After 2 days, the van was ready for the next part : electricity, water and gas.
THE NEXT STEPS
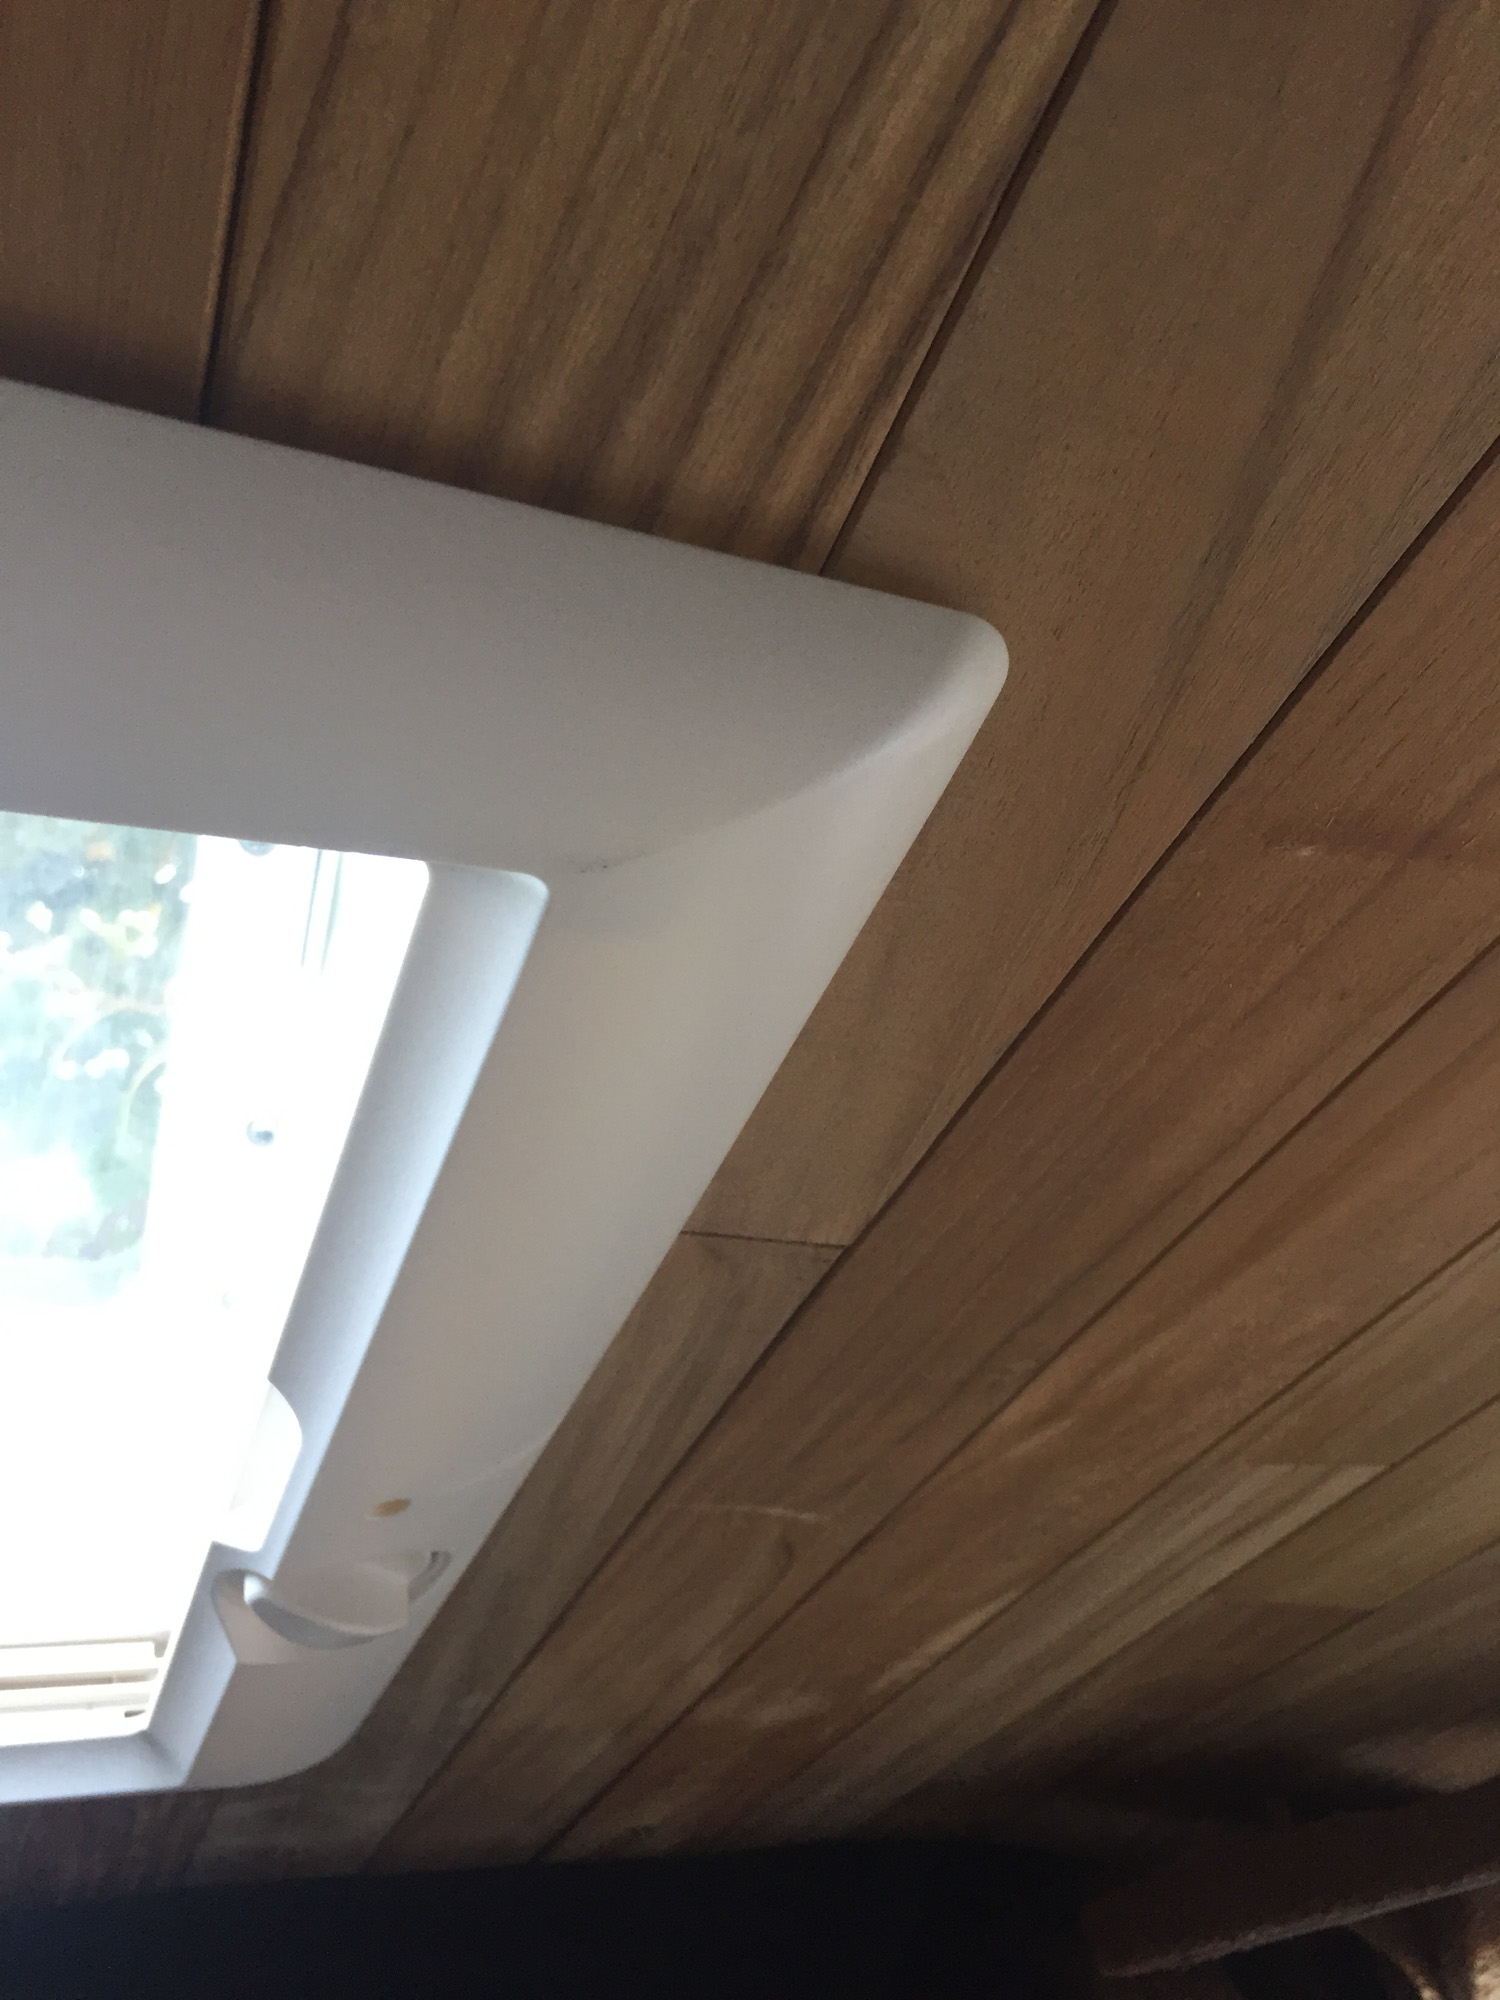
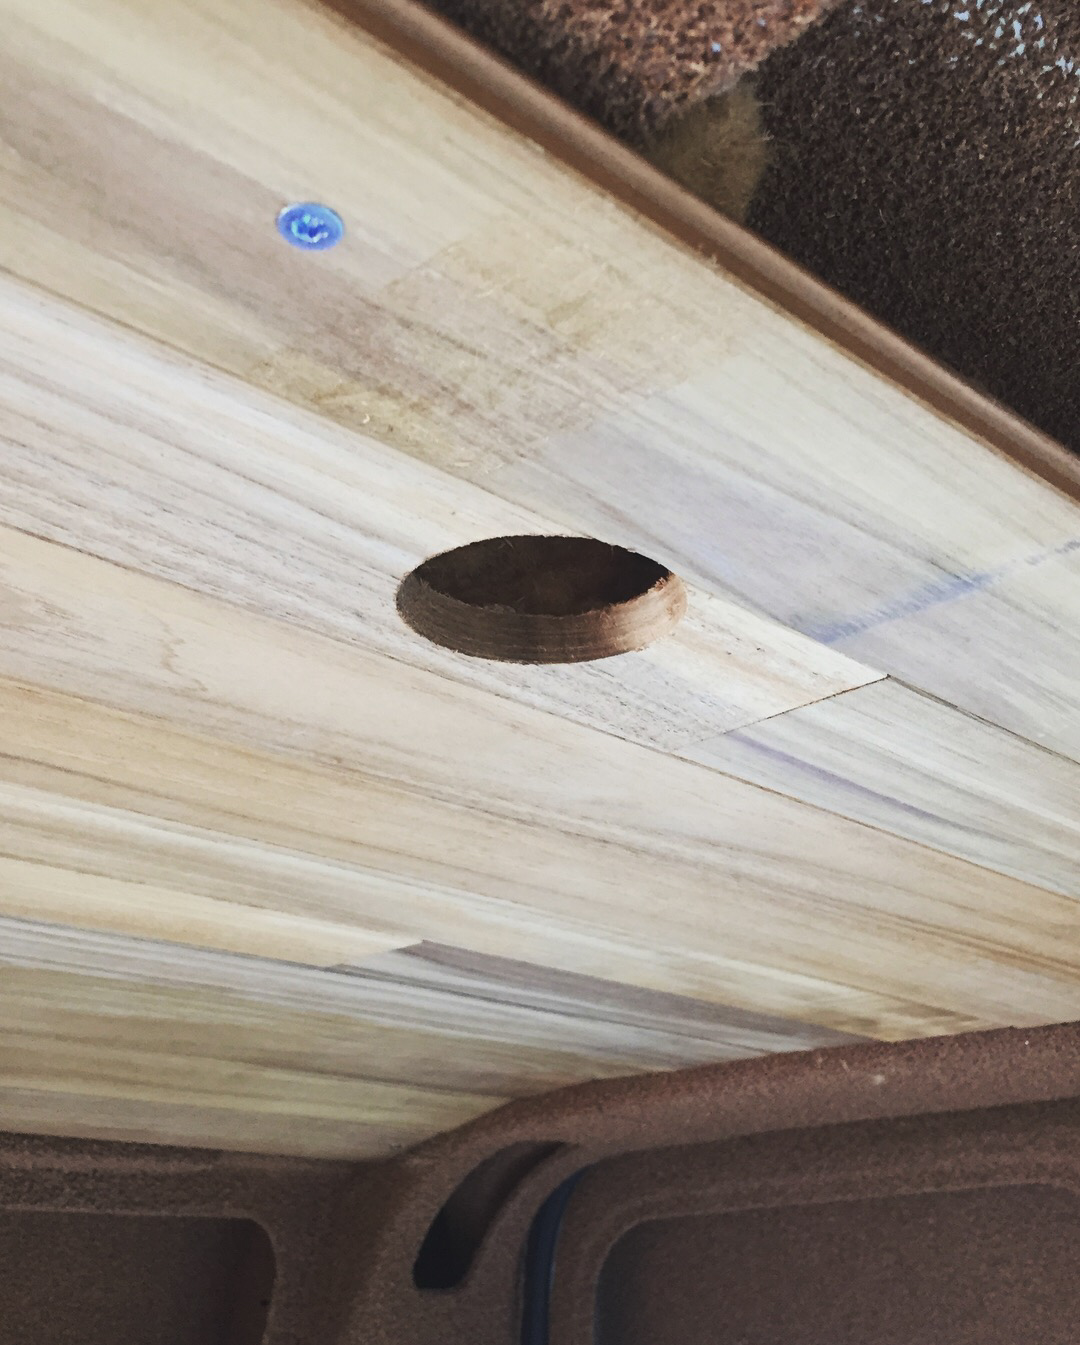
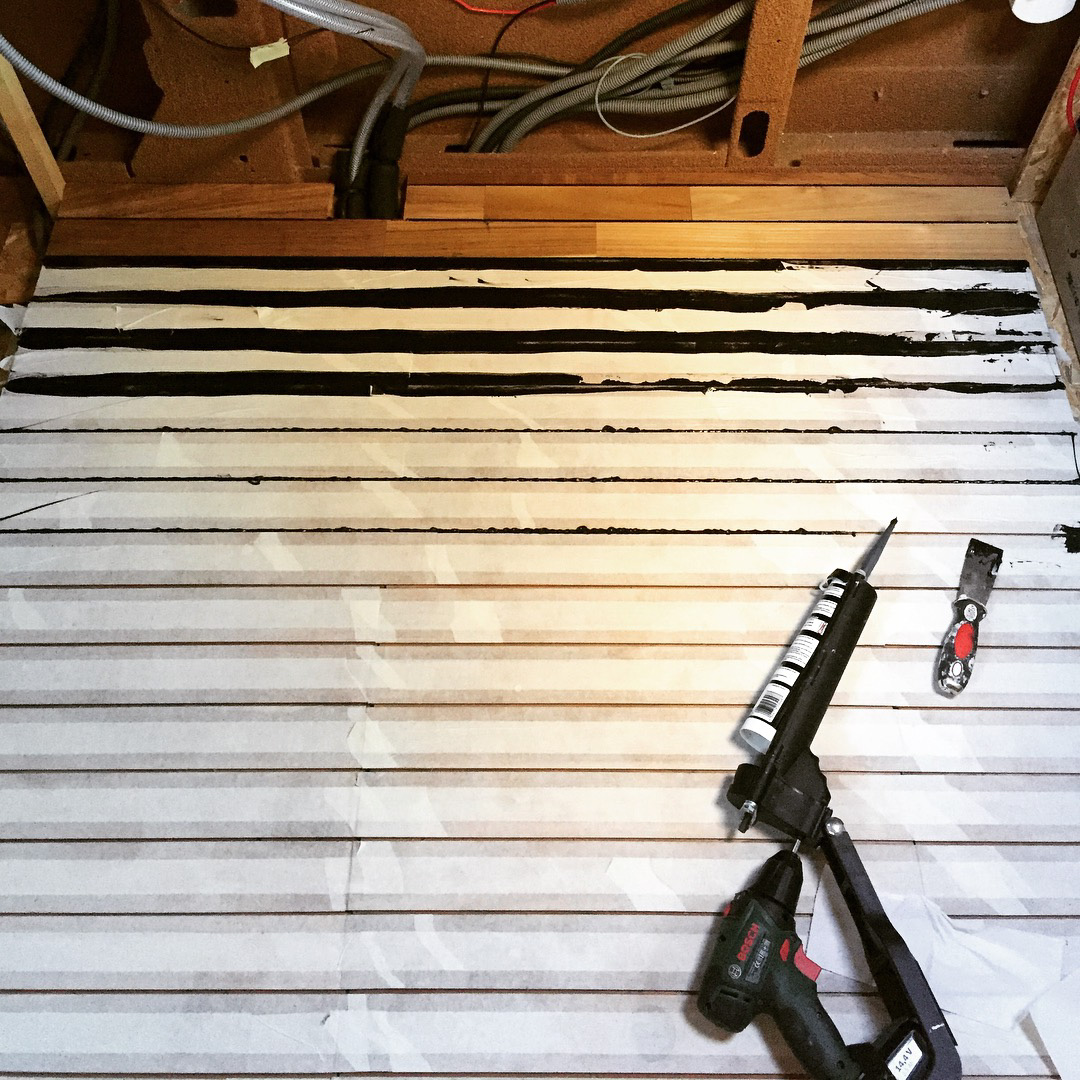
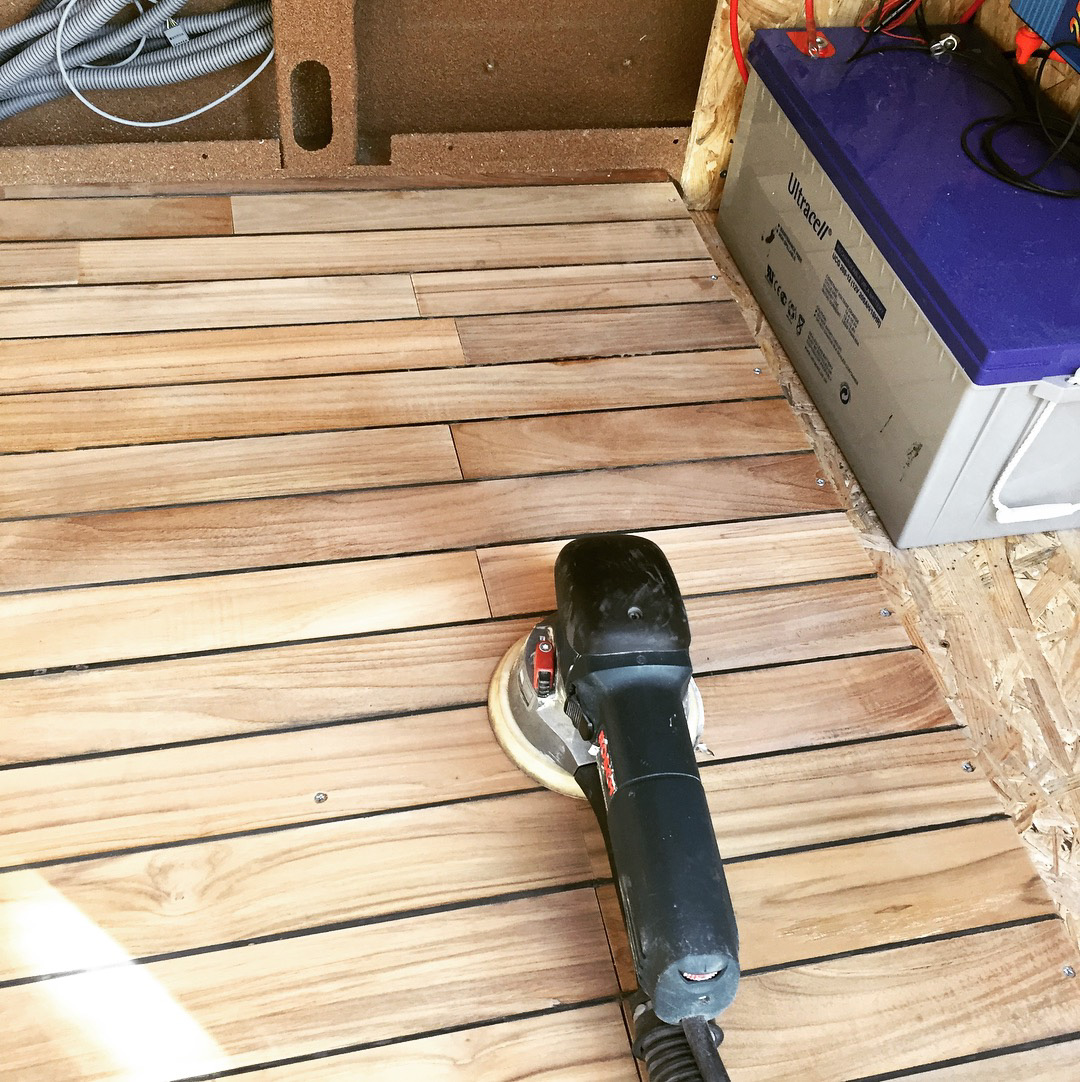
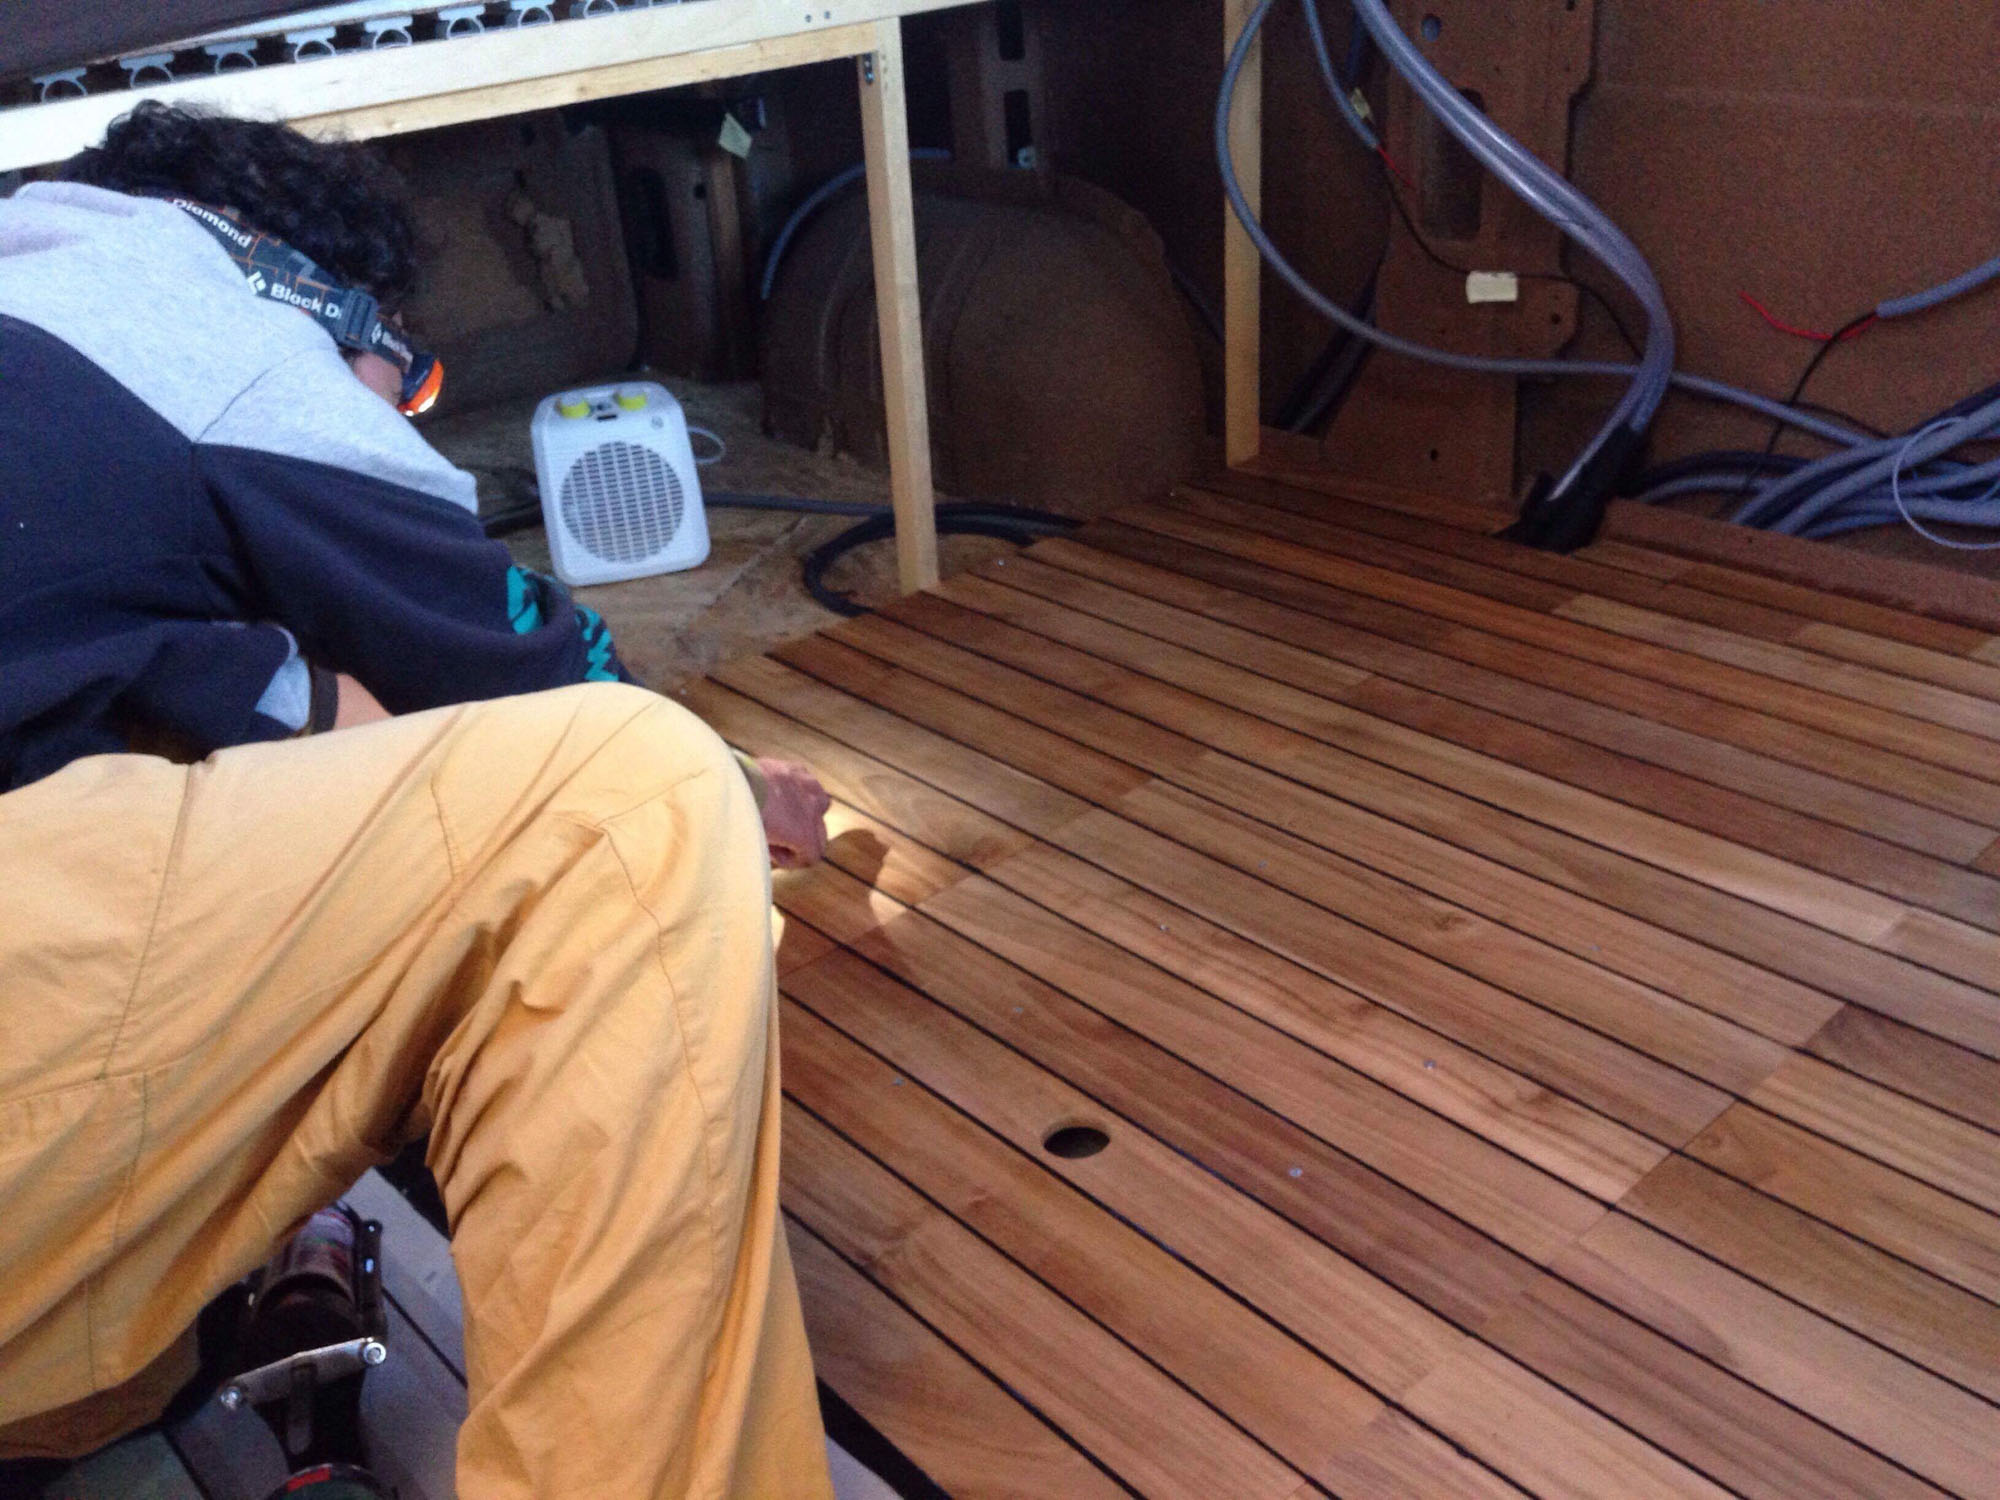
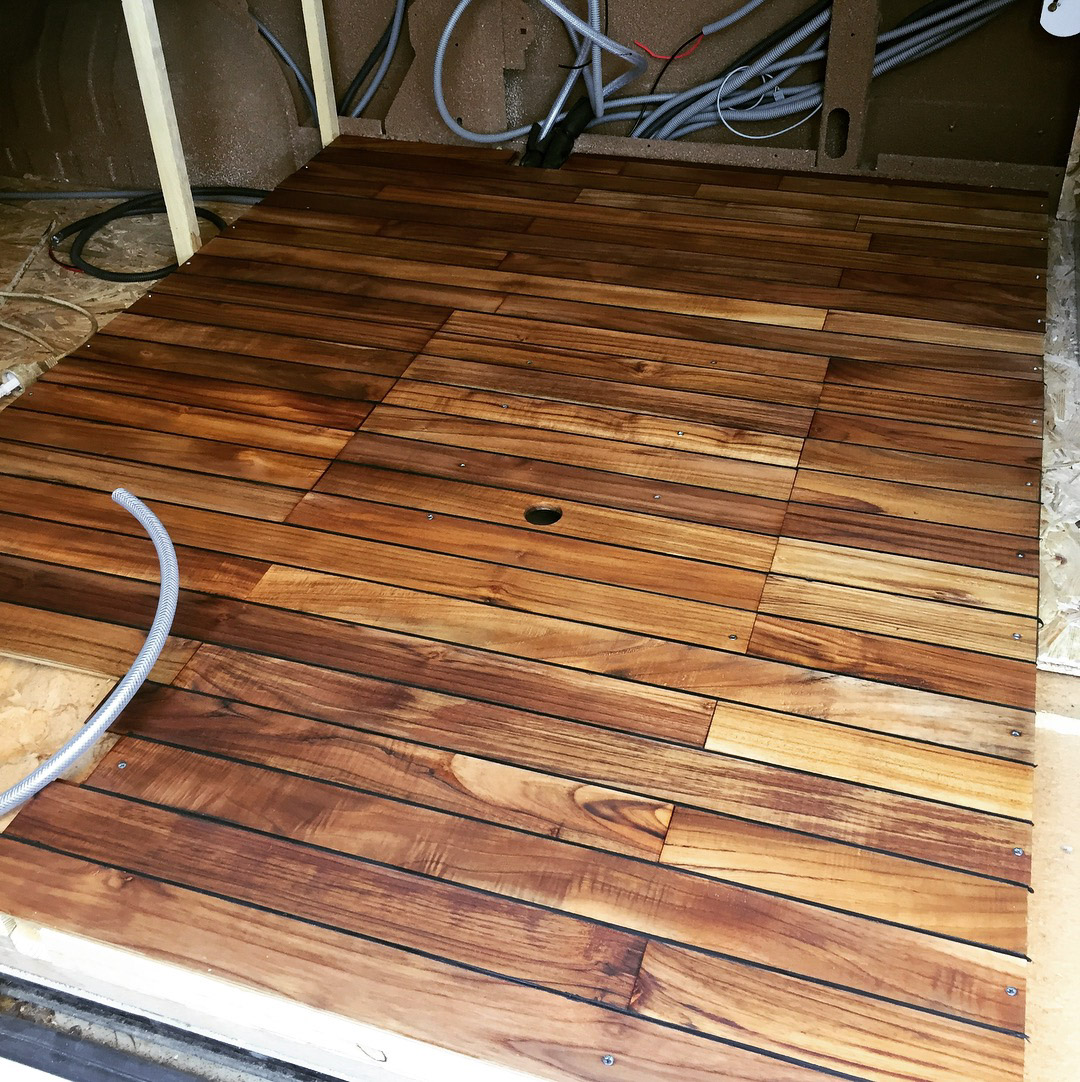
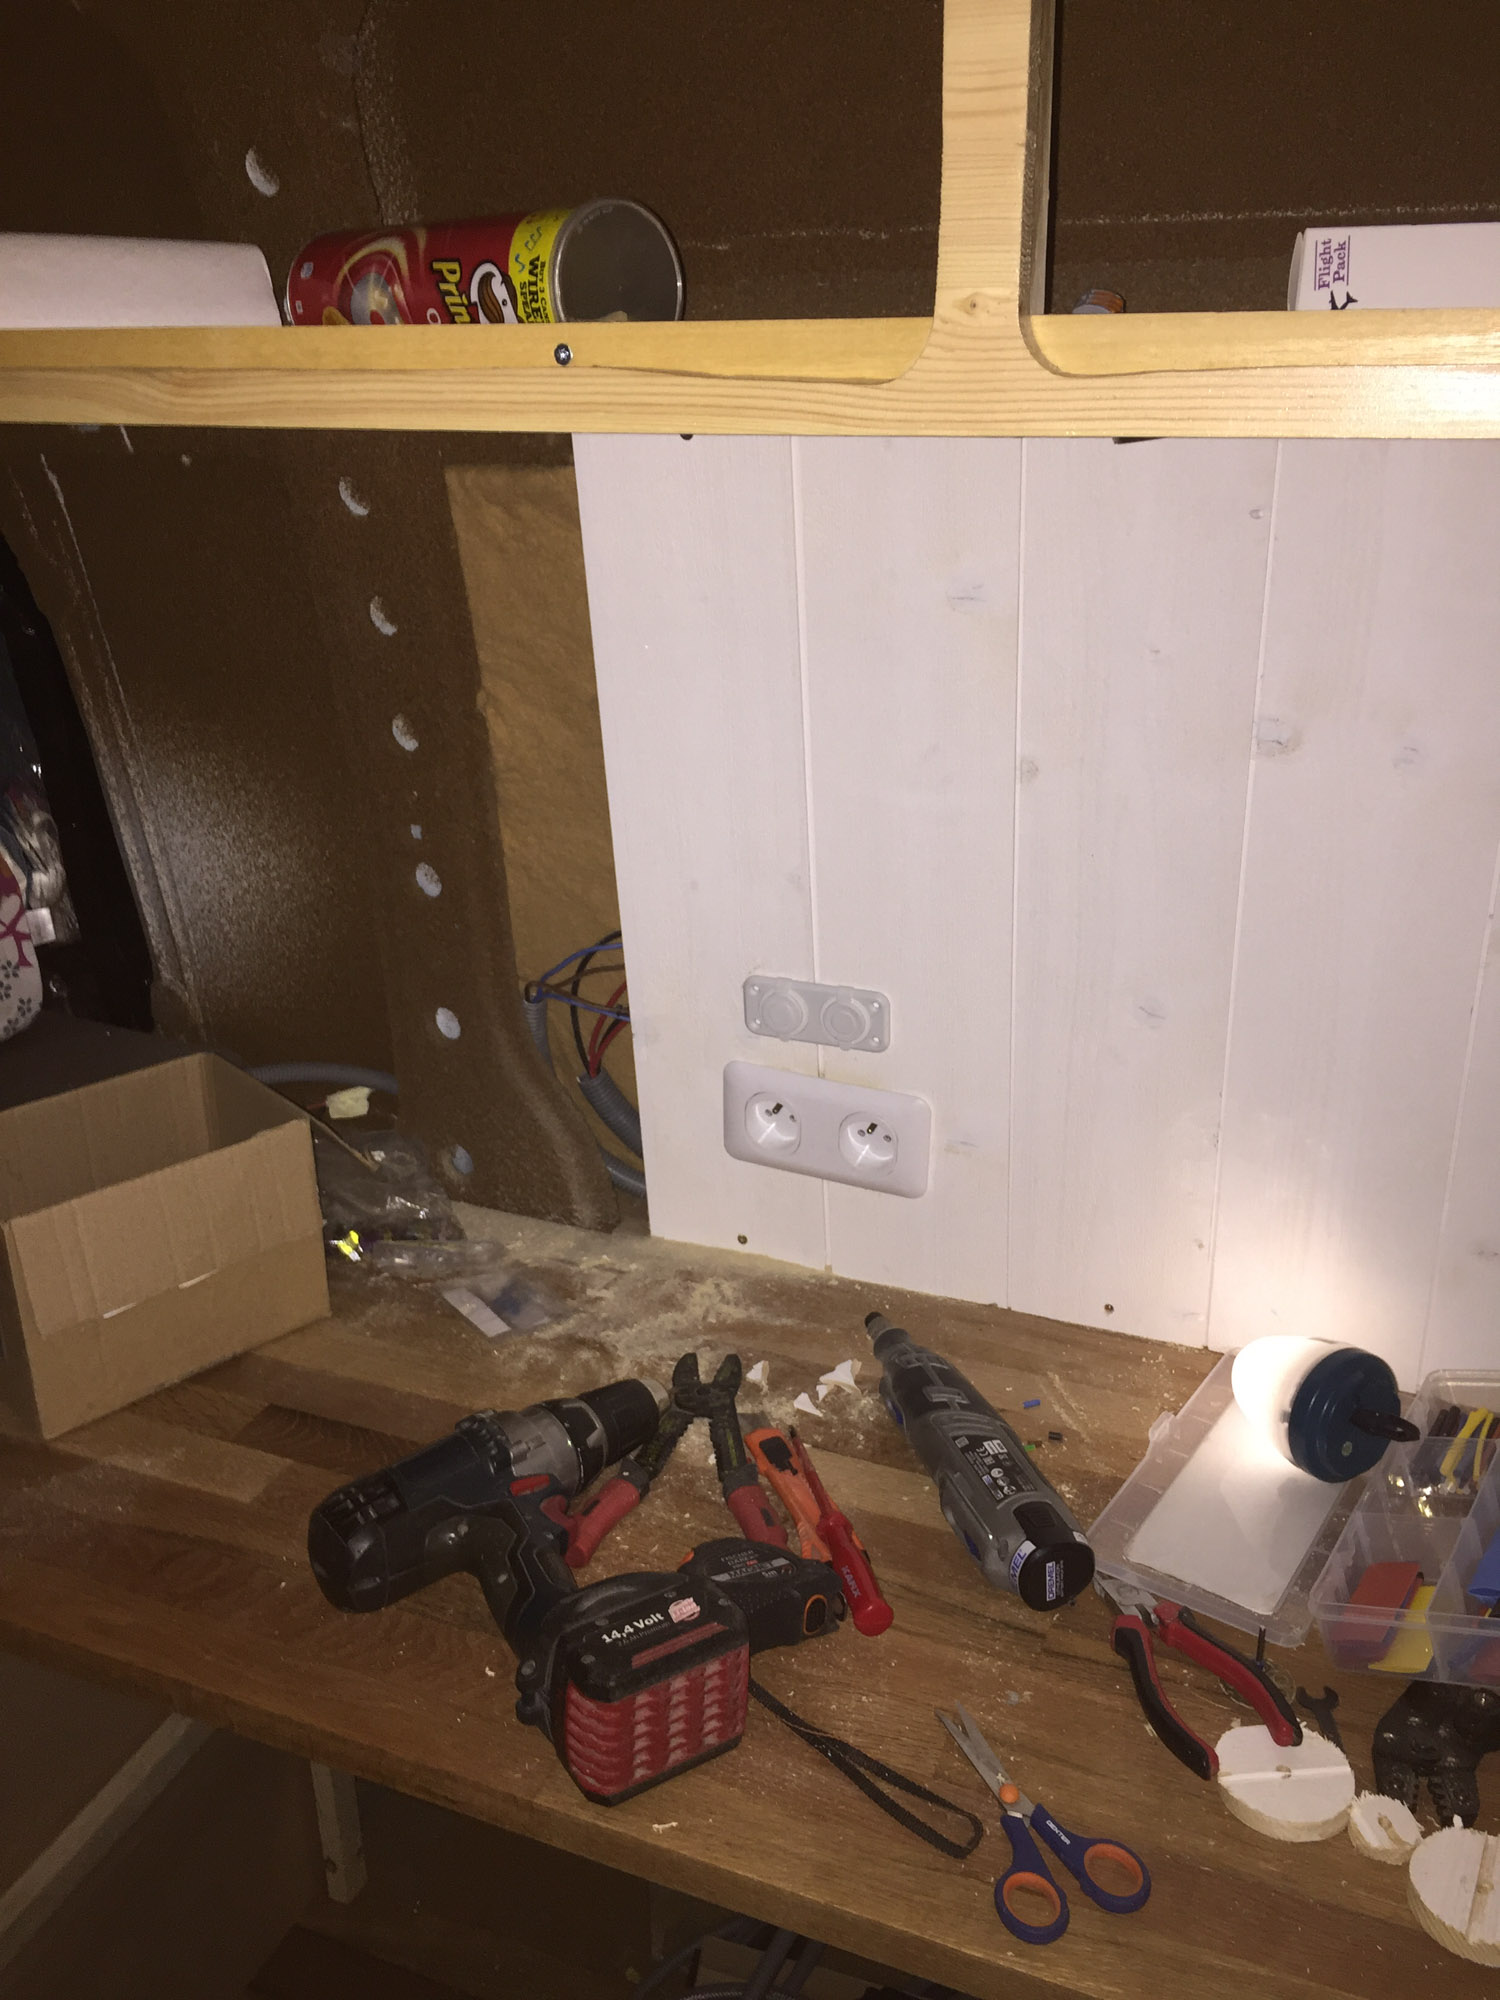
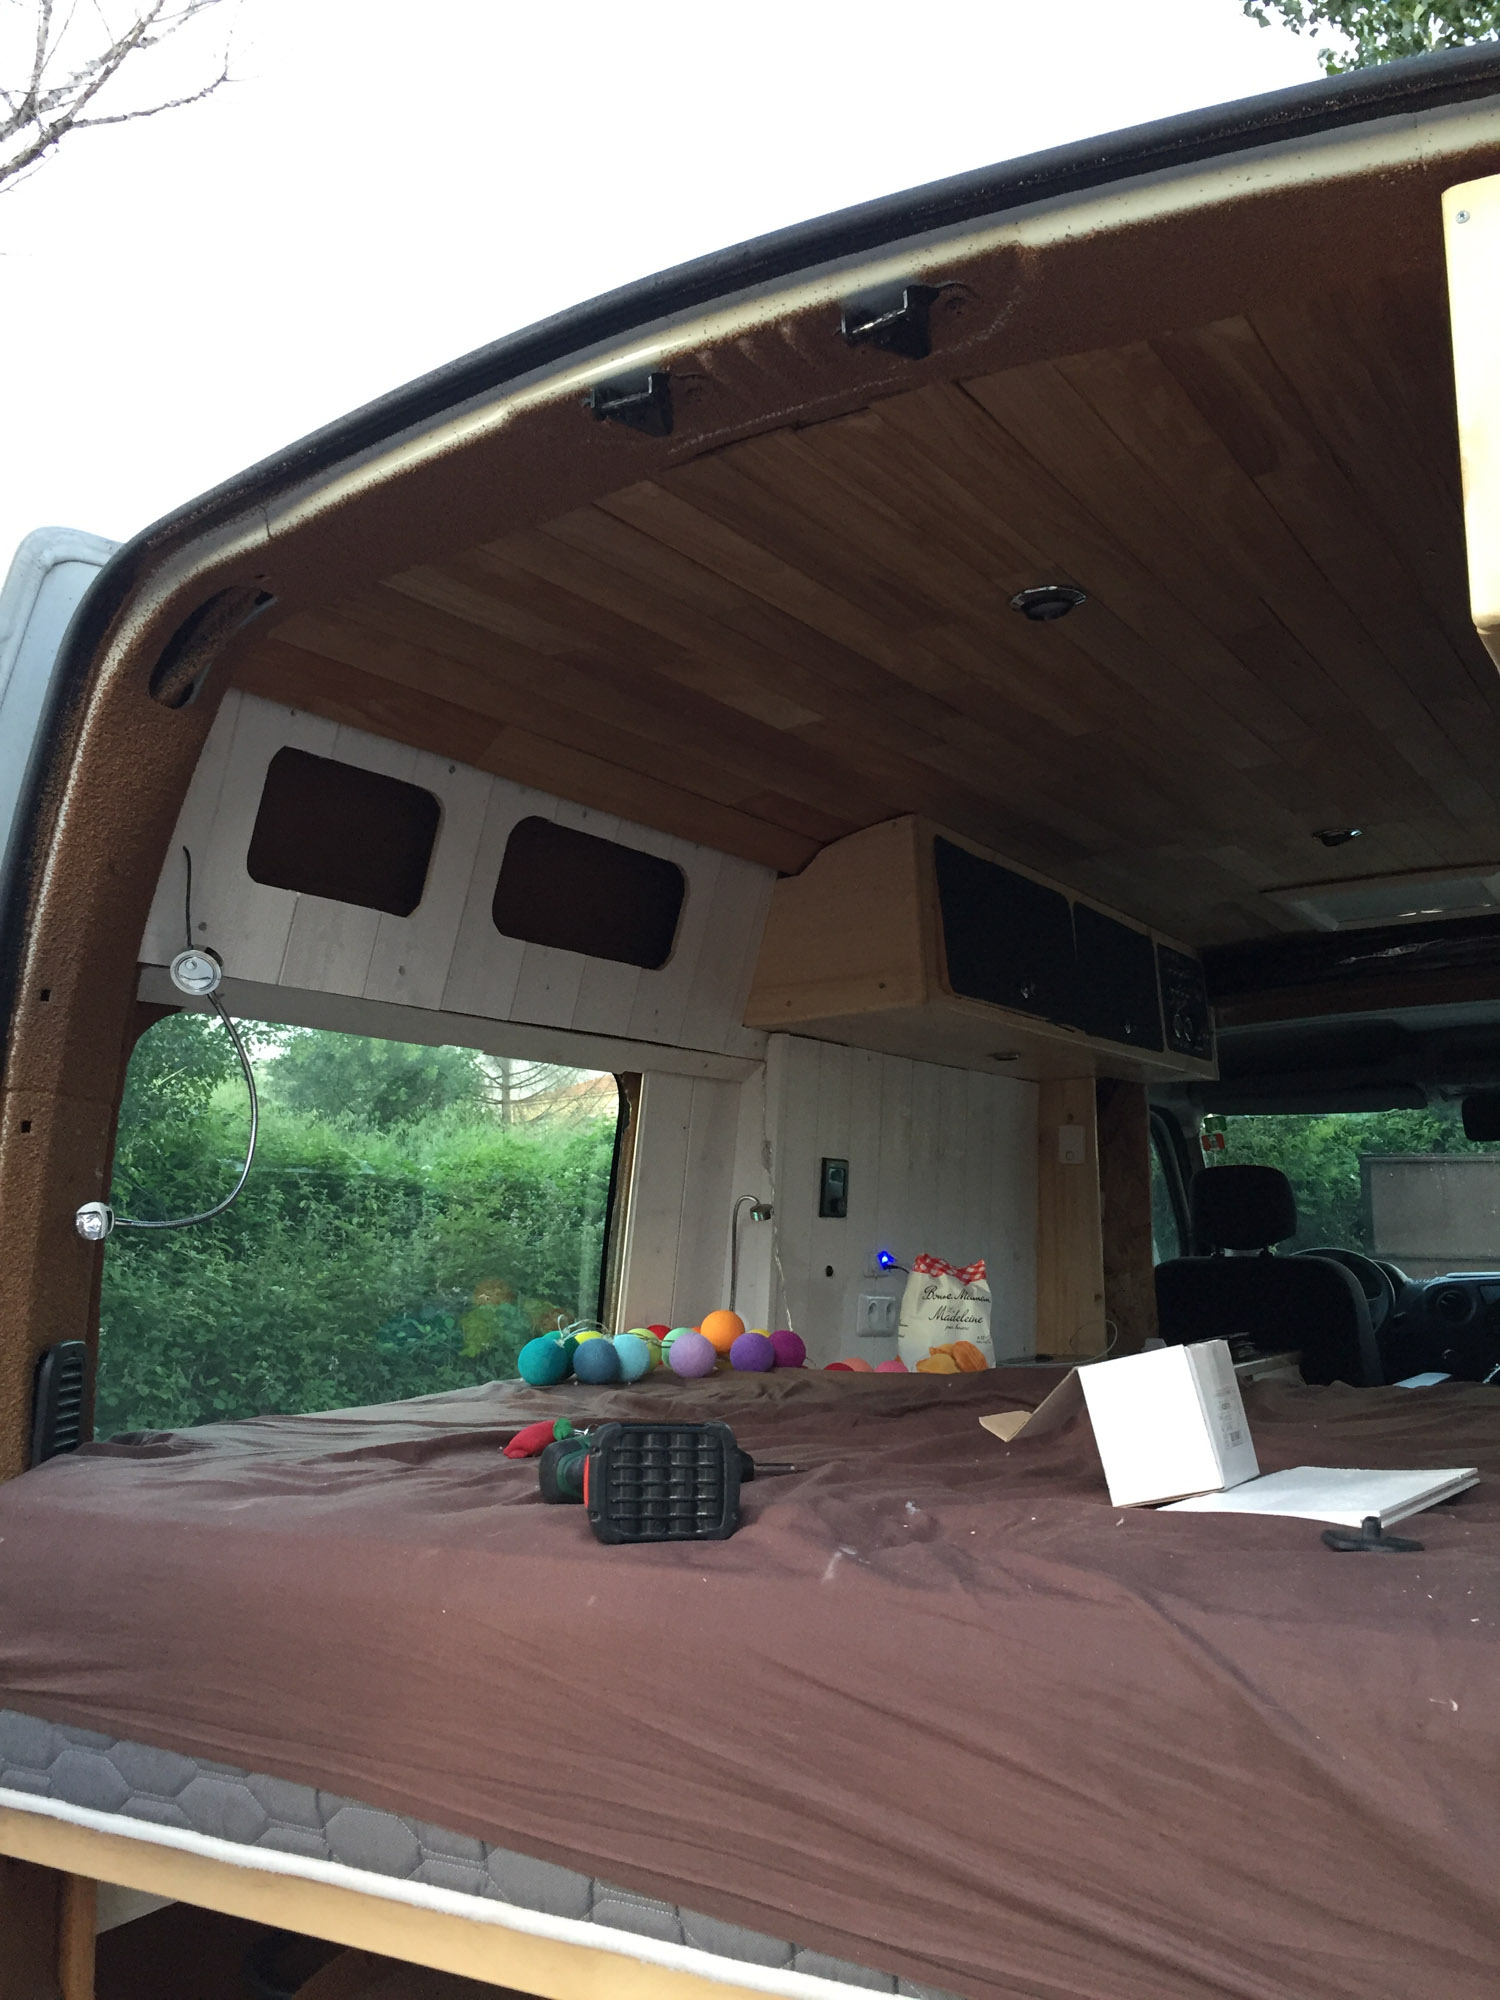
I used teck wood for flooring and ceiling. And I decided to go full setup for the floor and did those black joint like on boats. Very happy of the result! The « void » is filled with wood foam for the isolation.
The walls are « decorated » by this white wood. I didn’t make a good choice here cause I bought some cheap furnitures and it is breaking very easily.
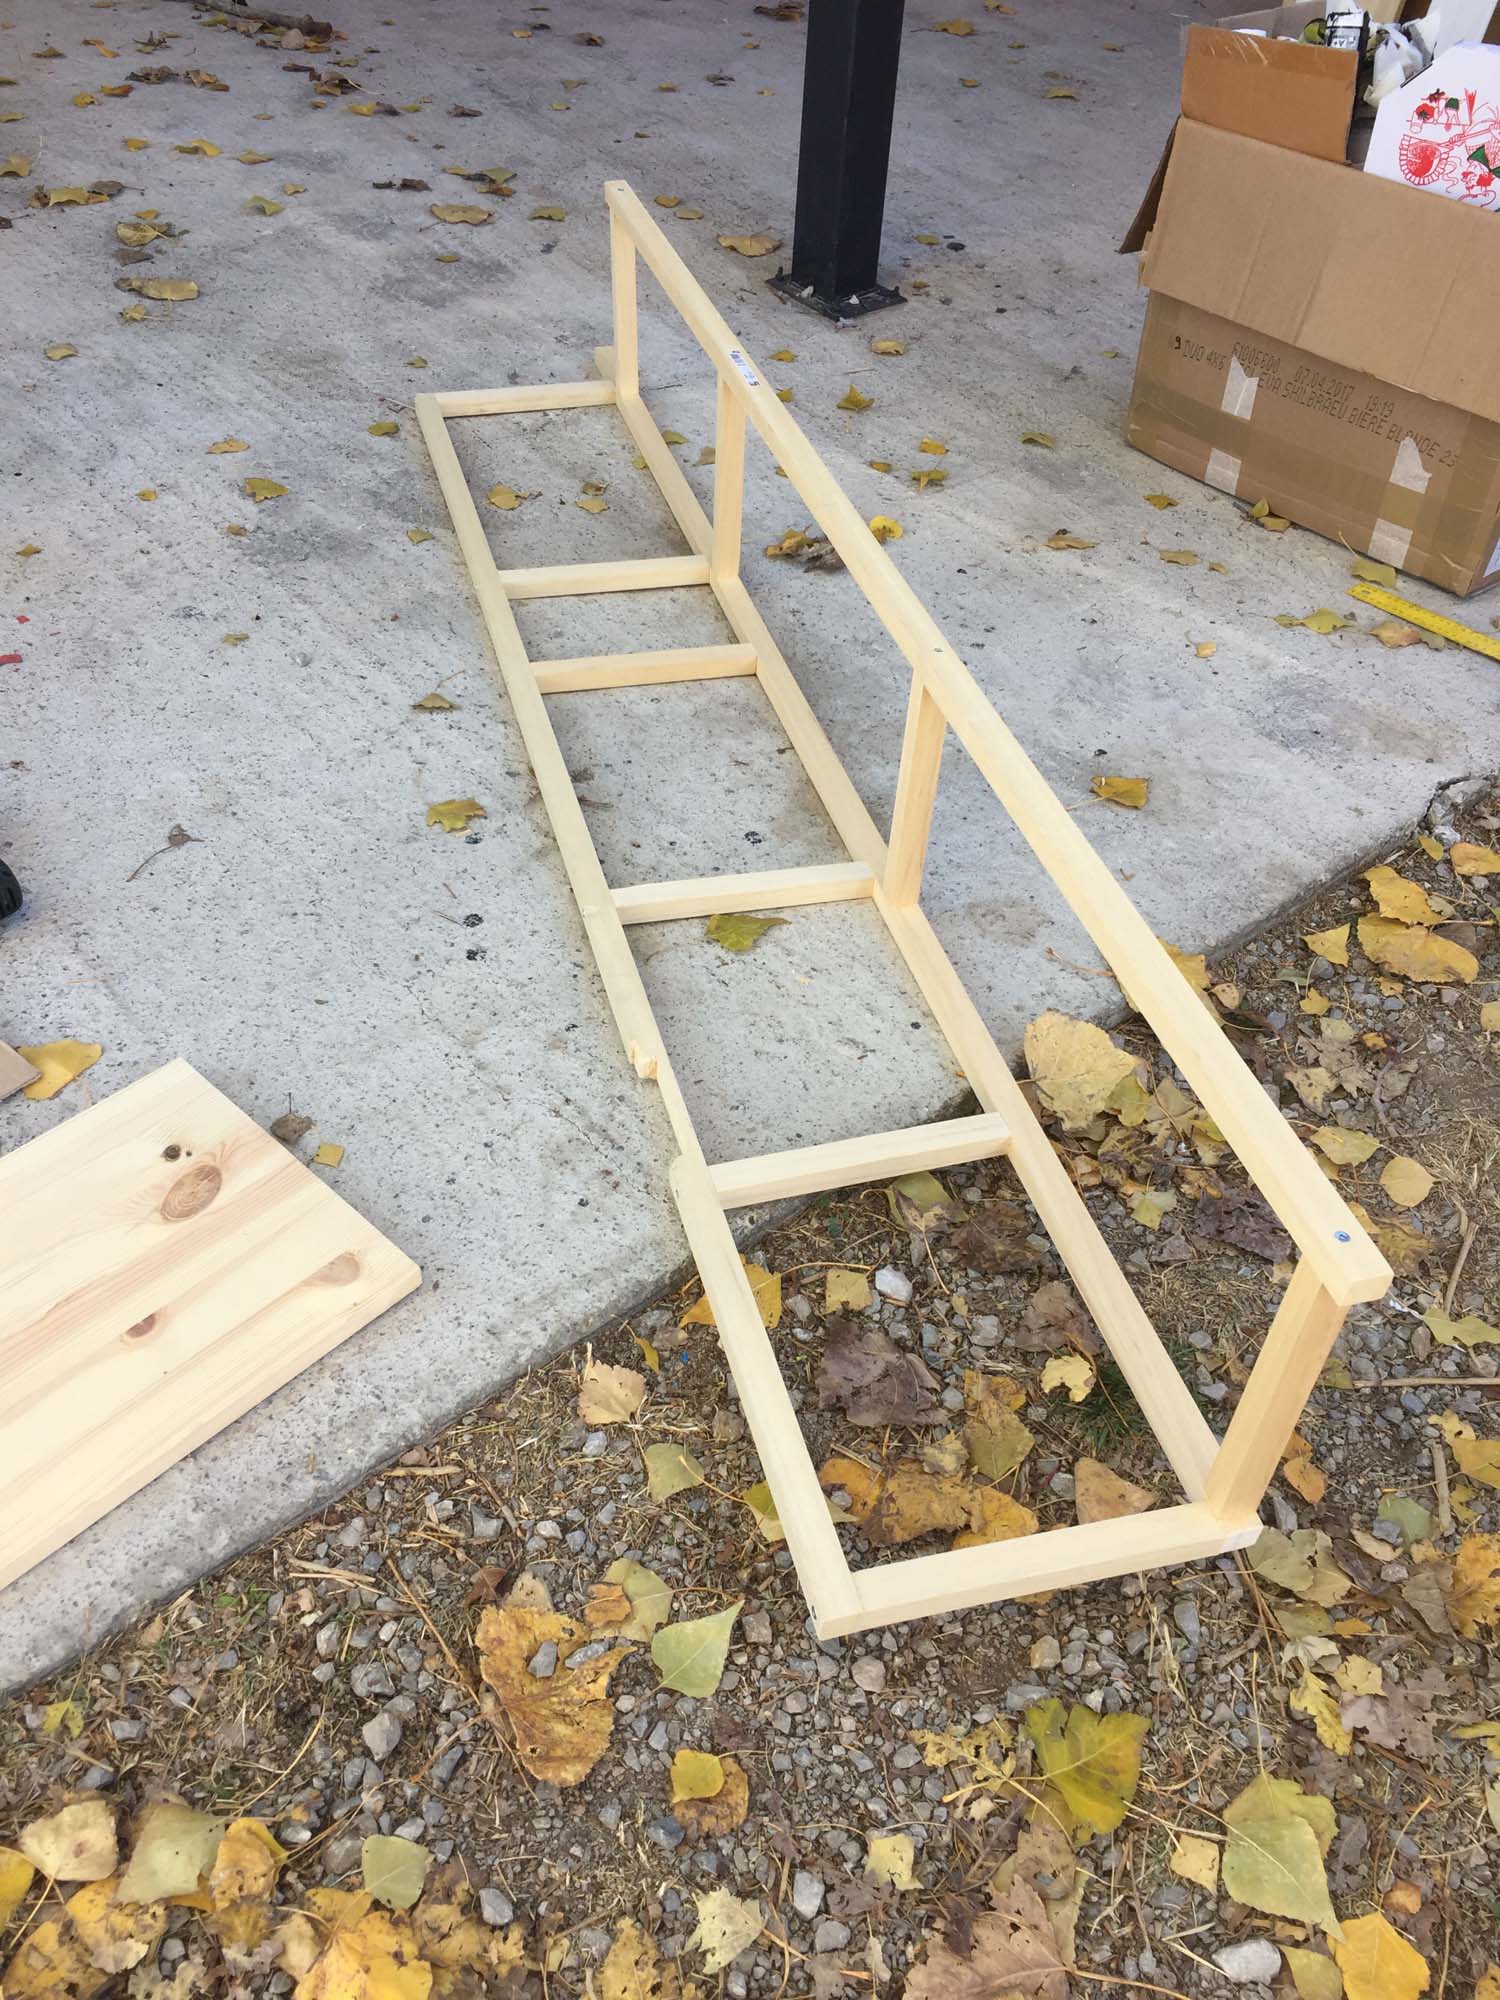
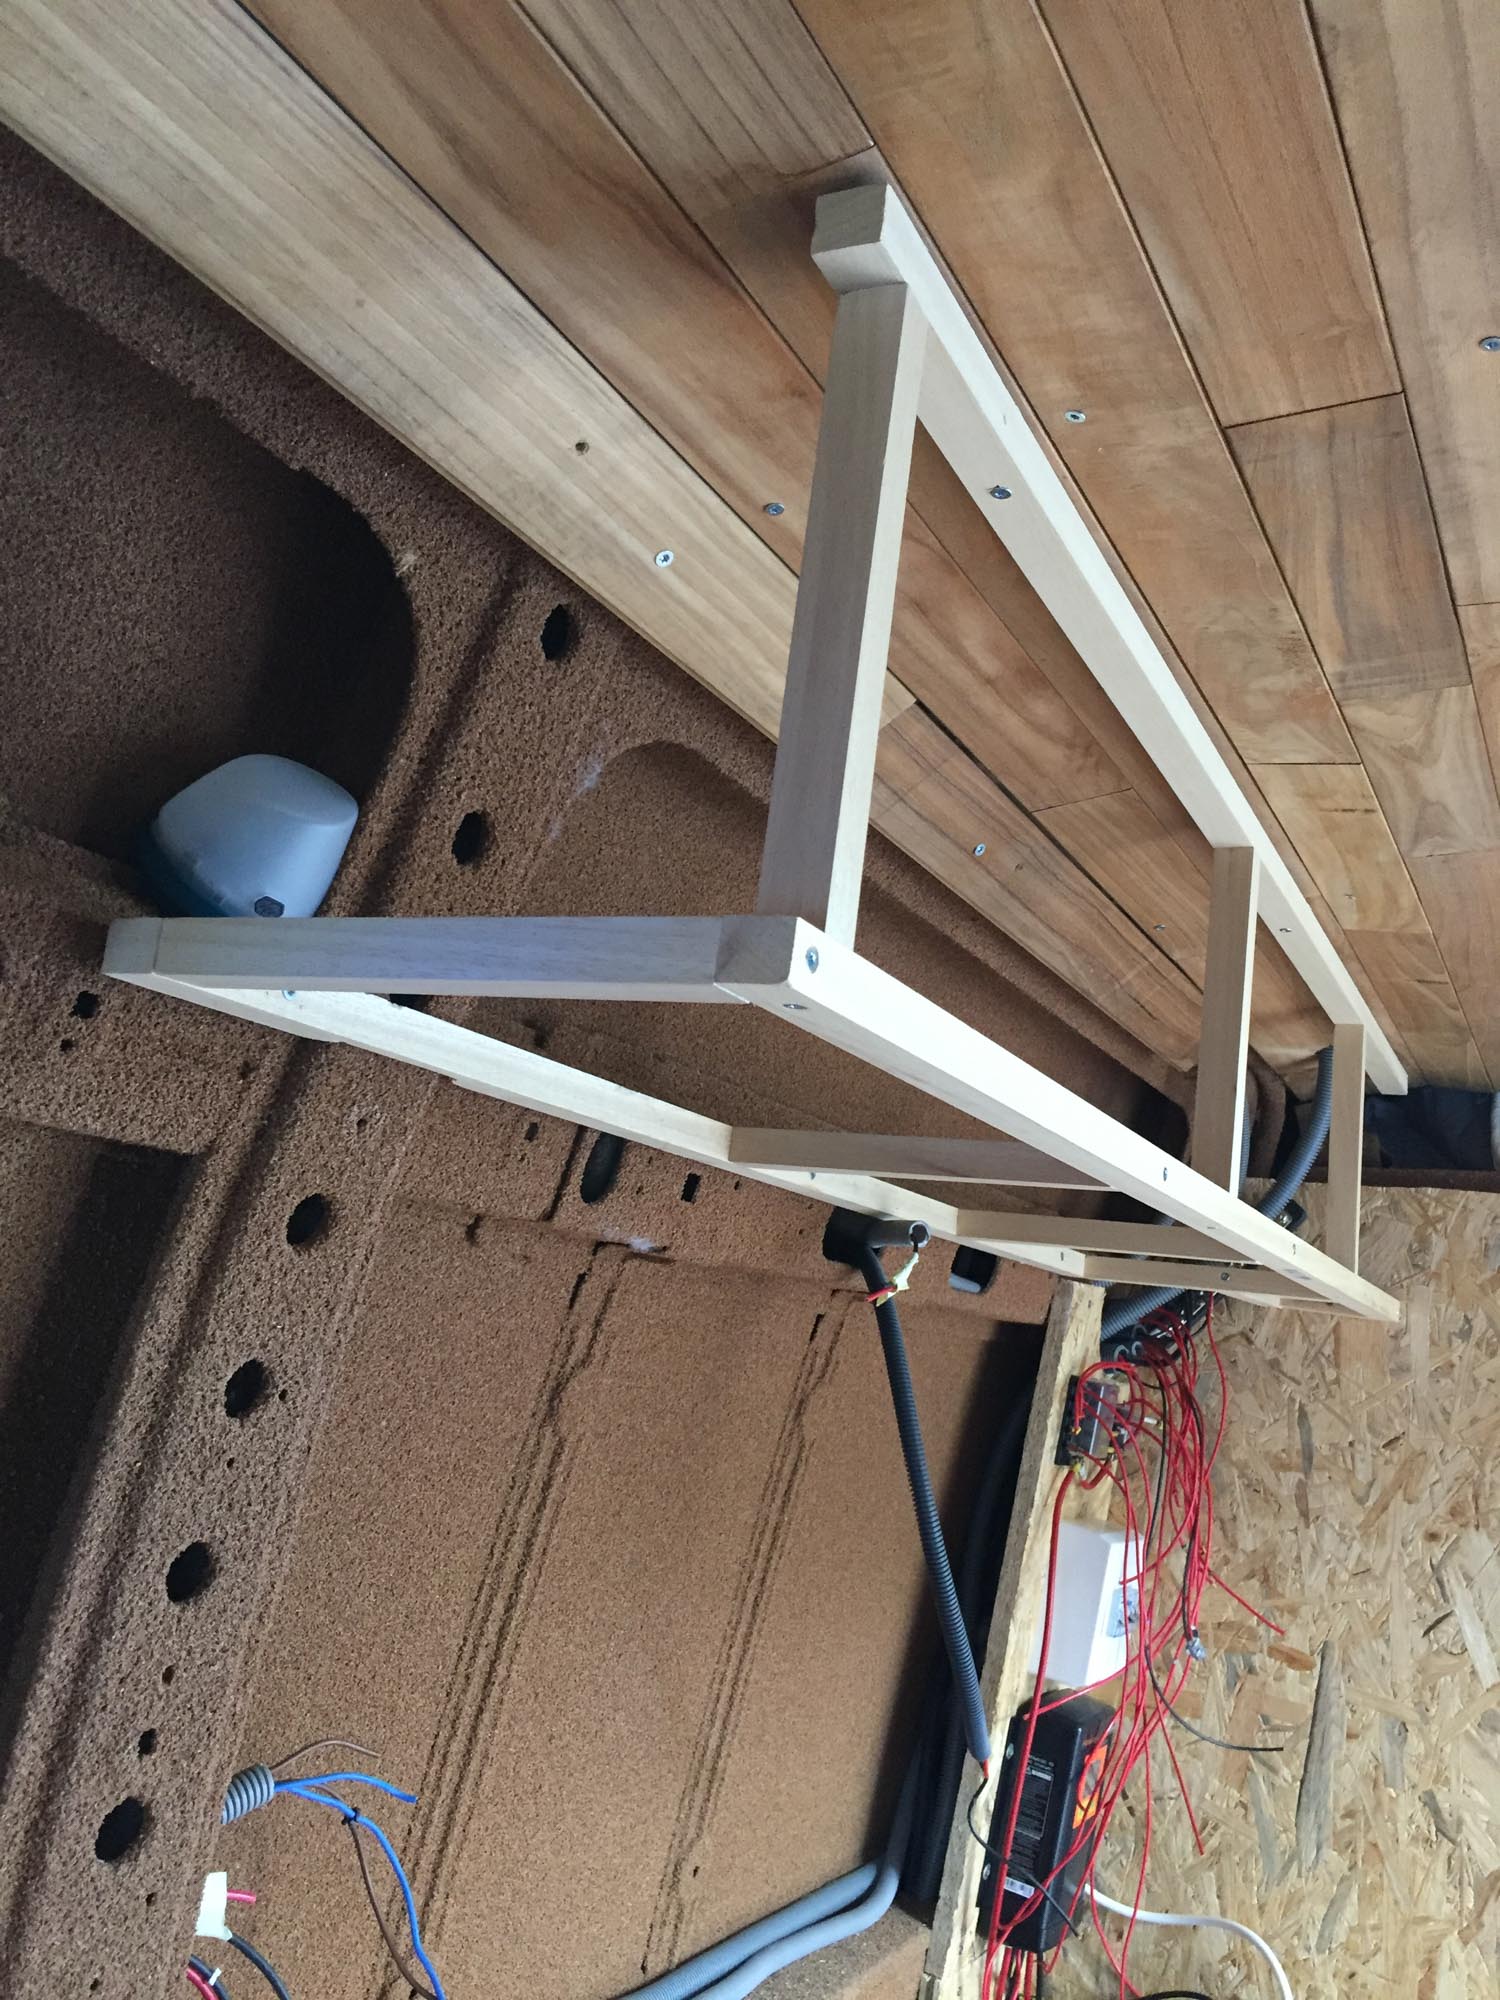
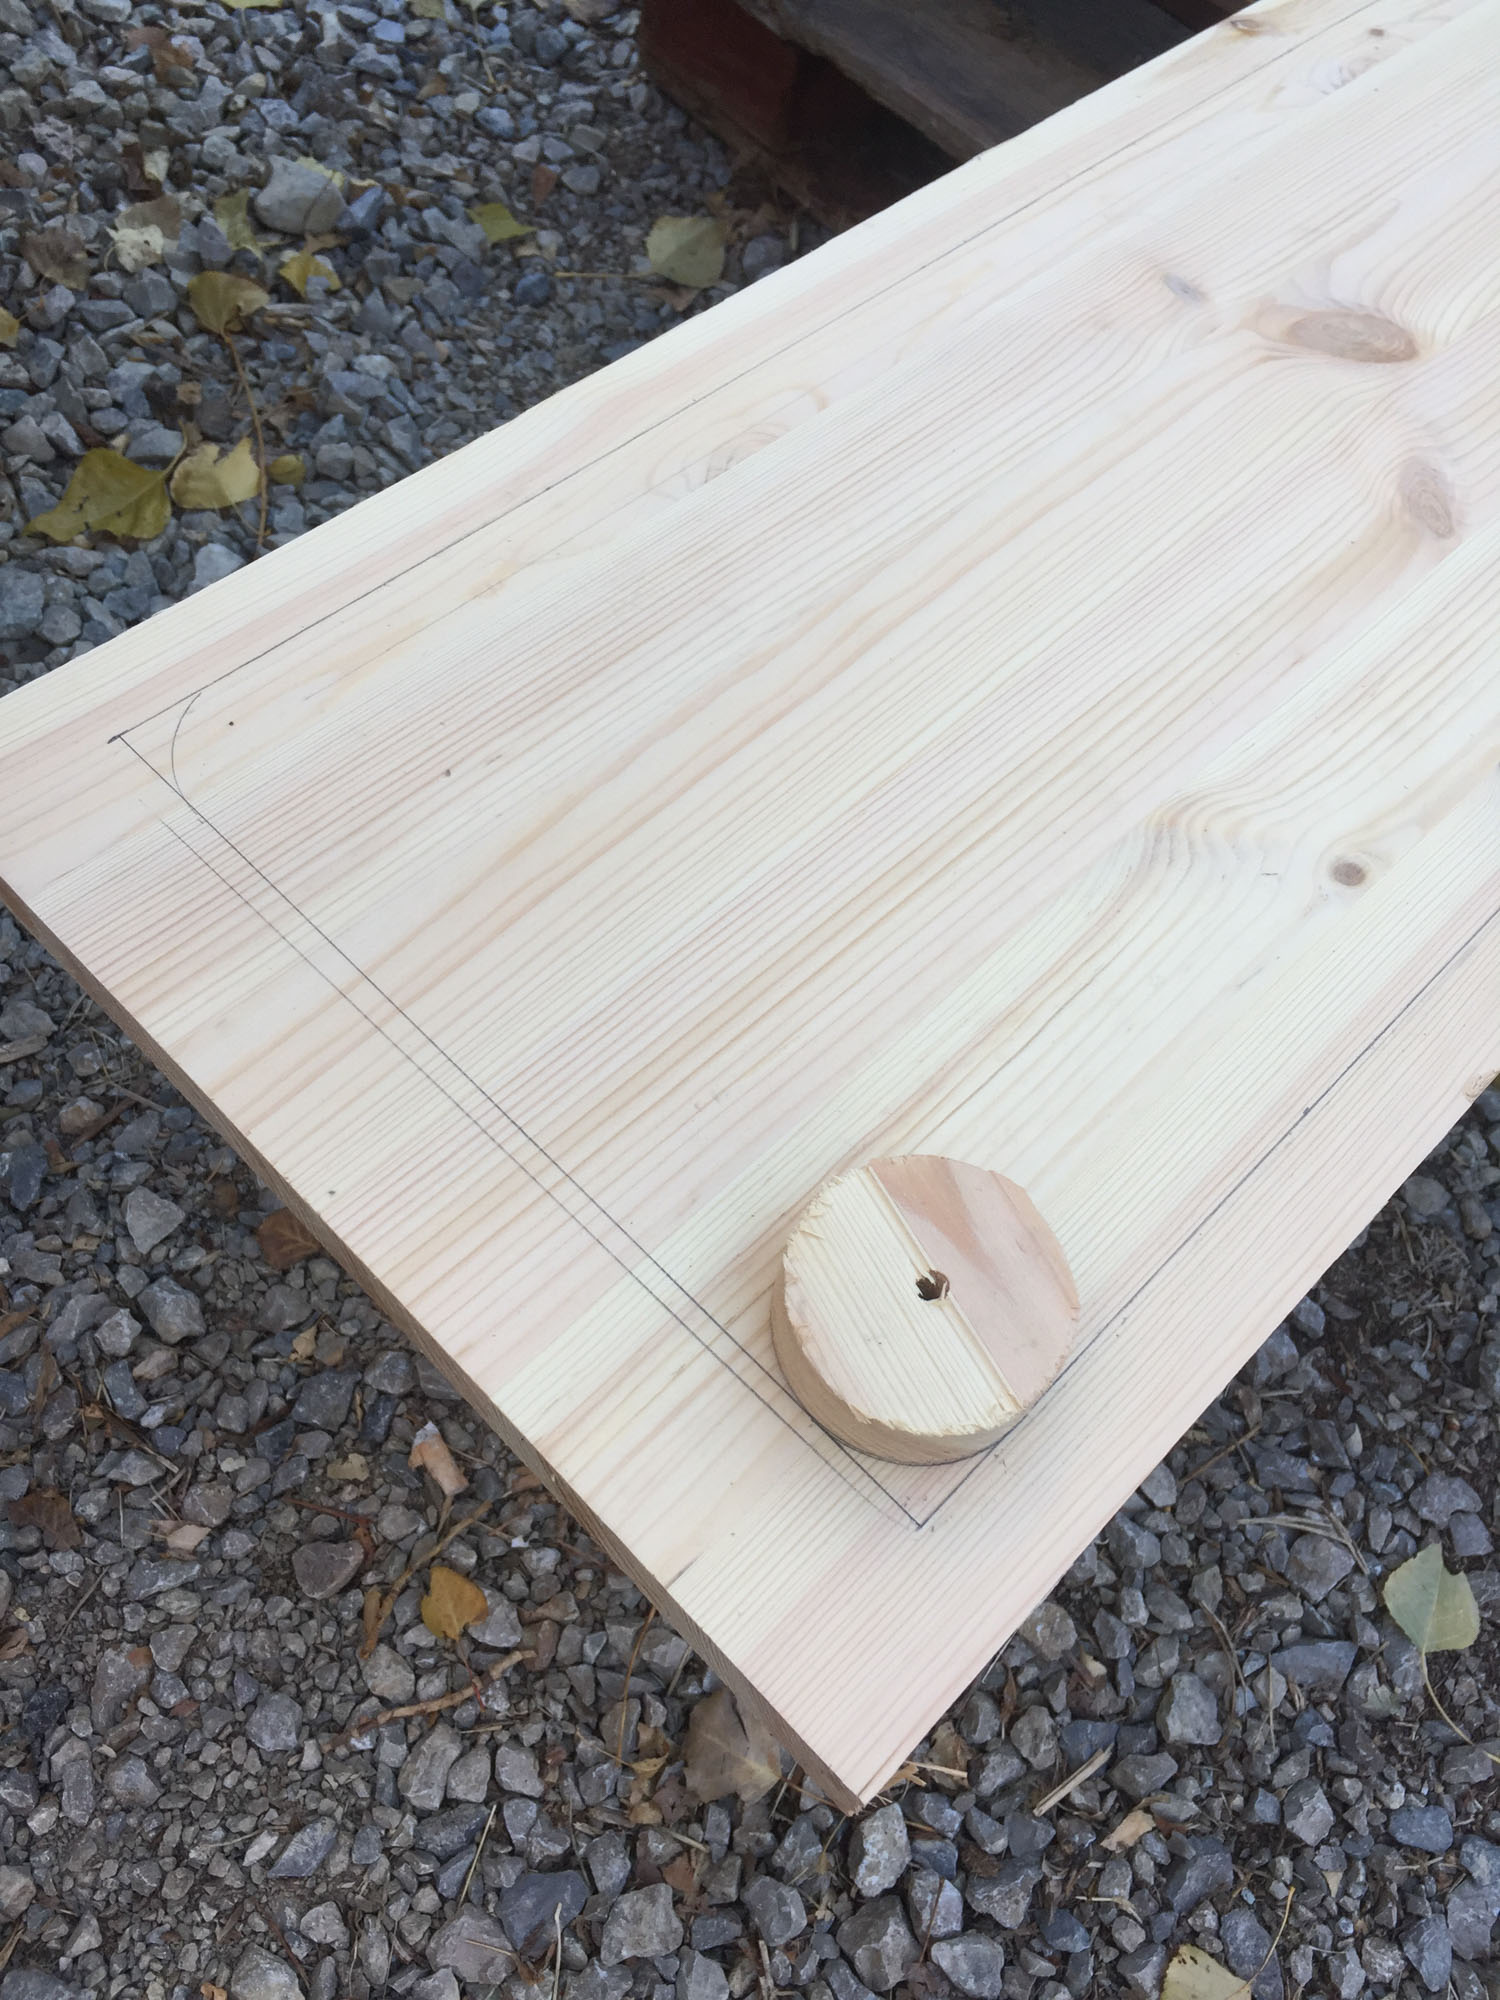
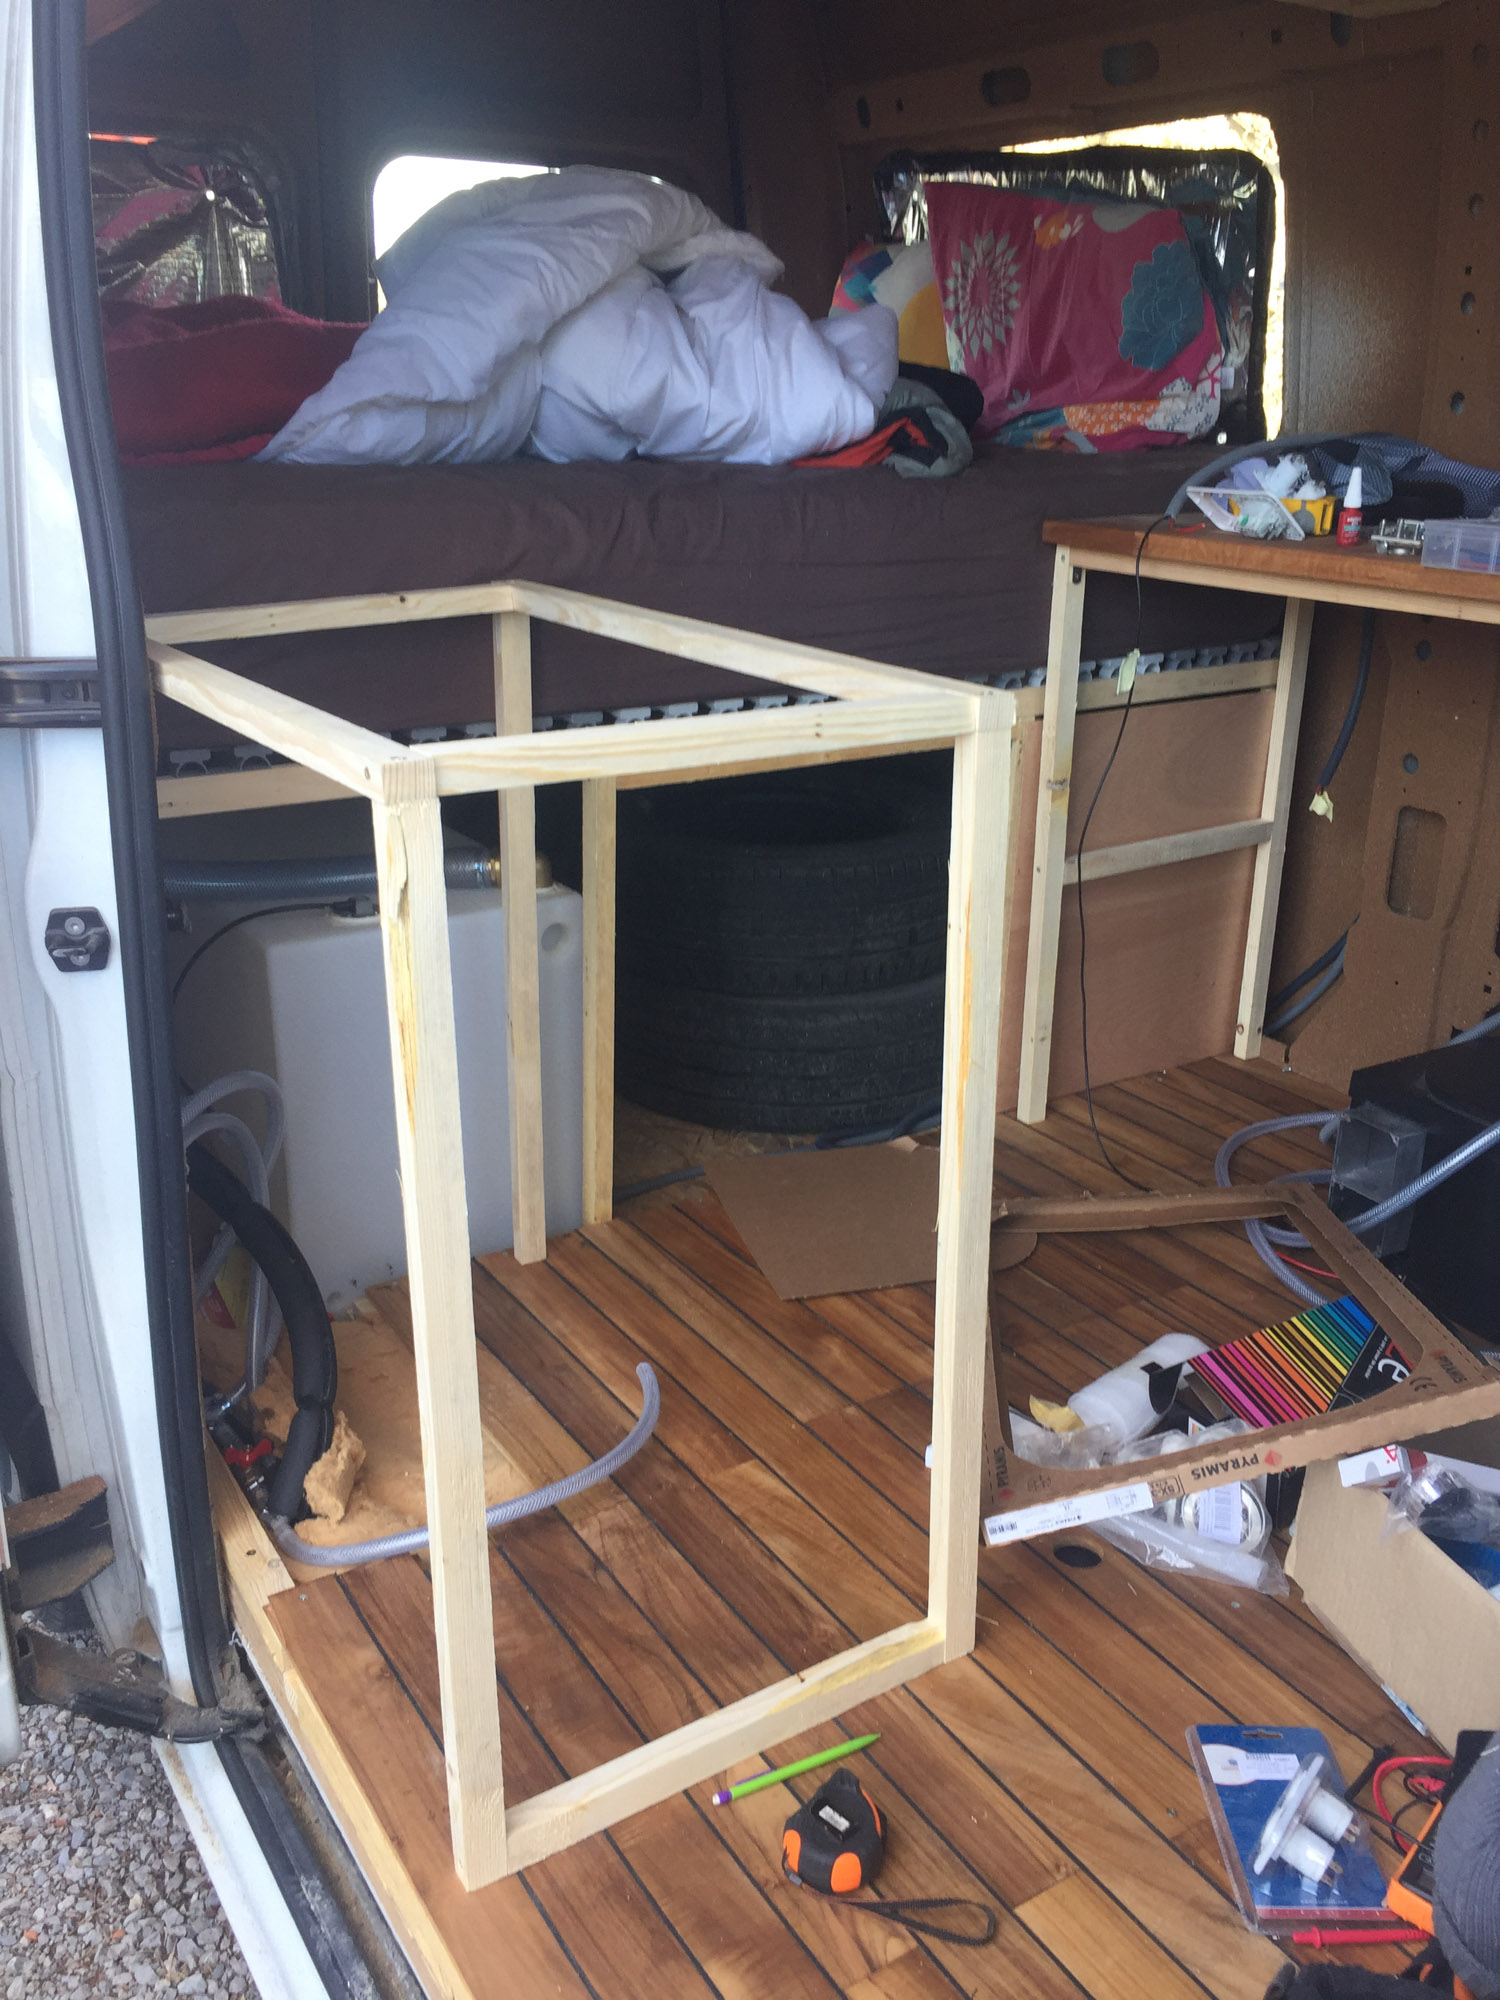
The furnitures are made around woods bones to fit the exact size of the van. Nothing is perfectly aligned so I though it was a better idea. But I was wrong! The doors and the drawer for example was a nightmare to build. I think I should have bought some ikea structures and modify them…
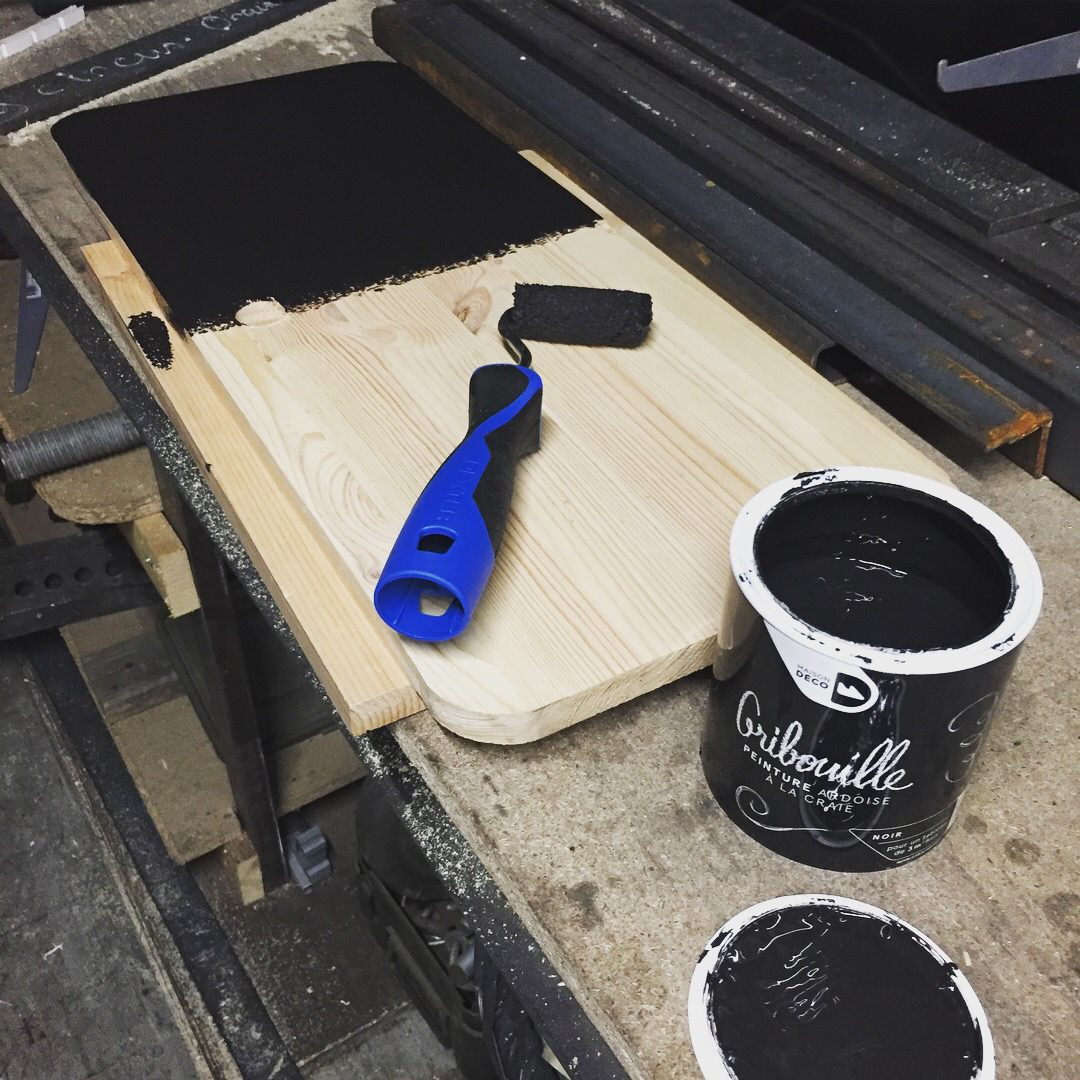
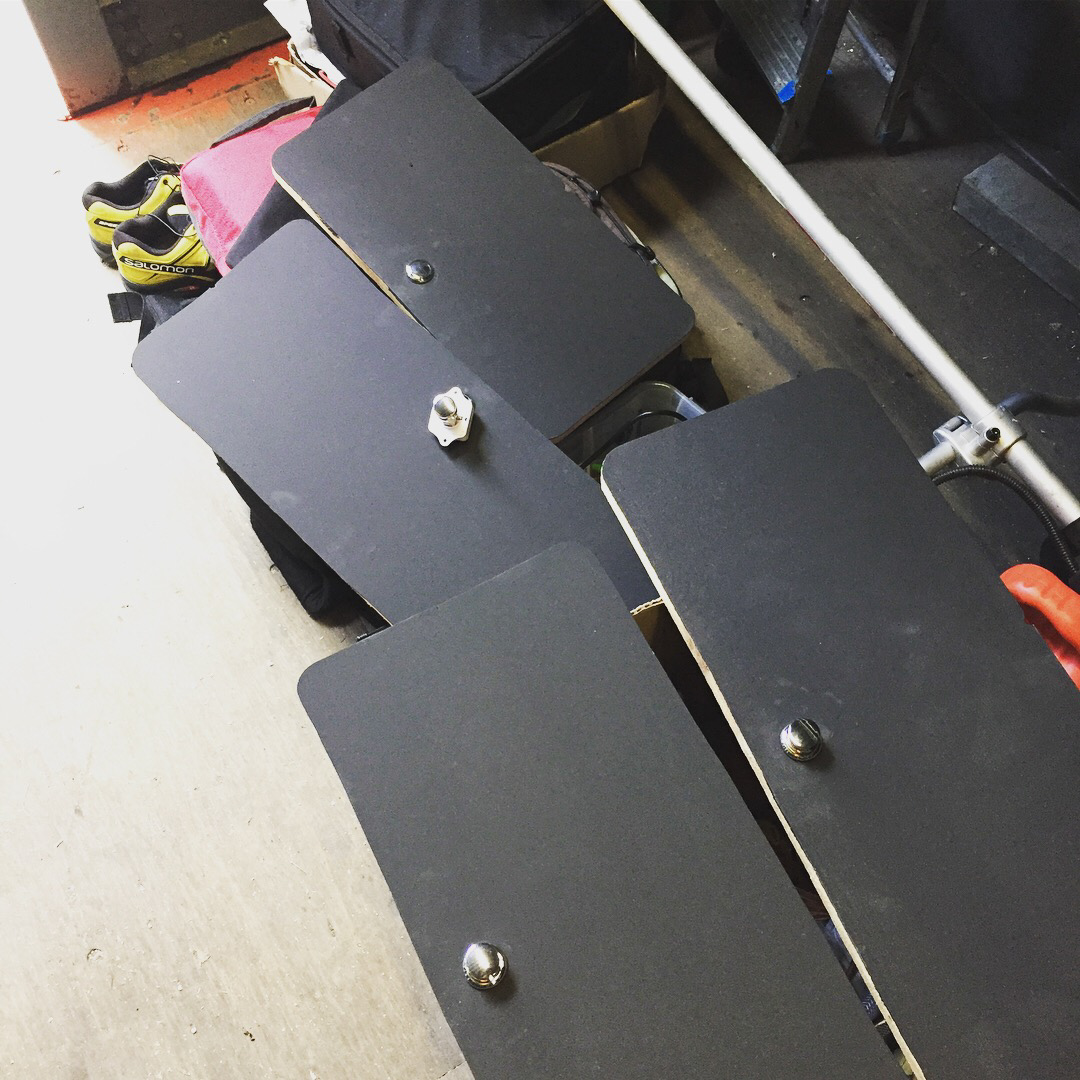
For the upper closet, I used a black paint that allow you to write on it with chalk and this is pretty cool !
Time4 weeksDifficultiesDifficult to think about everythingCost3.675 €